Friday 29 October 2010

GRUD! Almost done!

Happy days are here..all the cosmetics are done...I've sanded off the corners of the foregrip boxes to make them look less like plasticard abominations and more like the rubbery molded effect the real prop has. I also sanded the top edges of the templates glued onto the sides as they also looked far to conspicuous.  Everything has been painted  - the top half in a metallic gloss black, the lower half and handgrip in a soft matte black and the chrome parts..well..chrome. A couple of little detail screws have gone in and DROKK! it's all looking pretty good if I do say so myself.

For geekmatic comparisons here's the orignal Playstation light gun....


and here's the original prop from the movie...


and after 50 years hard labour on Aspen penal colony, here's my effort...


Now the final stages are yet to be completed - It needs two LED's installed at the rear for the power up lights (red and blue) and the battery pack is under construction so the ammo selector lights at the front of the weapon light up when the trigger is pulled..as soon as that's done I'm out on my Lawmaster dispensing Hi-Ex justice to all the local perps

Next project  - Comic version Lawgiver...stay tuned!

I ARE NERD
Respect
P.

Wednesday 27 October 2010

Lawgiver progress...detail and undercoat

I'm 90% done with the physical mods of this project. All templates except the final vents on the foregrip are affixed. The vents are proving to be quite tricky with eleven very small and very precise cut outs. I've ruined 2 so far trying various techniques and so I'm am finally gonna go for the thinner plasticard (0.5mm) to enable easier and more precise cuts.

here's progress pics thus far....

Justice Department Eagle detail for the right side

left side - undercoated with primer

Right side showing eagle detail - also undercoated with primer

I've also made progress on the badge templates...everything is there...In theory, all thats left is to isolate each layer, print and cut!


And finally, whilst strolling nonchalently around a large and overwhelmingly evil supermarket chain looking for trouble, I found the NERF Nightfinder dart shooting toy gun and it immediately leapt into my basket for the next project...Here's a very hurried Photoshop mock up of what could come to pass should I get my act together....a REAL Lawgiver no less!!

Until next time....keep it geeky!

I ARE NERD
Respect
P.

Monday 25 October 2010

I AM THE LAW...or I WILL BE THE LAW...SOON...Dredd Lawgiver update

I'm kinda getting into this plastic cutting lark, it's fun, fairly quick to get results and pretty sturdy for construction. Thats right I said construction..I put aside my weak excuses and made the leap from 2D to 3D

First and foremost is the foregrip box...


I've just superglued the edges, sealed with some electrical tape and cut a rubber washer into 4 pieces to act as little support braces on each corner...it's surprisingly strong.


Next up is the front box structure - the Playstation gun has a small one already moulded but I really wanna bulk out the front lower part like the movie version so more box making...


With the front on it doesn't look half bad..and again is surprisingly strong construction. I've had to cut a bit out though so it fits snugly with the larger box created above


Submitting to my inability to work out the complex templates for the rear box atop the handgrip I fell back on my trusty friend FIMO Airdry and sculpted, dried and sanded the offendingly awkward spot....


lastly with the application of a little nugget of plasticard to tie in the detail and some careful sanding to make indentation to carry round from left to right, this section is almost in the bag


Another application for the FIMO was the shoe plate of the handgrip. Again on the movie version its quite bulky so I've layered 3 steps of 1.5mm plasticard and sculpted a more bulky front end...It may need a bit more bulk but that remains to be seen.


lastly for todays update...As with the PKD Blade Runner project I've been inspired to think of other items to display with the finished prop so here's the side thread that's going on when I get time....


I ARE NERD
Respect
P.

Tuesday 19 October 2010

next on the chopping block...Judge Dredd Lawgiver (Movie Style)

Okay so we all know that the Hollywood blockbuster, Stallone starring "adaptation" of the legend that is 2000ad's Judge Dredd was awful. Not just awful, terrible. Not just awful and terrible but an insulting, disgusting rape of an icon, like someone telling you they made you a delicious sandwich but forgot to tell you, just before you tuck into it, that it's a shit and bogey with moldy catterpillar infested lettuce and rancid catfood sandwich.

Okay I din't enjoy the film.

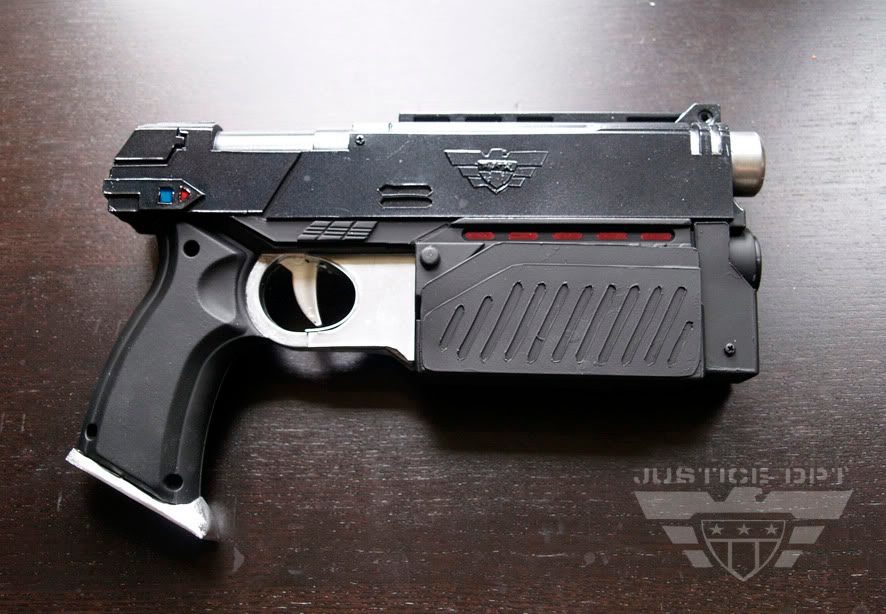
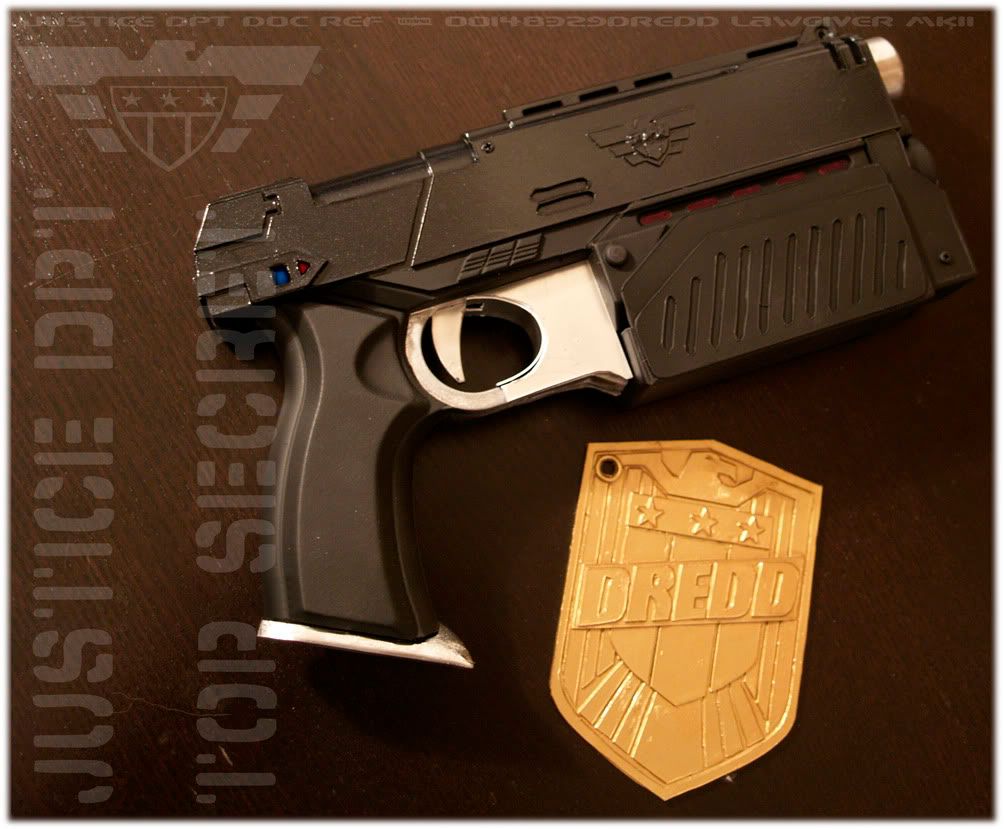
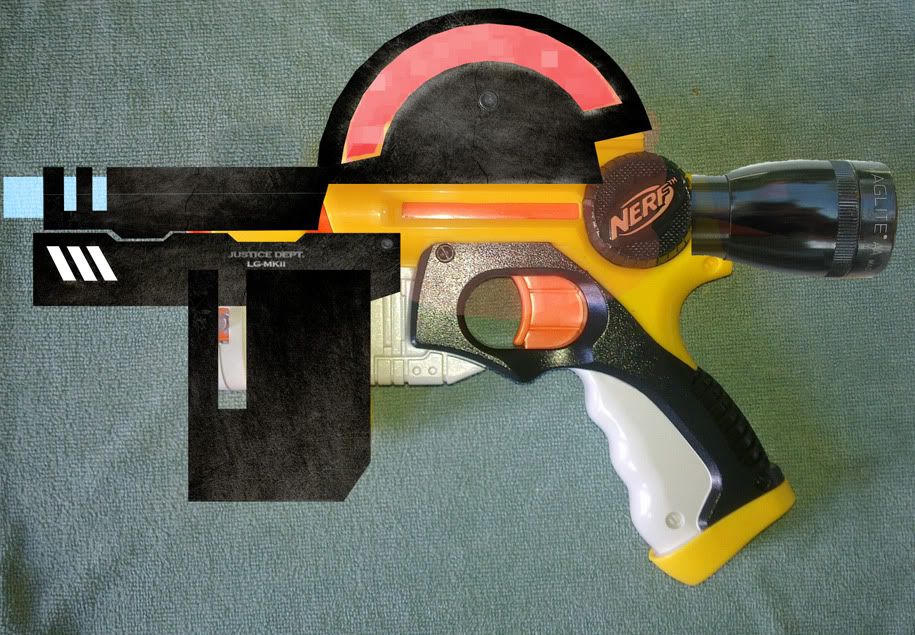
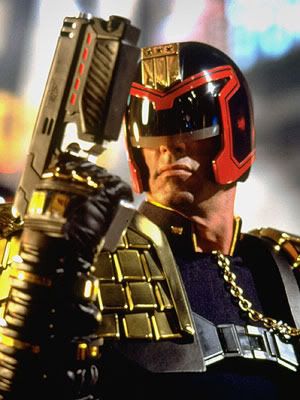
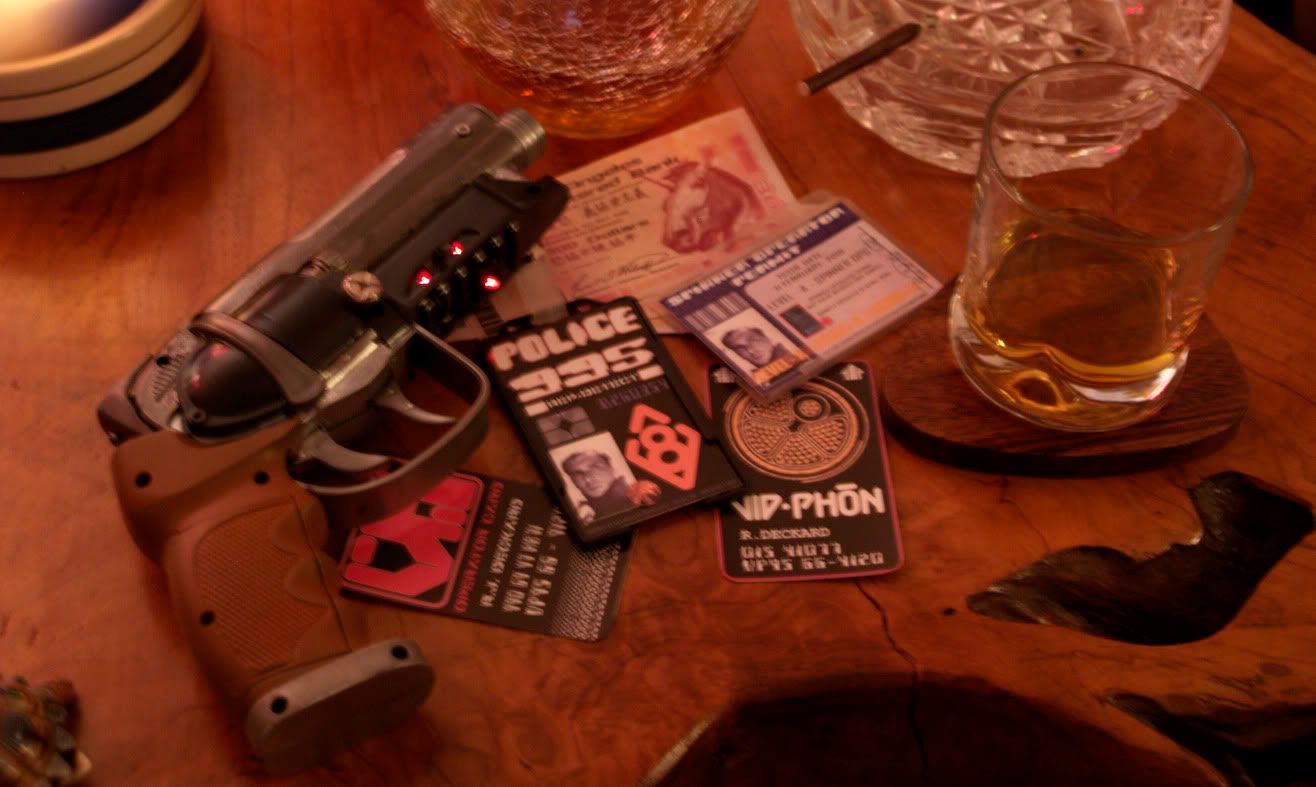
However it did throw up a few nice ideas, the costumes looked pretty good, the Lawmaster bikes were pretty faithful if a bit wussy looking and the Lawgiver gun looked pretty cool too. Even though I'd rather construct a comic strip version of the Lawgiver gun I don't feel my skills are up to this task yet..maybe soon. SO...in the meantime I've come across this baby...


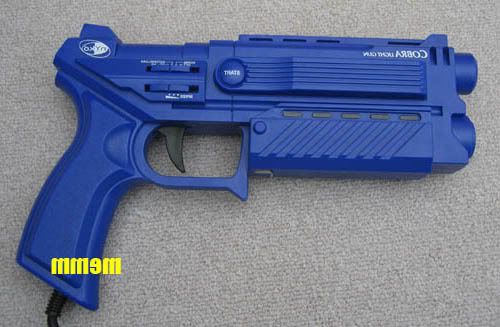
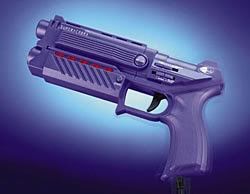
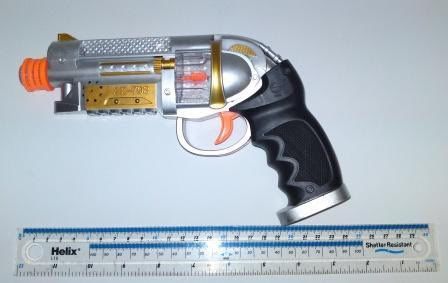
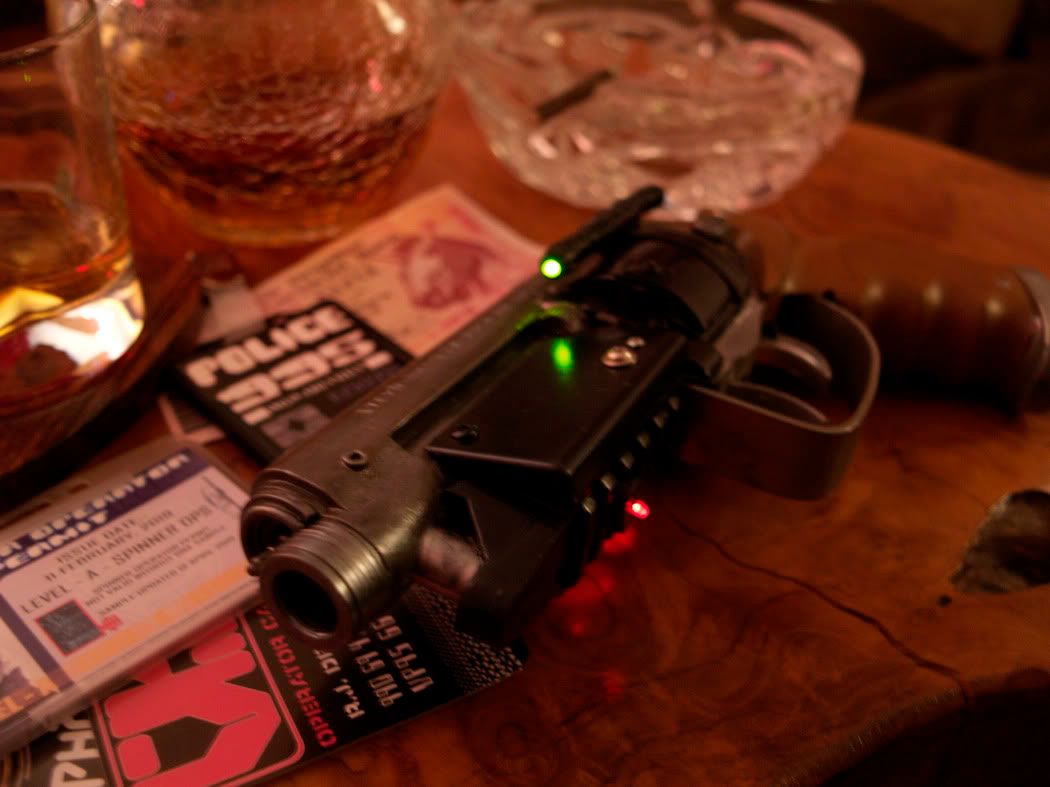
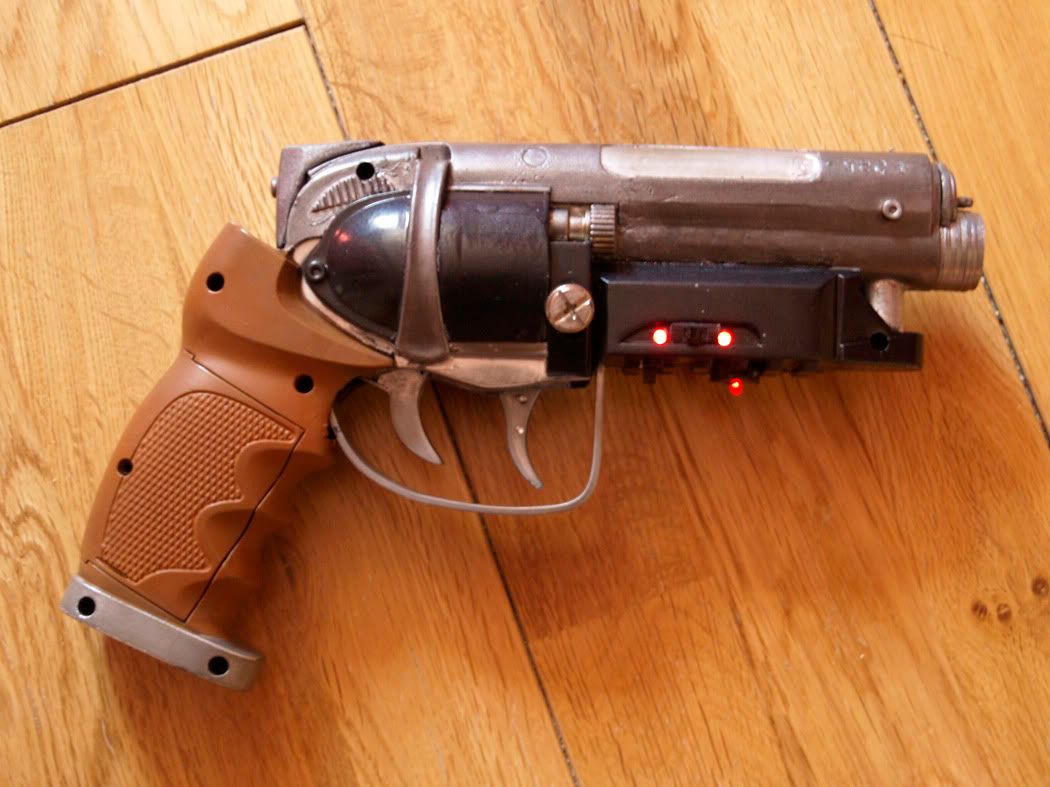
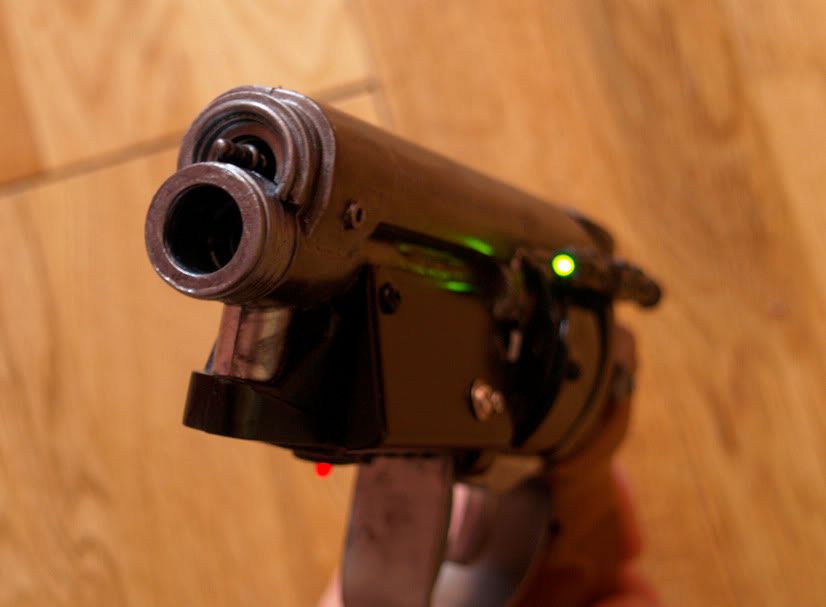
It's a playstation Logic III Predator light gun for zapping your telly with..but doesn't it have a striking resemblance to the Lawgiver mkII as wielded by Judge Spudd, Sylvester Stallone from the excellent movie adaptation..ahem..


There have been several attempts before to change this toy gun into the version seen above so I at least have some technical pointers (thanks Gav Jupp and Kevin Goldsmith) It has the capability to house the lights as long as I don't do anything silly during the build phase.

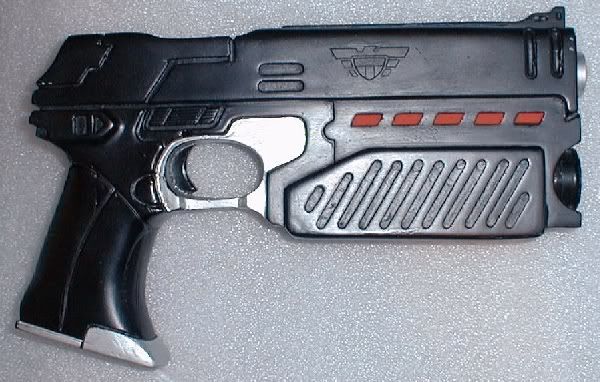
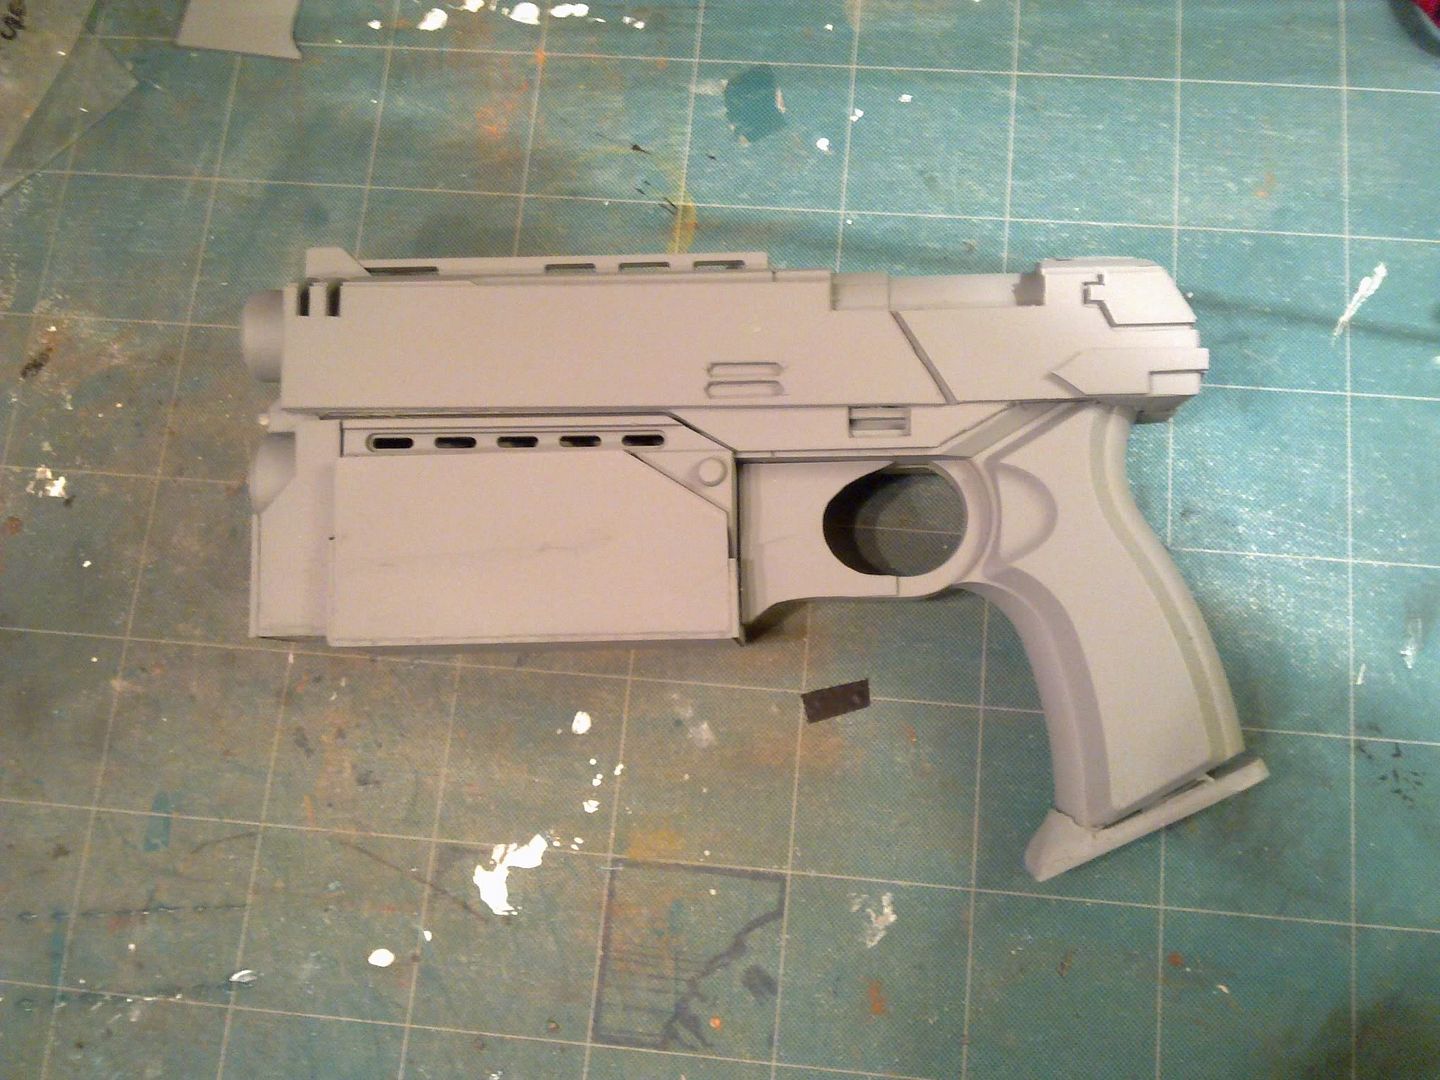
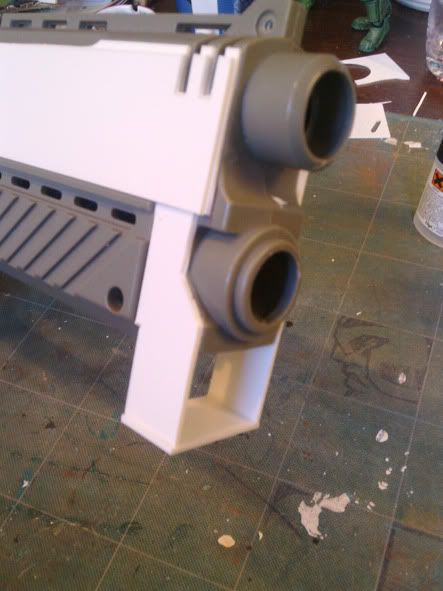
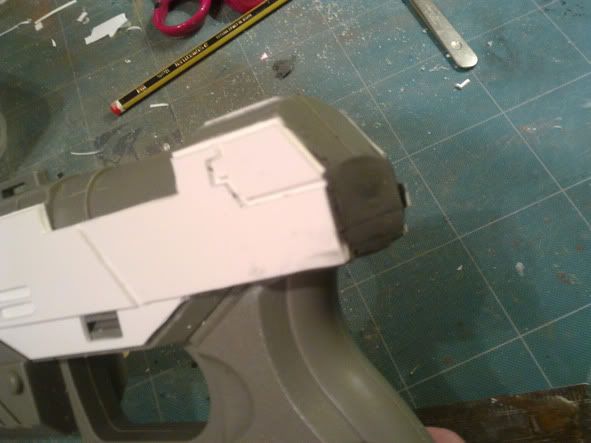
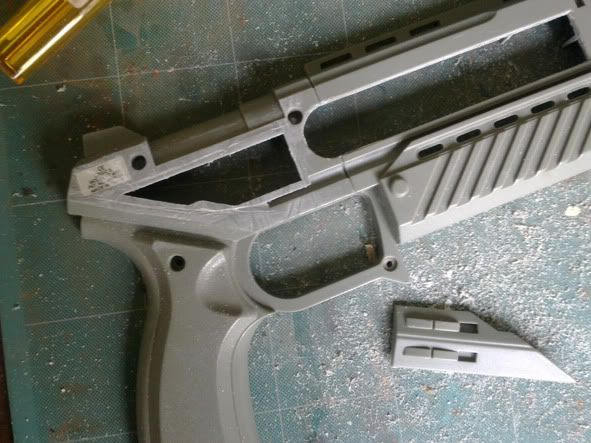
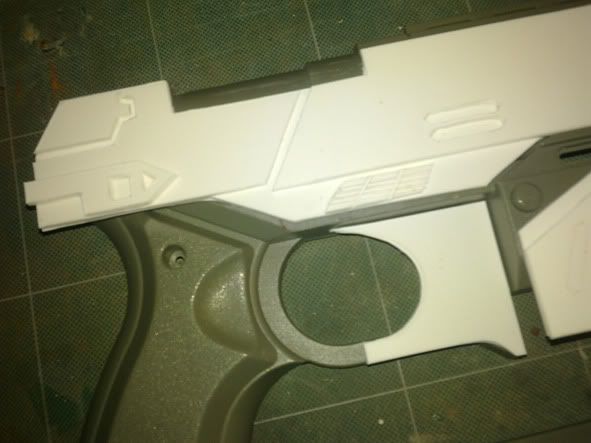
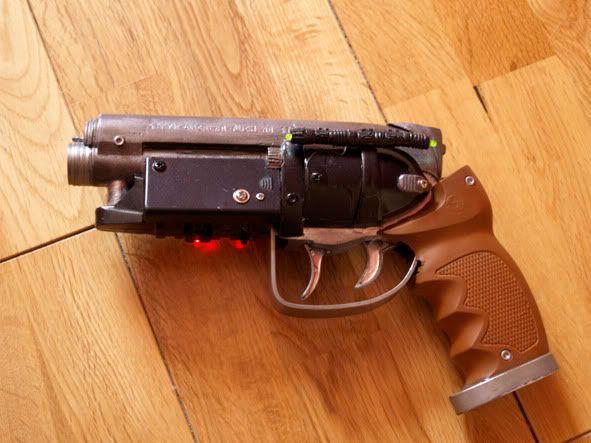
So I have begun..finding a Predator gun on fleabay for a fiver I have set about removing any excess lumps of plastic moulding to facilitate the first stages of conversion...

It's made of quite durable plastic so it took a fair amount of time and elbow grease to remove the extra pieces. I've also removed all the internal electronics and movable parts to avoid damage during the carnage that usually occurs during the prep.

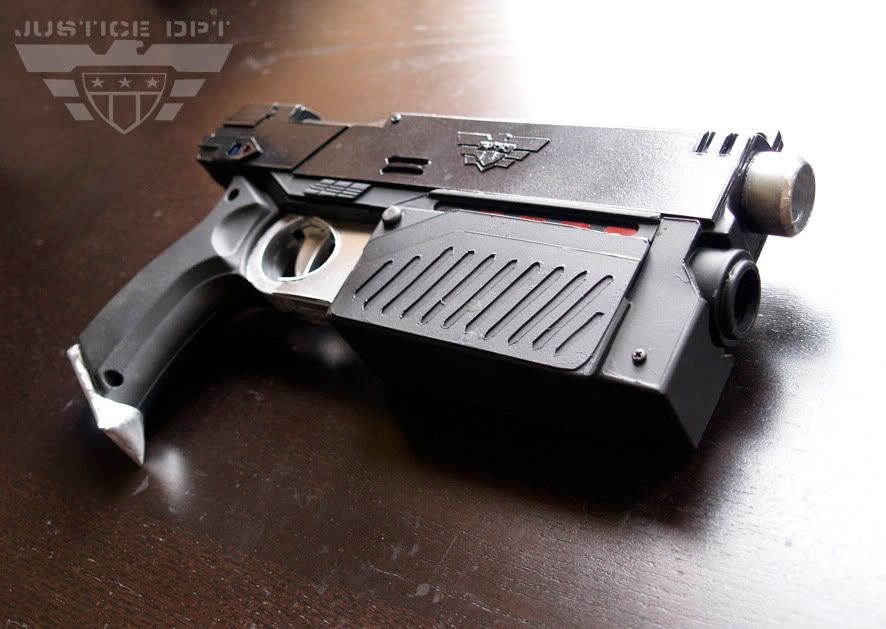
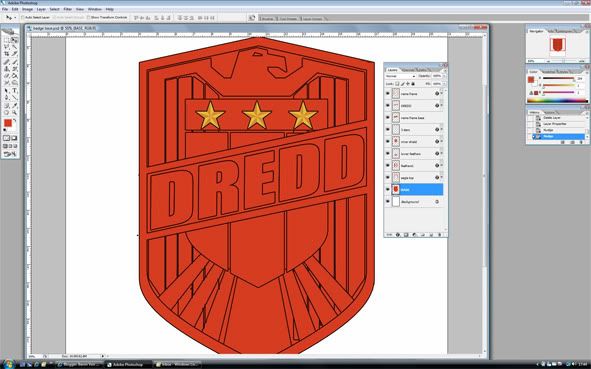
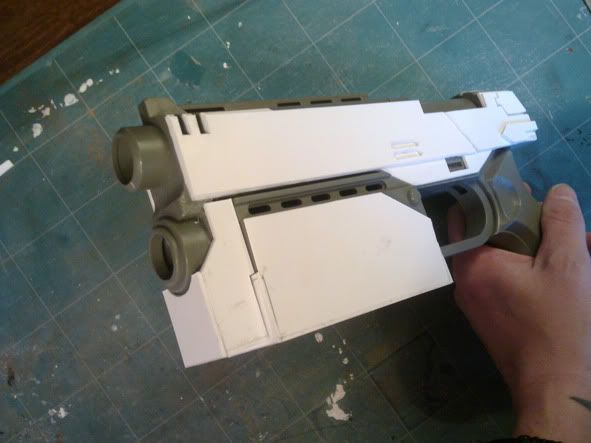
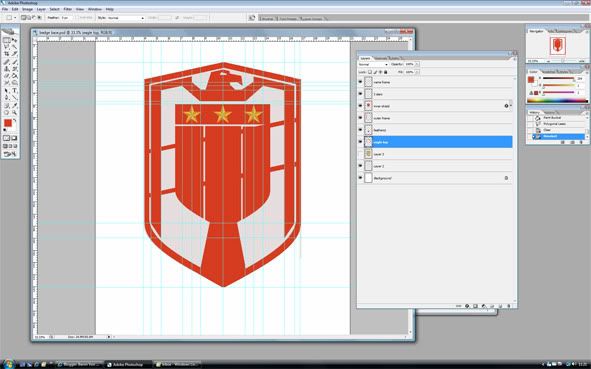
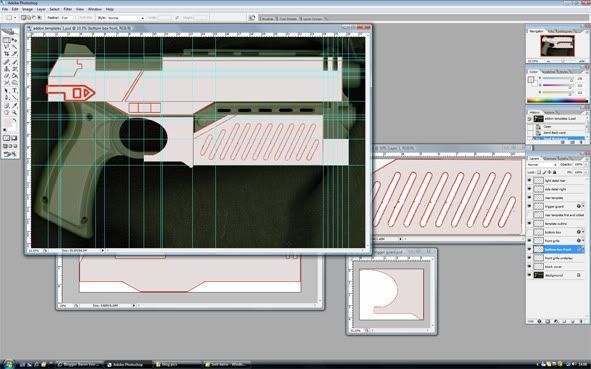
The next stage was to measure out templates for overlays that will eventually be cut from 1.5mm styrene plasticard and glued onto the base gun. I did this first of all with a ruler and eye but after much frustration decided that it would be better to scan the gun and create the templates using Photoshop...far more accurate. I hope.


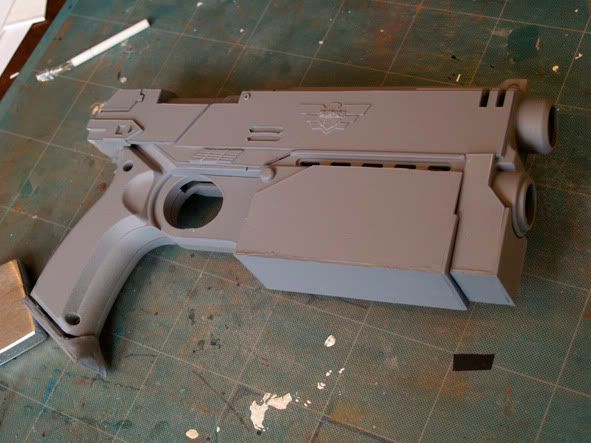
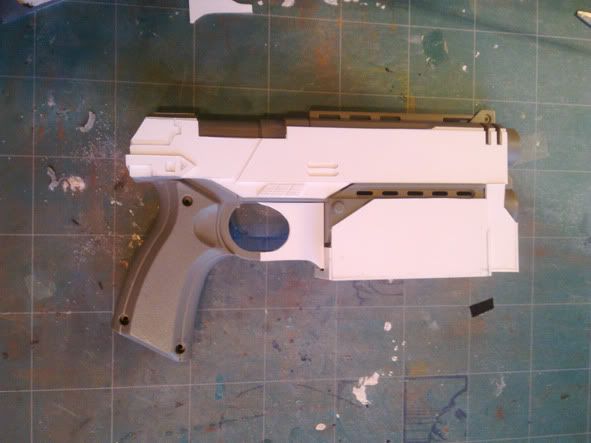
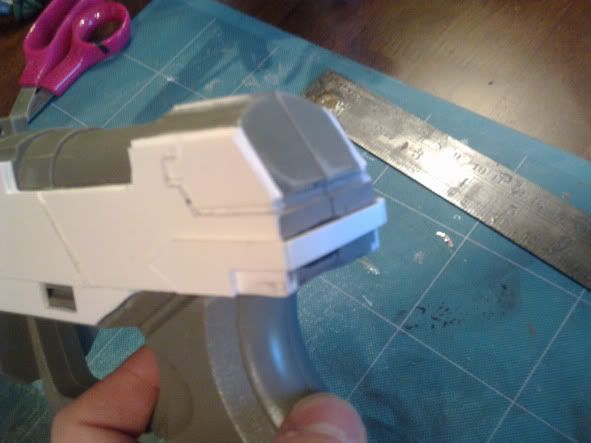
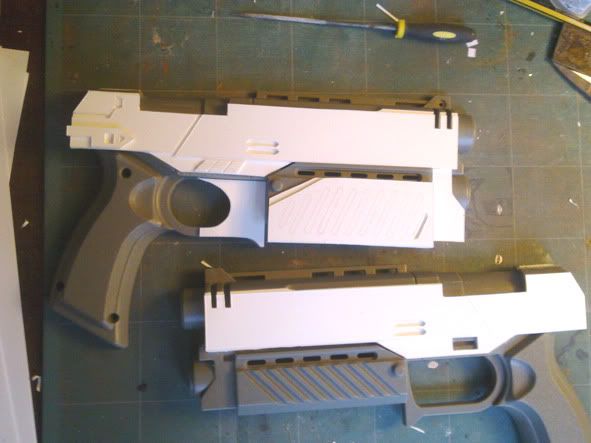
then to print the templates onto paper and test fit on the gun to see if or where I need to make adjustments


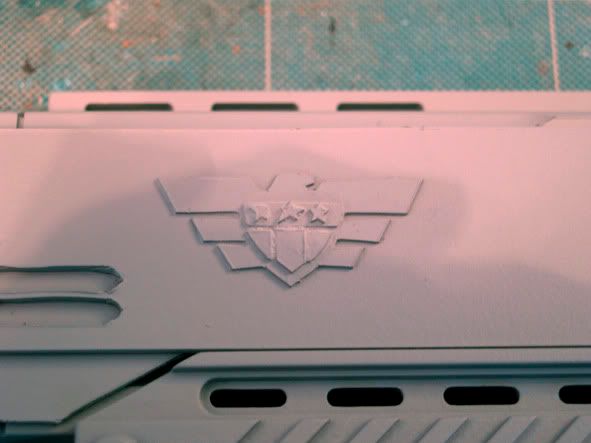
The templates will be layered up from the bottom. So base layer to hide gaping holes, detail overlay etc...etc...
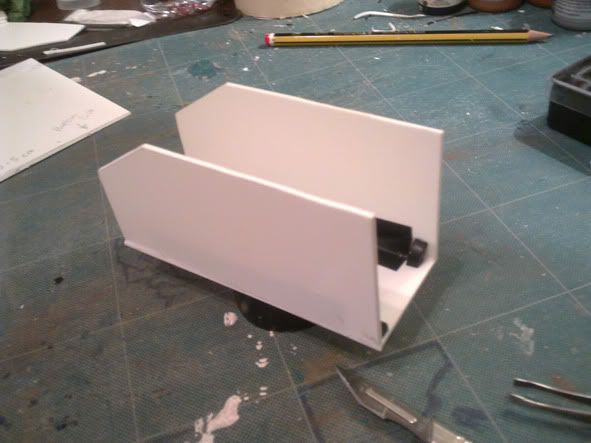
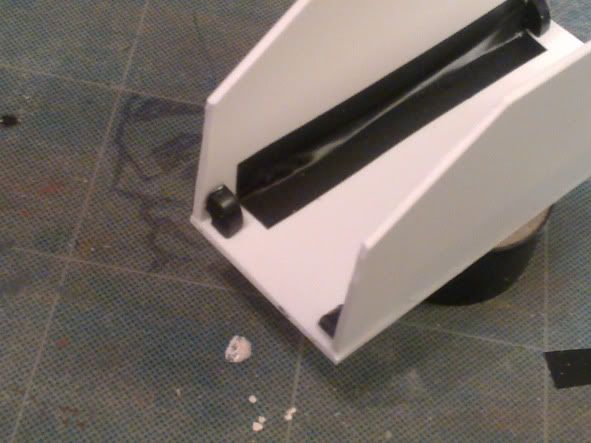
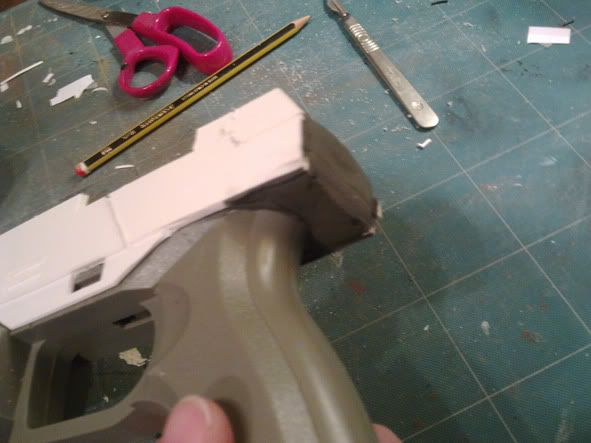
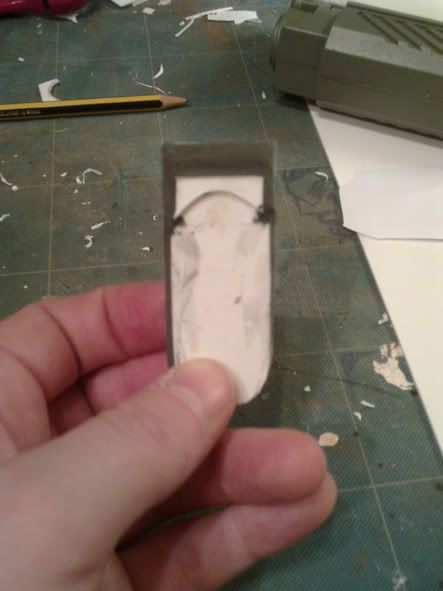
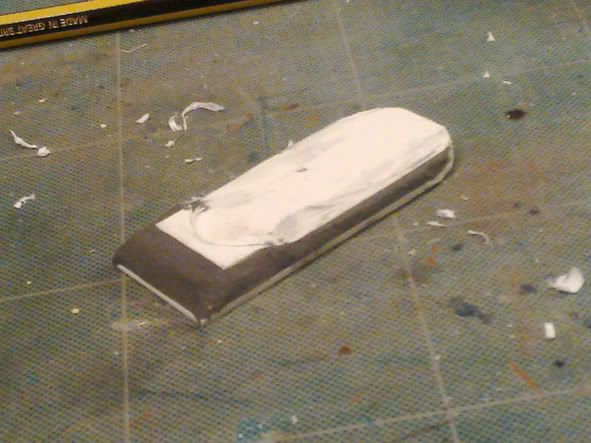
This part was fairly straightforward BUT on some of the templates I will need to make side walls to make it 'box' around the gun..I forget sometimes that it's a 3D object and get a bit carried away.


so far so good....lets see what the following days/weeks/months/years/decades unveil in the process..

stay tuned for more updates as they happen...

I ARE NERD
Respect
P.

Friday 15 October 2010

In the meantime - Stormtrooper Blaster Build archive

While I await delivery of the items for my next prop conversion/build, In true Blue Peter style - here's one I made earlier....An E11 Blastech Blaster as used by the minions of Darth Vader and his evil galactic empire

It initially arrived at my front door like this, naked and virgin white..


after running around the house 'blasting' the cats, missus and windows out I finally sat down to work.
the first nerve wracking excercise was to drill out all the holes along the barrell and the muzzle itself
(where i snapped the delicate end detail off..ho-hum)


then after sanding and shaving down the excess parts from the mould, I test attached all the parts with little wooden rods, then attached the curly wires as seen in A New Hope (or episode IV) on some of the blasters.


I also made my own scope rail from some length of steel as the resin one was rather flimsy.
the photos make a jump here as I got so involved I forgot to take them as I progressed...but I added screws where there were just resin impressions, carved some aurek besh characters into the end of the magazine housing.


Then I proceeded to undercoat/silver overcoat and finally metallic black topcoat and then set about weathering the whole thing with dings and scratches that it would have being dropped onto very firm space station floors.
Then lastly sprayed it with a dull finish clearcoat to protect my hard work.


Now the final part (build pics sadly lacking also) was to make the scope appear to have a functionality.
I used a small telescope from a toy store and cut off the end of the resin scope to attach the end of said telescope.
I also put inside the scope a targetting reticule effect printed onto the back of a CDR to give it a shine/colour depth


For the front of the scope I used a domed crystal sticker and another piece off a little telescope I had found in the drawer at home.


and viola! Here I am in action with the finished piece...


I ARE NERD
Respect
P.

Monday 11 October 2010

Finito - The End - Completion..well..maybe..Barons Blade Runner Blaster Project

Okay, it's time to put this baby to bed..or rather on the display shelf.
There's a few little niggly bits that need attention but nothing that's gonna keep me awake at night and there's always room for improvement on some bits that turned out looking a bit too hand-made but hey, it's my first stab at it and truthfully I'm pretty pleased with it as it stands, warts and all.

I present to you the Barons MK1 PKD DETECTIVE SPECIAL....

from this...


to this....


Now go and make your own one and tell me where I went wrong.
I ARE NERD
Respect.
P.