Showing posts with label lawgiver. Show all posts

Friday, 21 December 2012

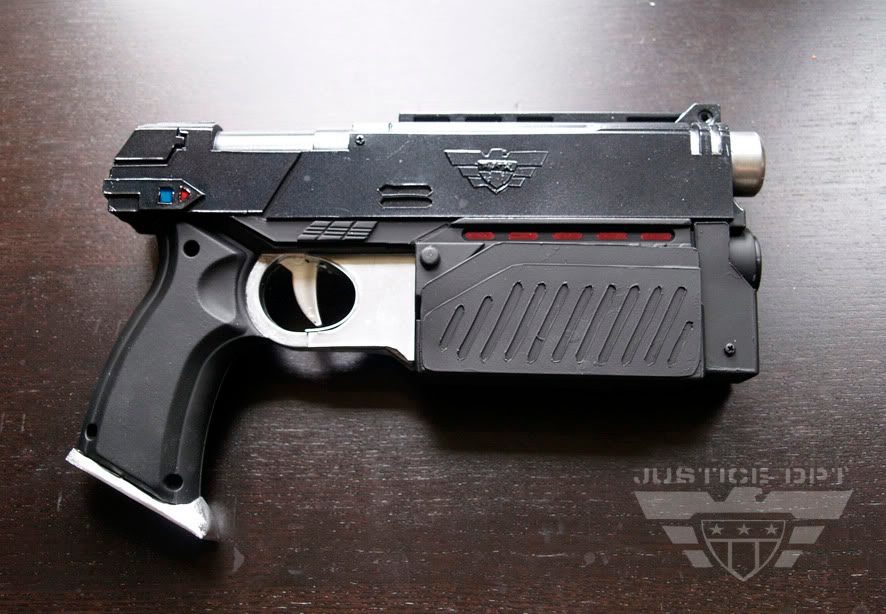
I AM (almost) The Law...

well it's Christmas and I'm going to drink and eat too much so all projects will be on hold til 2013.

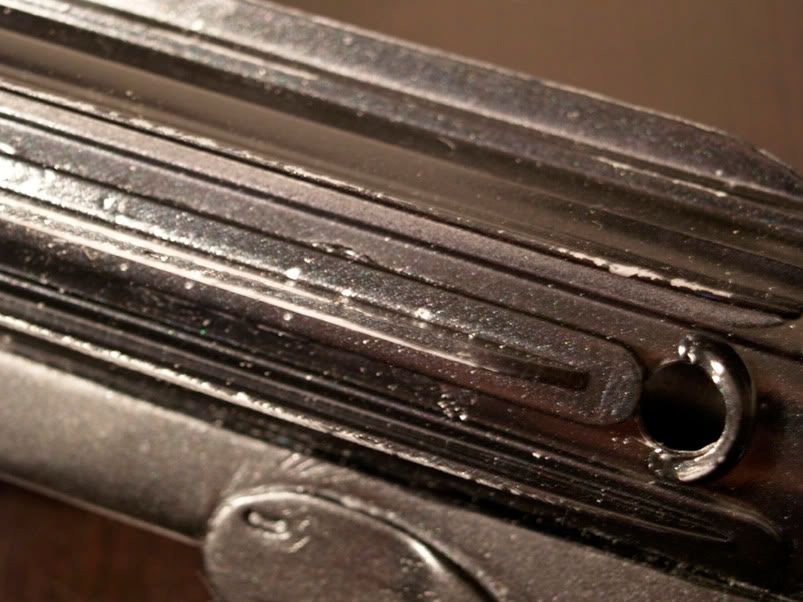
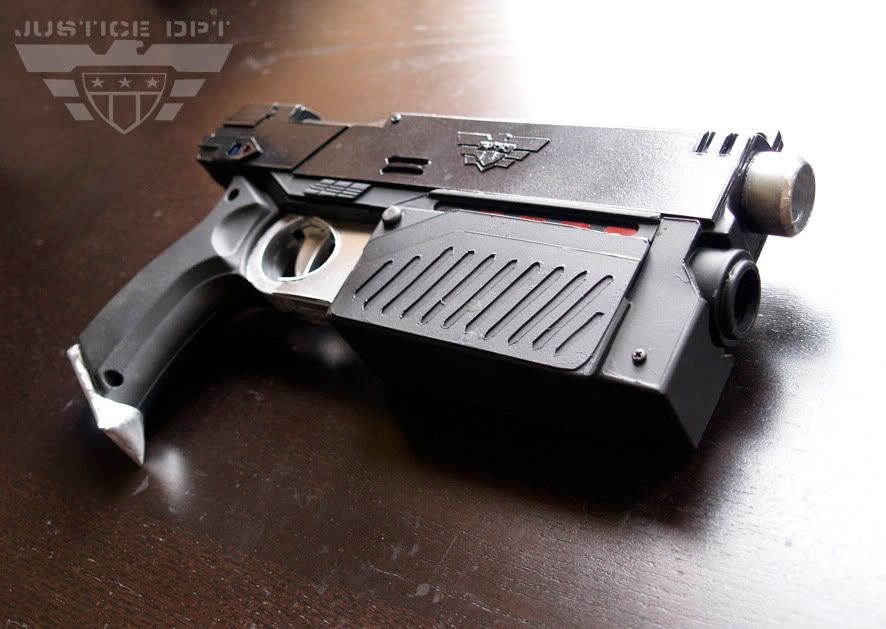
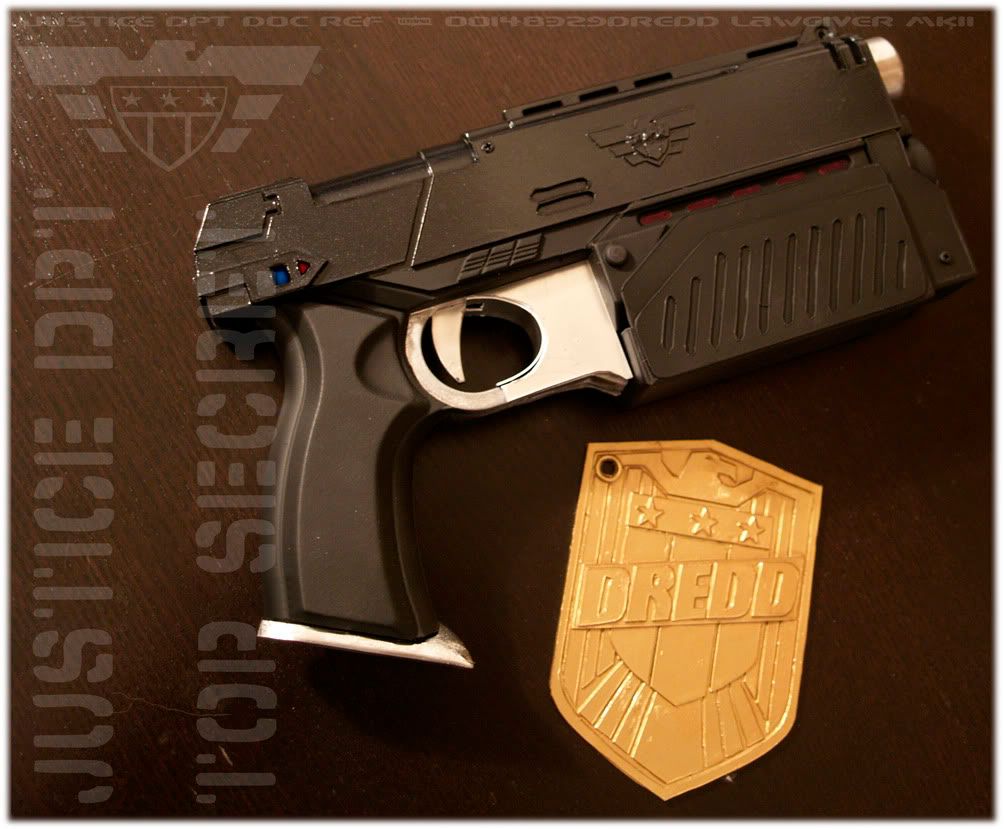
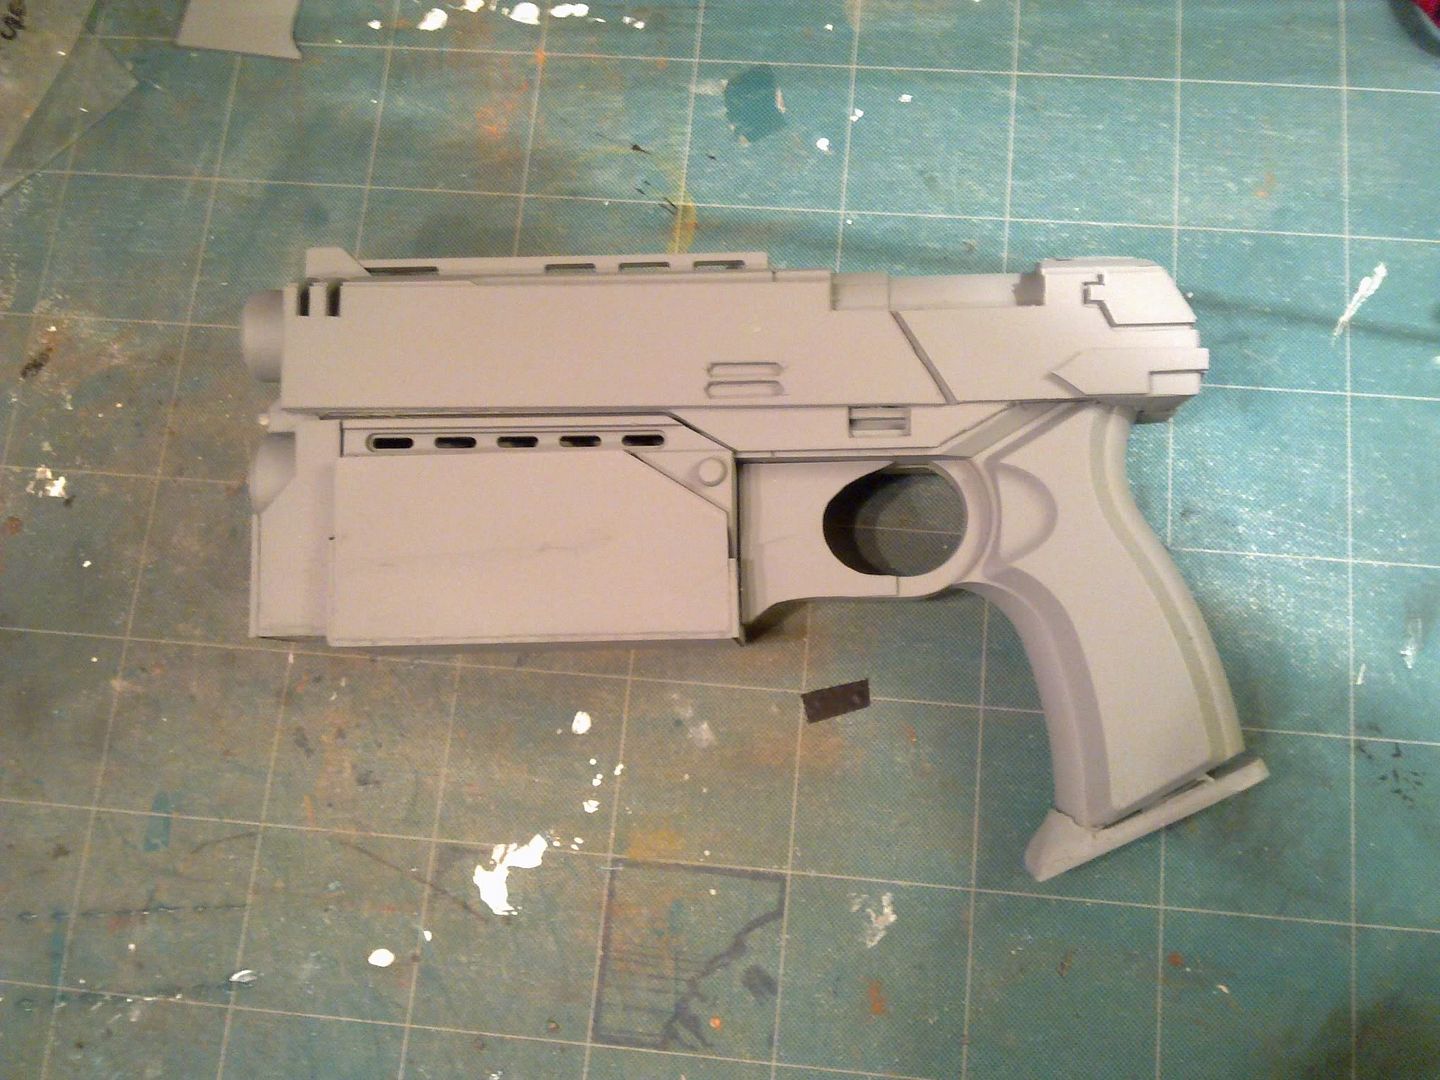
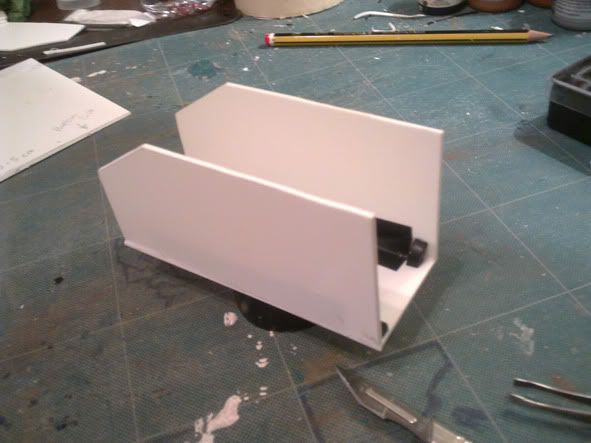
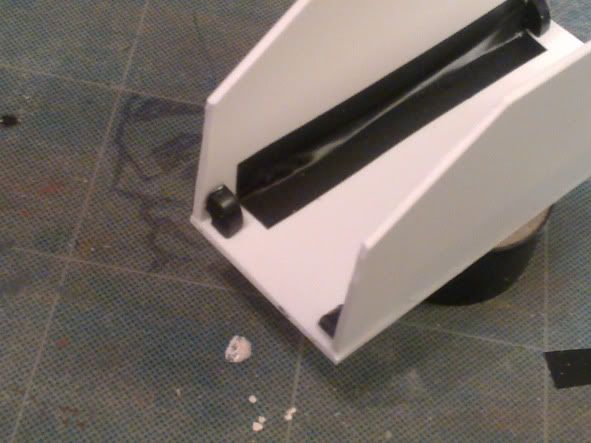
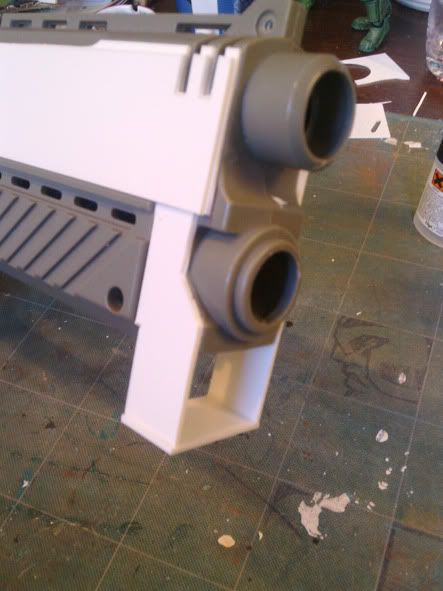
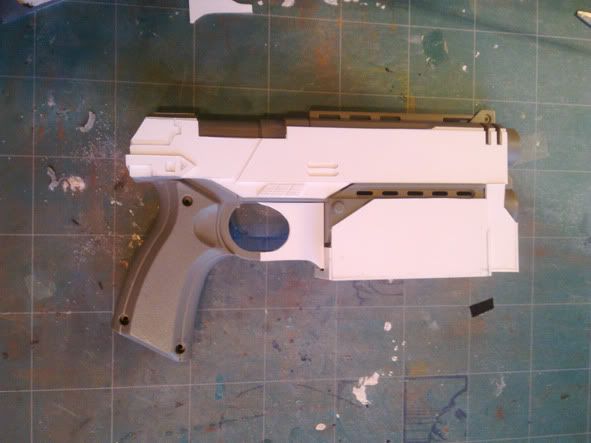
Still got a lot of stuff to do on the Lawgiver, finish the screen mainly but some other little niggling bits too but in the meantime I'll leave you with a photo of how she will rest until then...


Happy Christmas and new year fellow geeks!
I ARE NERD
Pedro.

Thursday, 11 November 2010

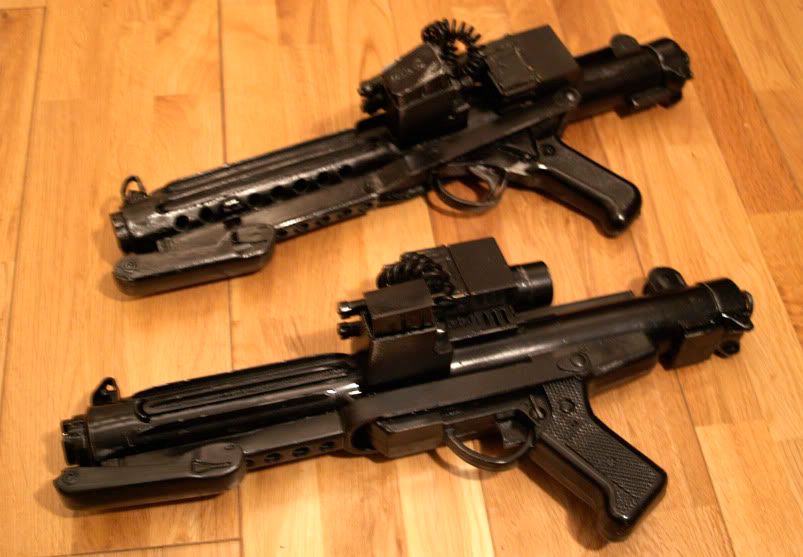
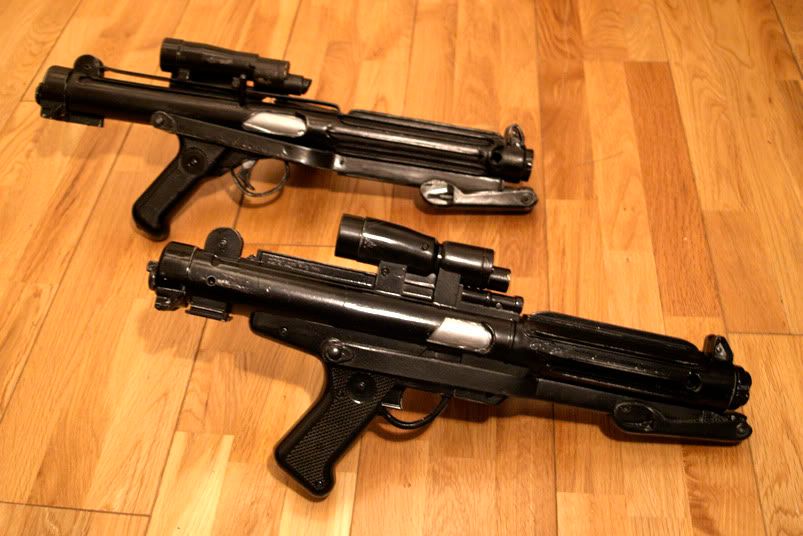
Well that didn't take long....E11 Blaster - DONE!

For the amount of time this mod took the results are, as always in my humble opinion, rather spacetastic.
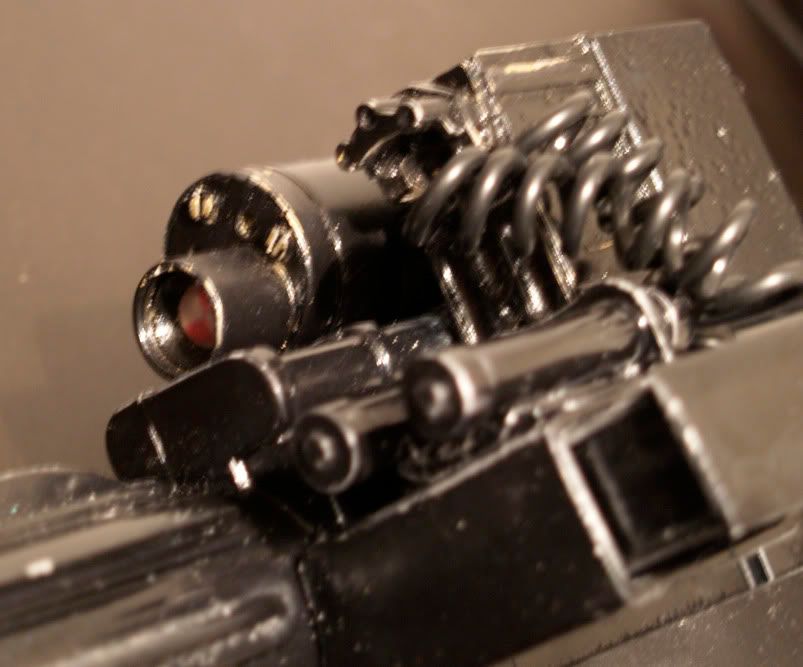
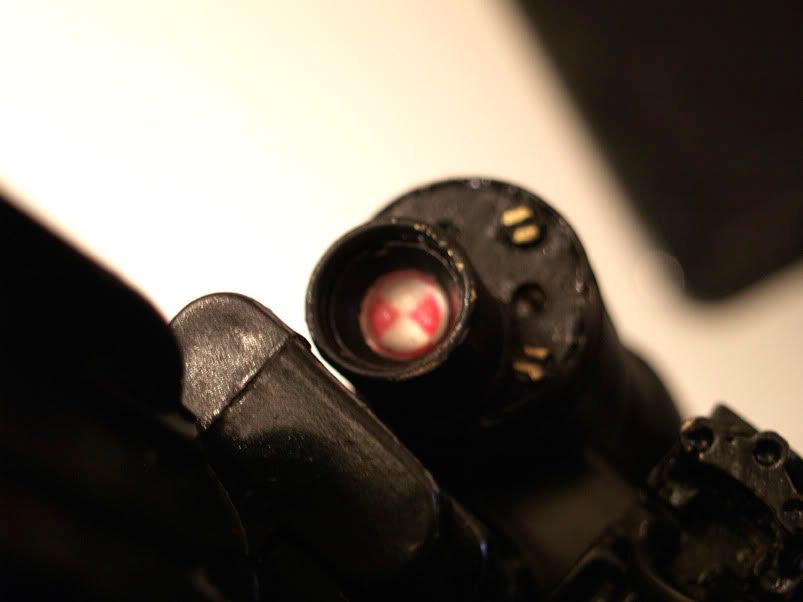
All the parts pained, weathered and glued in place, the scope set and active, front and back, even the super cool curly wires added to the counter and rangefinder for that extra '77 vibe. AND the sound and lights still work!!!

It's almost a shame I've got to part with it soon....but such is commerce.

have a butchers hook at the finished jobbie, here it is (bottom) compared with my Sterling cast screen accurate resin E11 (top)


Curly wires...

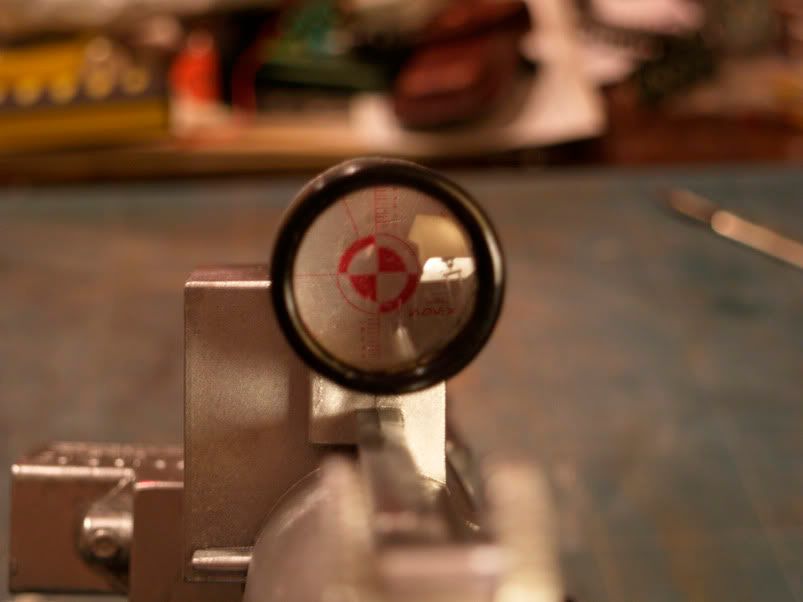
Rear of the scope

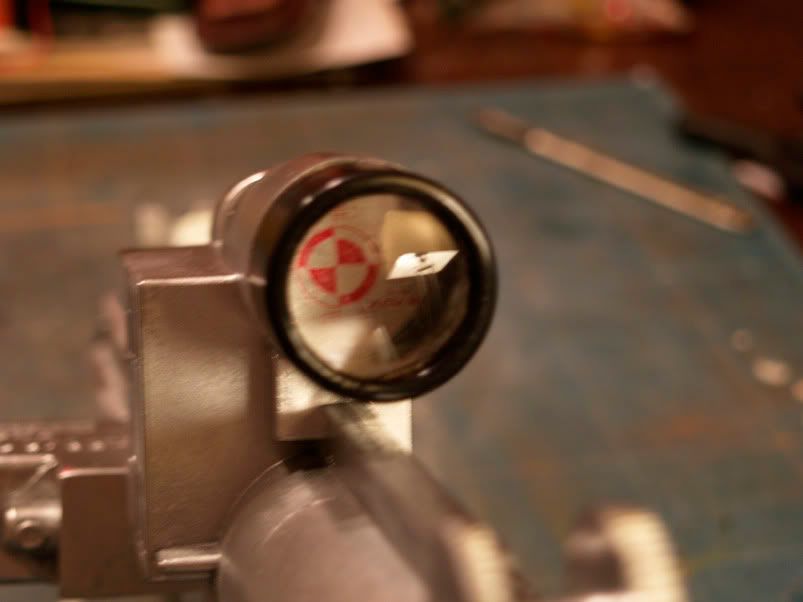
Front of the scope

Weathering detail on front cooling fins

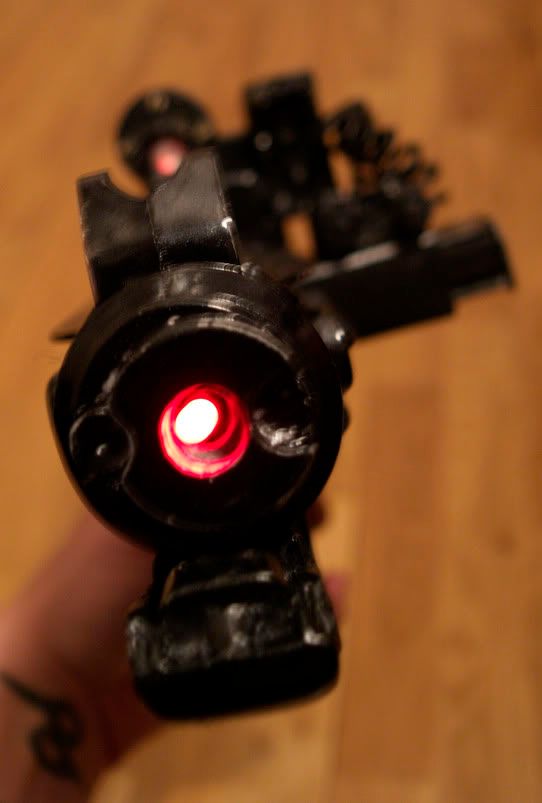
LOOK LASERS!!!

looks anything but a toy now, That's gonna make some happy trooper even more deadly looking! And now for something completely different..well, not much but..

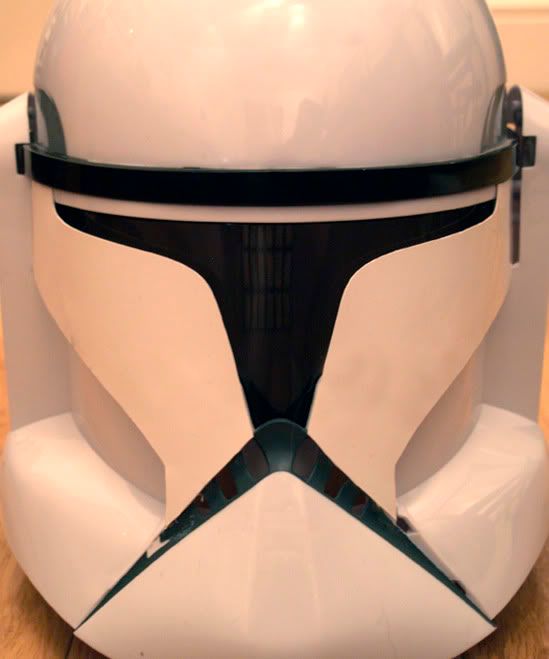
THE CLONE TROOPER HELMET PROJECT - PHASE 1 COMPLETE
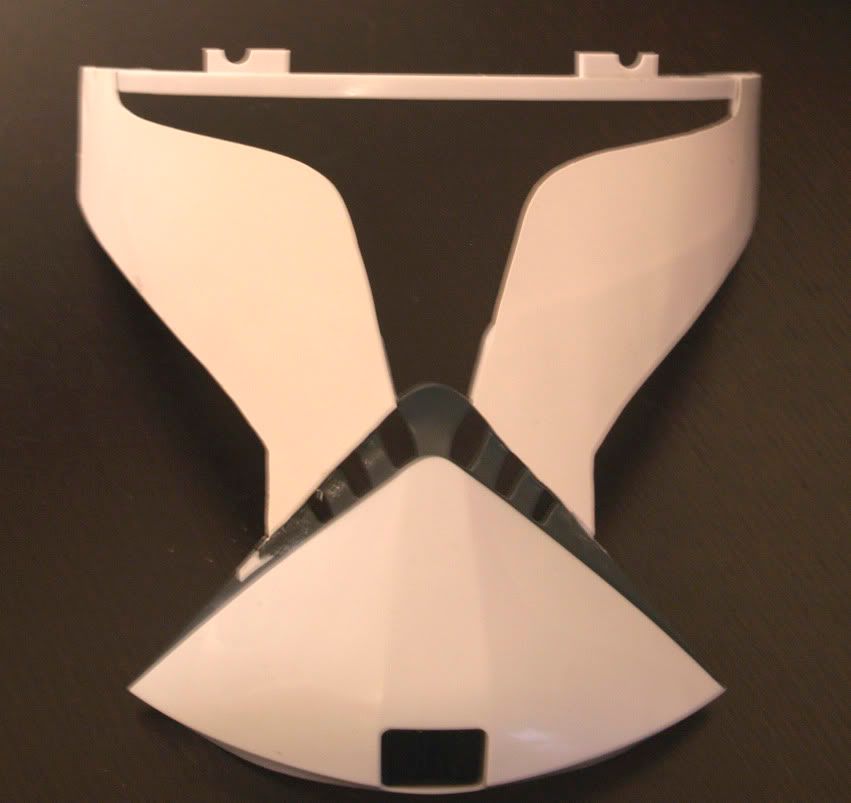
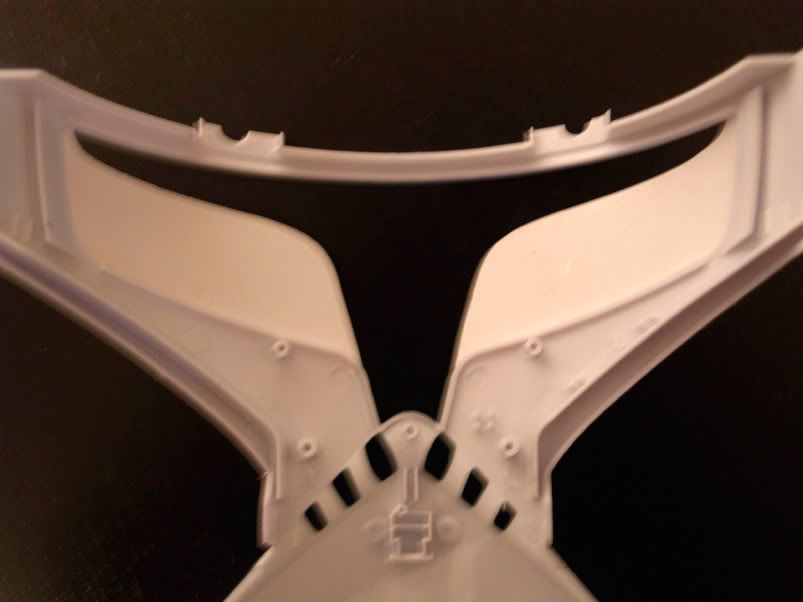
The other side of the visor add-ins is complete, it's taken a long time to accomplish this as I've been glueing it on literally inch by inch so the plasticard doesn't buckle or warp. There's a little bit of "roughness" to it but that's fine by me as it's going to be painted and weathered to look used and battle scarred .

below you can see just how much bigger the original visor was...visibility is severely reduced from the weaers point of view but hey, this is not supposed to be useful, its supposed to look COOOOOOL!


 and here she is hastily put together with the rest of the helmet elements...


Much, much, much more work to be done yet...updates as soon as..

I ARE NERD
Respect
P.

Wednesday, 10 November 2010

Star Wars overload....E-11 Blaster build and Clone Trooper Helmet

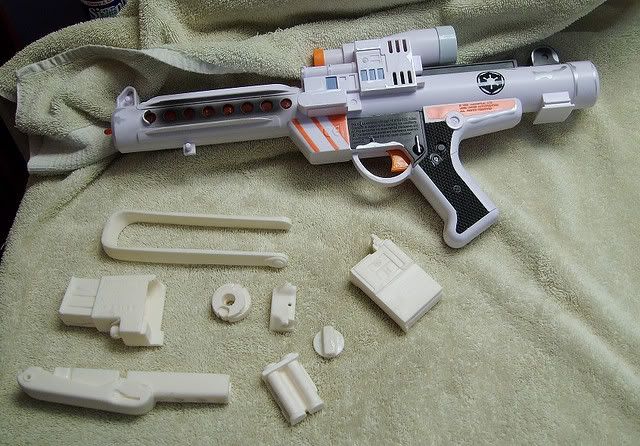
While I biuld up the confidence, not to mention the designs for my promised comic style version of the Judge Dredd Lawgiver (based on) I've not been lazy...It has fallen to me to convert two Hasbro Star Wars toy items to be more screen accurate and realistic the first and by far the easiest is the toy Stormtrooper Blaster that's been around since the 70's, It gave me much joy as a junior trooper and obviously still does...here's how it looks off the shelf....


pretty much the same nowadays as it did back in good old '77 except now with a funky paint job...there's worse ones out there believe me! (see below)
Now the beast way to make the best out of these less than screen accurate renderings is to get yourself a resin kit that modifies the worst elements to make them more passable...the below pic is of one such kit (not my pic or horrible blaster, but you get the idea)


I've started prepping the toy and kit parts with an undercoat of primer and a second coat of chrome/silver and it just remains to overcoat with a black, either metallic or matte (your choice) and glue it all together and then proceed to weather/age it with nice knocks and scratches.

All too easy you think? well, frankly it is fairly trouble free and needs minimal prep...but...BUT...for this baby I'm going to recreate my patented Baronial Starwarsian wonder - The realistic looking scope! HOORAY i hear you cry...

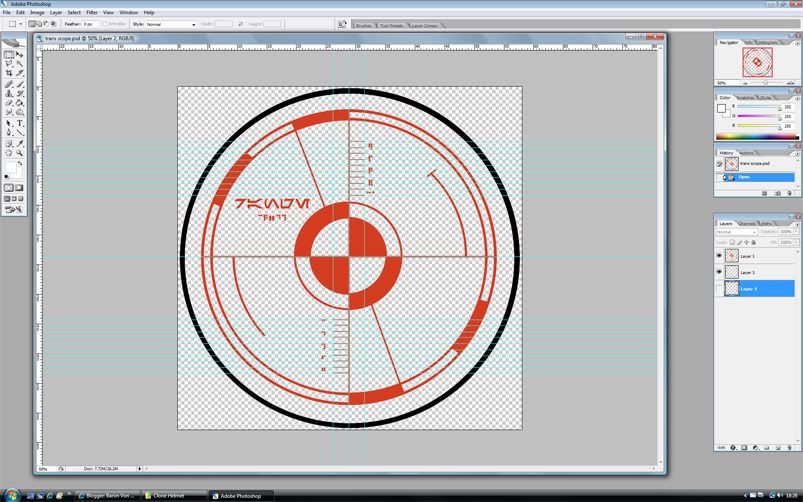
With my scope graphic painstakingly designed in Photoshop including real Aurek Besh characters (go nerds!!)...


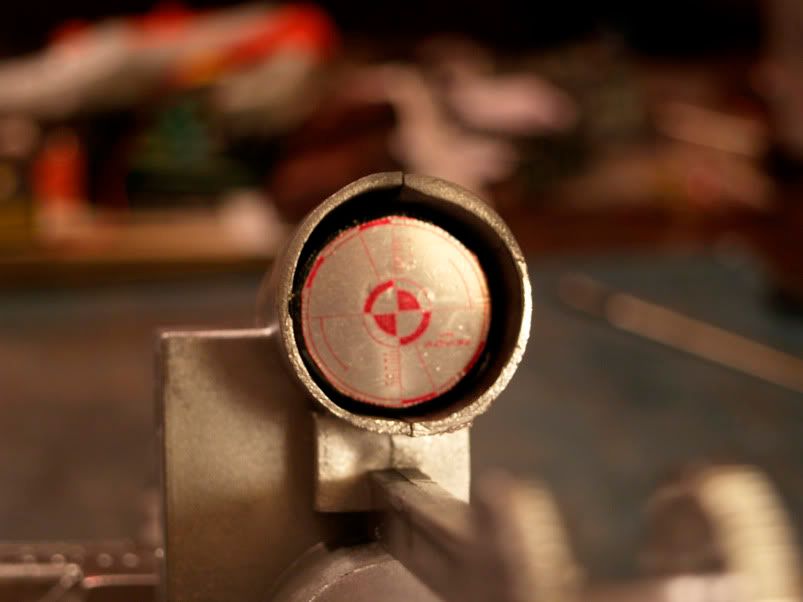
I print it onto a sticky back transparency and sandwich it with a layer of reflective material, in this instance some Hi Spec Eroski aluminium foil, no expense spared. Then glue it to a pre-prepared mount that sits nicely inside the hacked up toy scope...


Giving it the proper distance from the little cannibalised toy telescope lens that sits on top of it, thus creating the illusion of depth... please see example B and C.

Example B.

Example C.

Cool huh? I think so too. But now I have to wait for all the paint to dry on the prepped parts before I can proceed. So what can I do in the meantime? Watch X-Factor? um..no thanks..watch Battlestar Galactica again from the beginning?..maybe...or..I could begin with project number 2..concurrent Star Wars modificationalizing...

THE CLONE TROOPER HELMET PROJECT - PHASE 1

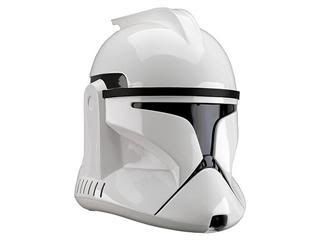
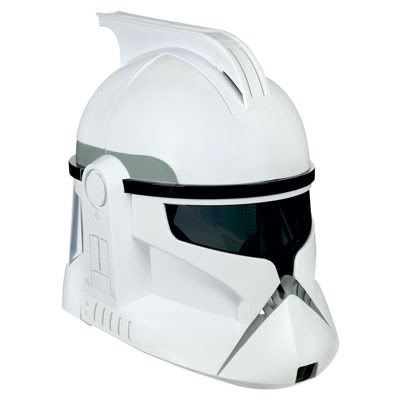
There's a lot of Clone Trooper Helmet variants out there, costing from £30 to £300. I dunno about you but I'm not insane enough to spend the equivalent of a flight to Sweden on a dust catching relic, no matter how obsessed I am with all things Star Wars so I went for the do-it-yourself option. Again a Hasbro toy but a pretty well designed and very durable one at that. Here's the original clone bucket as seen in the movies...


Here's a very expensive prop replica...


 and here is the toy version that I picked up on ebay for about £15...


as you can see, there's not a lot in it. However, the Hasbro toy version has loads of vents, spaces and a MASSIVE oversized visor so it needs the gaps to filled, the buttons for the voice features to be sanded and glued and probably after all that a decent paint job so it doesn't look so shiny whity virgin and new.

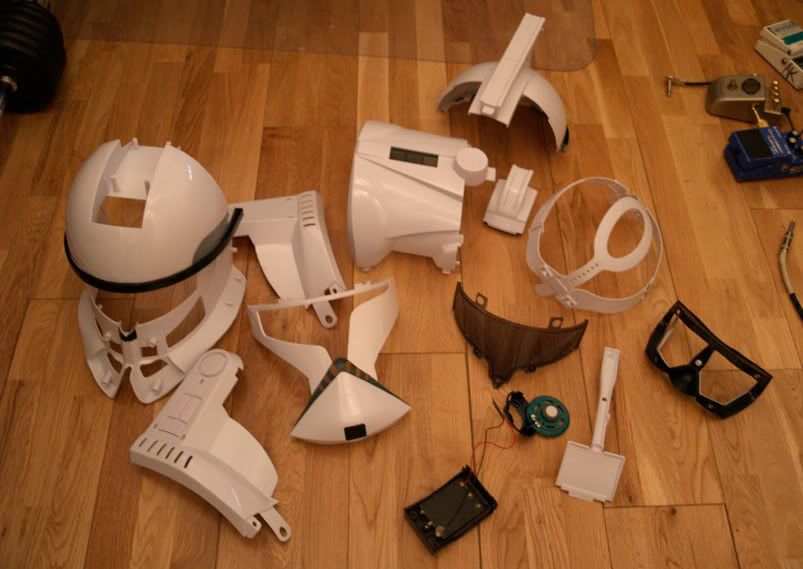
So that's how it looks off the shelf, this is how it looks after screwdriver attack!!!!...


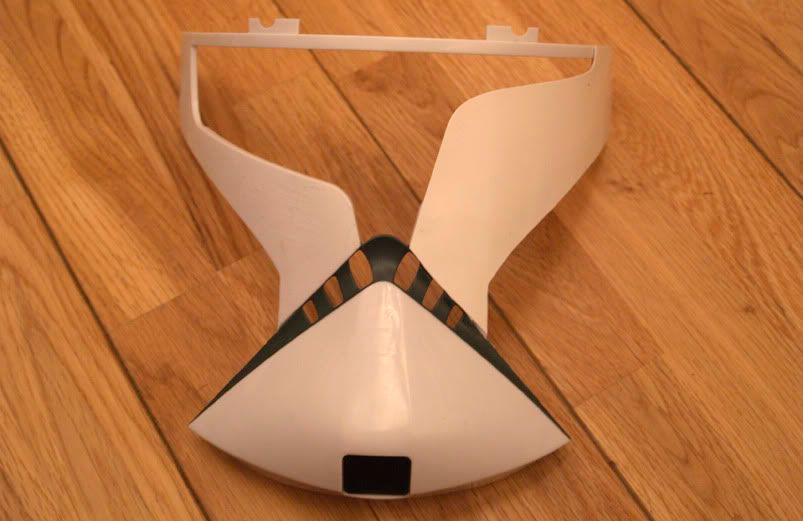
LOTS of bits do be modified...The first and most exciting one is the visor. I cut an overlay using a paper template onto my trusty friend plasticard...here is the first side glued so you can see the difference from the original...


Simply superglued on and trimmed with a nice razor sharp scalpel for uniformity. It makes a massive difference already!

This is just the beginning for both projects and there's a fair few man hours to go and fumes to inhale from toxic chemicals..here's to paranoid hallucinations and vomiting in the name of NERD.

stay tuned for more updates...

I ARE NERD
Respect
P.

Friday, 29 October 2010

GRUD! Almost done!

Happy days are here..all the cosmetics are done...I've sanded off the corners of the foregrip boxes to make them look less like plasticard abominations and more like the rubbery molded effect the real prop has. I also sanded the top edges of the templates glued onto the sides as they also looked far to conspicuous.  Everything has been painted  - the top half in a metallic gloss black, the lower half and handgrip in a soft matte black and the chrome parts..well..chrome. A couple of little detail screws have gone in and DROKK! it's all looking pretty good if I do say so myself.

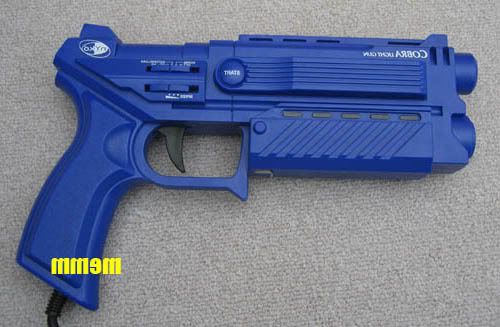
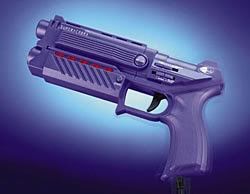
For geekmatic comparisons here's the orignal Playstation light gun....


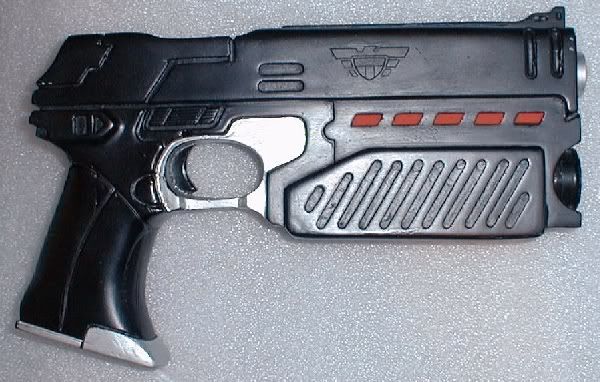
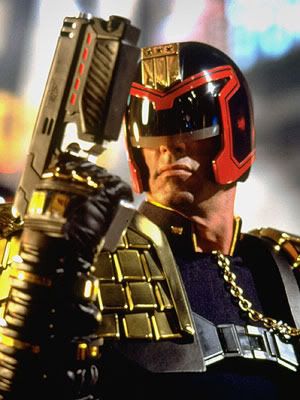
and here's the original prop from the movie...


and after 50 years hard labour on Aspen penal colony, here's my effort...


Now the final stages are yet to be completed - It needs two LED's installed at the rear for the power up lights (red and blue) and the battery pack is under construction so the ammo selector lights at the front of the weapon light up when the trigger is pulled..as soon as that's done I'm out on my Lawmaster dispensing Hi-Ex justice to all the local perps

Next project  - Comic version Lawgiver...stay tuned!

I ARE NERD
Respect
P.

Wednesday, 27 October 2010

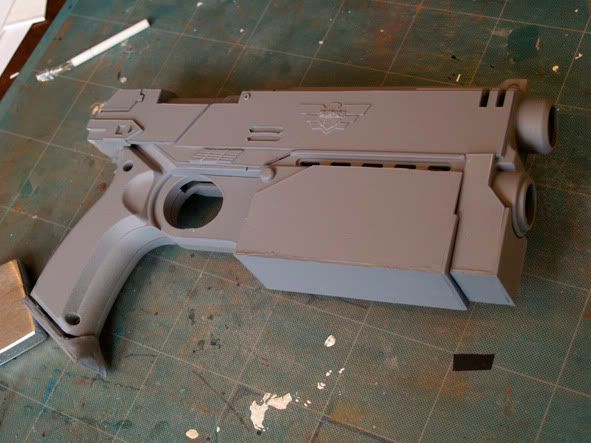
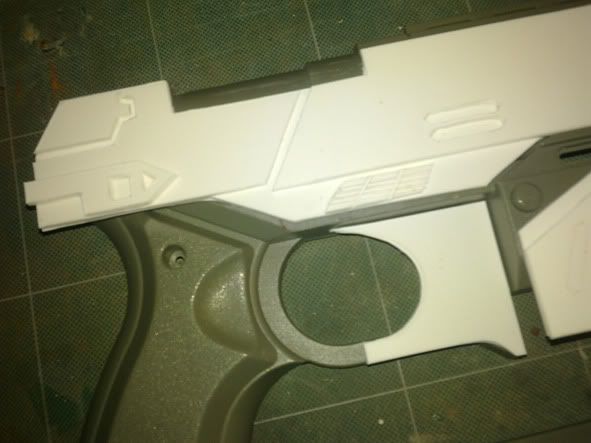
Lawgiver progress...detail and undercoat

I'm 90% done with the physical mods of this project. All templates except the final vents on the foregrip are affixed. The vents are proving to be quite tricky with eleven very small and very precise cut outs. I've ruined 2 so far trying various techniques and so I'm am finally gonna go for the thinner plasticard (0.5mm) to enable easier and more precise cuts.

here's progress pics thus far....

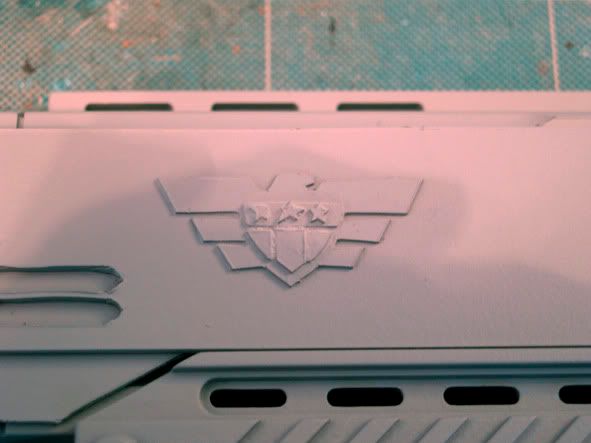
Justice Department Eagle detail for the right side

left side - undercoated with primer

Right side showing eagle detail - also undercoated with primer

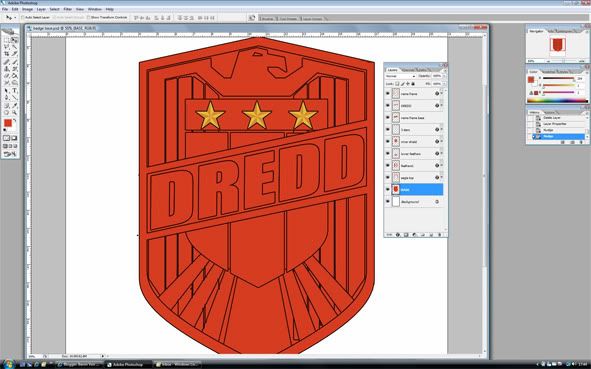
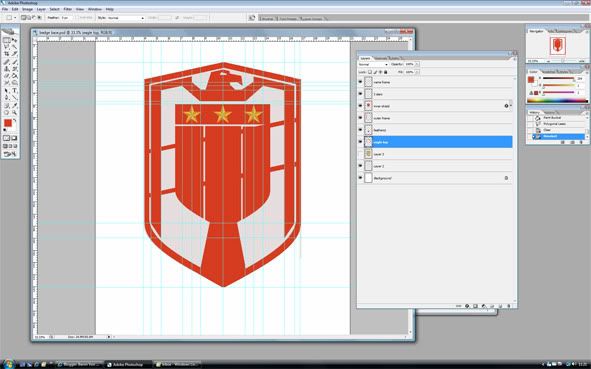
I've also made progress on the badge templates...everything is there...In theory, all thats left is to isolate each layer, print and cut!


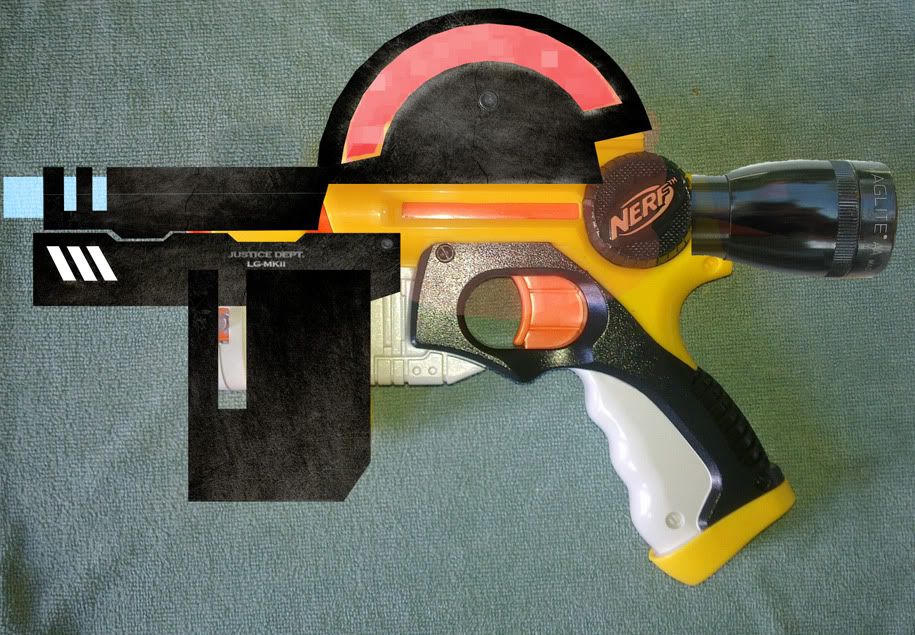
And finally, whilst strolling nonchalently around a large and overwhelmingly evil supermarket chain looking for trouble, I found the NERF Nightfinder dart shooting toy gun and it immediately leapt into my basket for the next project...Here's a very hurried Photoshop mock up of what could come to pass should I get my act together....a REAL Lawgiver no less!!

Until next time....keep it geeky!

I ARE NERD
Respect
P.

Monday, 25 October 2010

I AM THE LAW...or I WILL BE THE LAW...SOON...Dredd Lawgiver update

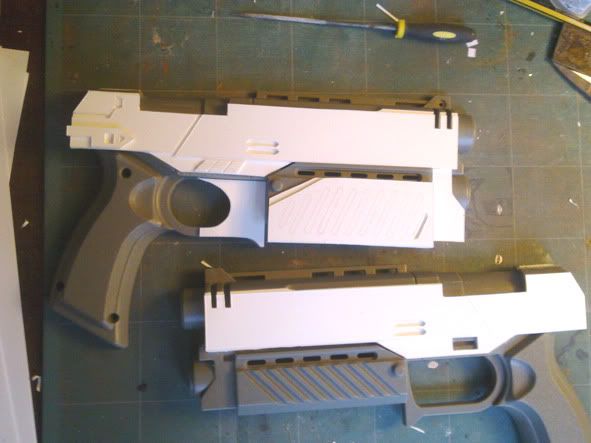
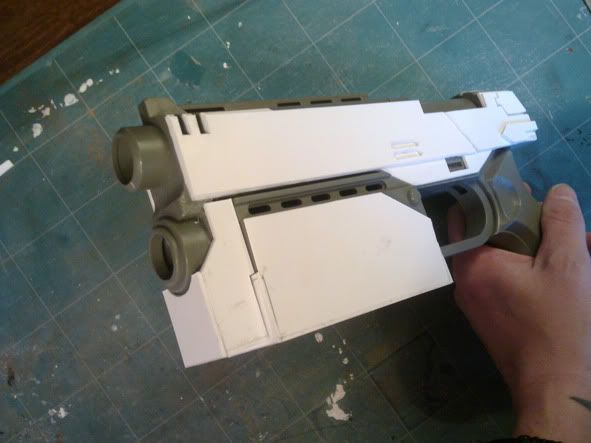
I'm kinda getting into this plastic cutting lark, it's fun, fairly quick to get results and pretty sturdy for construction. Thats right I said construction..I put aside my weak excuses and made the leap from 2D to 3D

First and foremost is the foregrip box...


I've just superglued the edges, sealed with some electrical tape and cut a rubber washer into 4 pieces to act as little support braces on each corner...it's surprisingly strong.


Next up is the front box structure - the Playstation gun has a small one already moulded but I really wanna bulk out the front lower part like the movie version so more box making...


With the front on it doesn't look half bad..and again is surprisingly strong construction. I've had to cut a bit out though so it fits snugly with the larger box created above


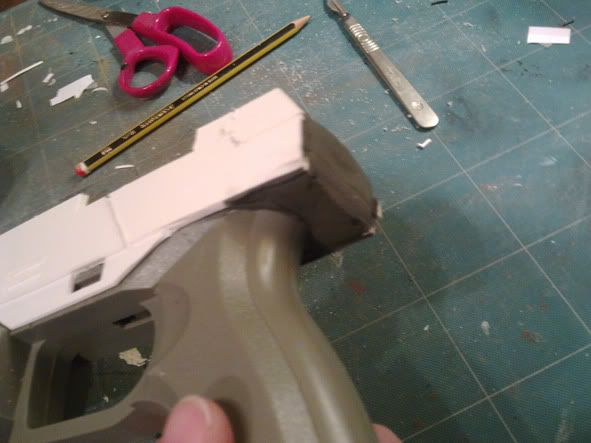
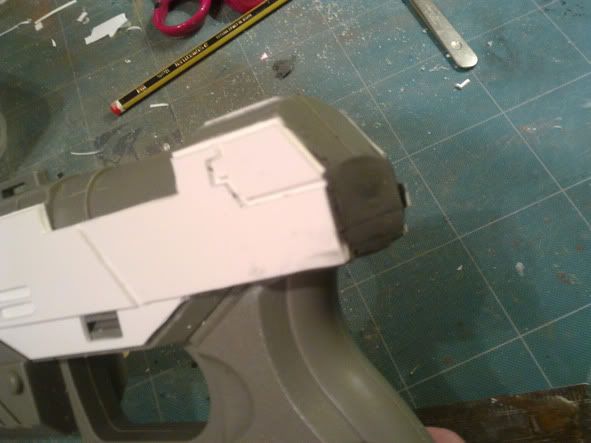
Submitting to my inability to work out the complex templates for the rear box atop the handgrip I fell back on my trusty friend FIMO Airdry and sculpted, dried and sanded the offendingly awkward spot....


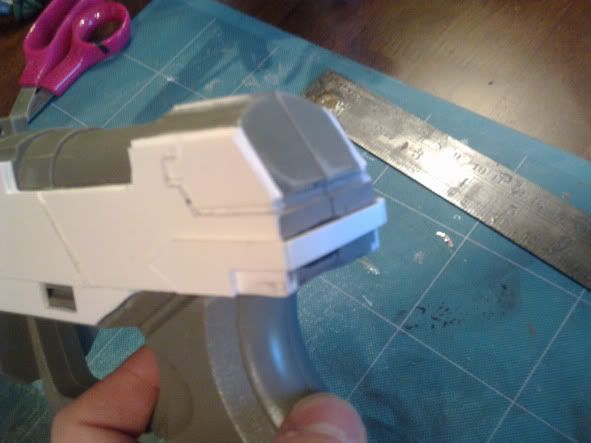
lastly with the application of a little nugget of plasticard to tie in the detail and some careful sanding to make indentation to carry round from left to right, this section is almost in the bag


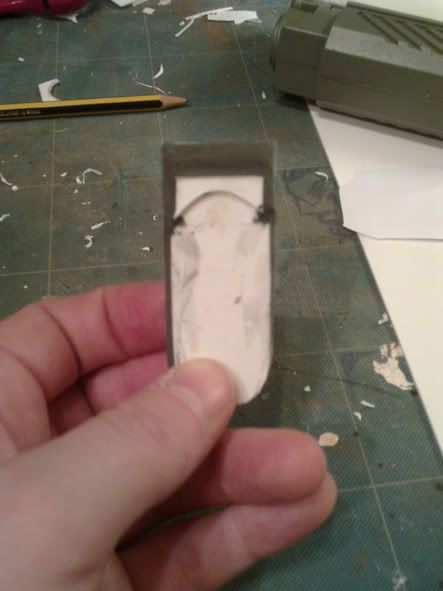
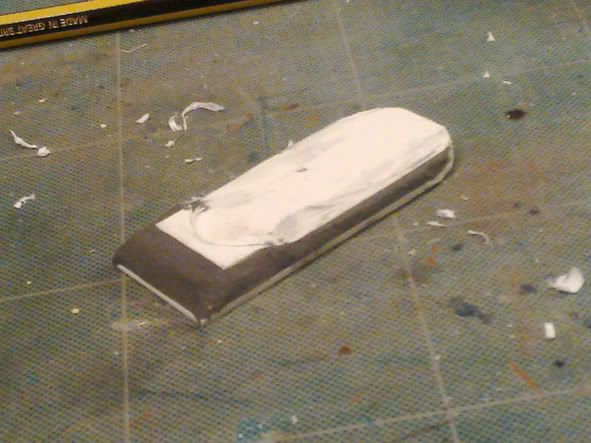
Another application for the FIMO was the shoe plate of the handgrip. Again on the movie version its quite bulky so I've layered 3 steps of 1.5mm plasticard and sculpted a more bulky front end...It may need a bit more bulk but that remains to be seen.


lastly for todays update...As with the PKD Blade Runner project I've been inspired to think of other items to display with the finished prop so here's the side thread that's going on when I get time....


I ARE NERD
Respect
P.

Tuesday, 19 October 2010

next on the chopping block...Judge Dredd Lawgiver (Movie Style)

Okay so we all know that the Hollywood blockbuster, Stallone starring "adaptation" of the legend that is 2000ad's Judge Dredd was awful. Not just awful, terrible. Not just awful and terrible but an insulting, disgusting rape of an icon, like someone telling you they made you a delicious sandwich but forgot to tell you, just before you tuck into it, that it's a shit and bogey with moldy catterpillar infested lettuce and rancid catfood sandwich.
Okay I din't enjoy the film.

However it did throw up a few nice ideas, the costumes looked pretty good, the Lawmaster bikes were pretty faithful if a bit wussy looking and the Lawgiver gun looked pretty cool too. Even though I'd rather construct a comic strip version of the Lawgiver gun I don't feel my skills are up to this task yet..maybe soon. SO...in the meantime I've come across this baby...


It's a playstation Logic III Predator light gun for zapping your telly with..but doesn't it have a striking resemblance to the Lawgiver mkII as wielded by Judge Spudd, Sylvester Stallone from the excellent movie adaptation..ahem..


There have been several attempts before to change this toy gun into the version seen above so I at least have some technical pointers (thanks Gav Jupp and Kevin Goldsmith) It has the capability to house the lights as long as I don't do anything silly during the build phase.

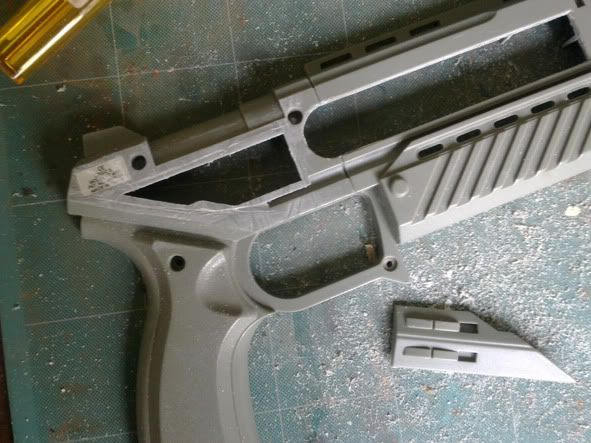
So I have begun..finding a Predator gun on fleabay for a fiver I have set about removing any excess lumps of plastic moulding to facilitate the first stages of conversion...

It's made of quite durable plastic so it took a fair amount of time and elbow grease to remove the extra pieces. I've also removed all the internal electronics and movable parts to avoid damage during the carnage that usually occurs during the prep.

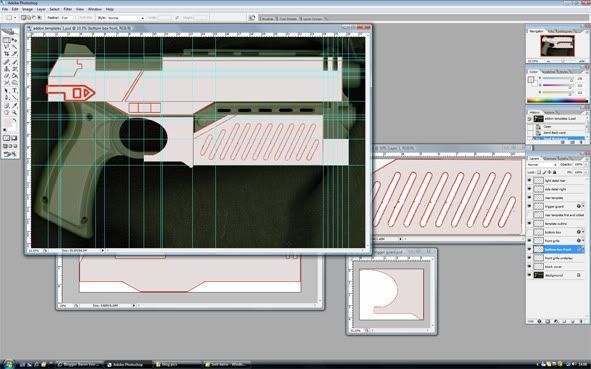
The next stage was to measure out templates for overlays that will eventually be cut from 1.5mm styrene plasticard and glued onto the base gun. I did this first of all with a ruler and eye but after much frustration decided that it would be better to scan the gun and create the templates using Photoshop...far more accurate. I hope.


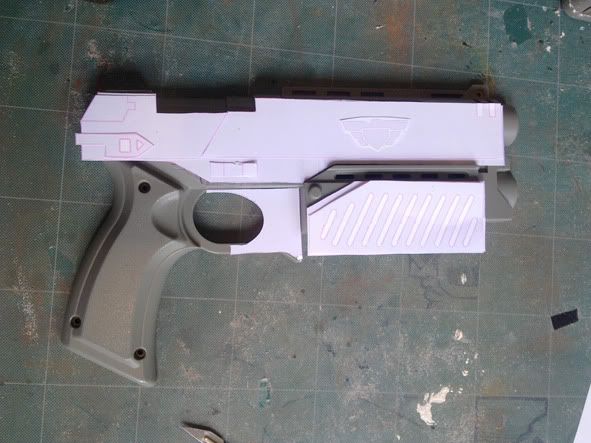
then to print the templates onto paper and test fit on the gun to see if or where I need to make adjustments


The templates will be layered up from the bottom. So base layer to hide gaping holes, detail overlay etc...etc...
This part was fairly straightforward BUT on some of the templates I will need to make side walls to make it 'box' around the gun..I forget sometimes that it's a 3D object and get a bit carried away.


so far so good....lets see what the following days/weeks/months/years/decades unveil in the process..

stay tuned for more updates as they happen...

I ARE NERD
Respect
P.