Friday 21 December 2012

I AM (almost) The Law...

well it's Christmas and I'm going to drink and eat too much so all projects will be on hold til 2013.

Still got a lot of stuff to do on the Lawgiver, finish the screen mainly but some other little niggling bits too but in the meantime I'll leave you with a photo of how she will rest until then...


Happy Christmas and new year fellow geeks!
I ARE NERD
Pedro.

Friday 7 December 2012

GRUD! Bringing law to the lawless is a hard job!

It has been a veeeerrrrry long time since last posted on here...partly due to laziness and partly due to it being easier just to post projects on various forums instead..but hey, here's some more for anybody that's still bothered to read about my nerdy activities.

Since I first heard about it's existence I've been obsessing about the reboot for Judge Dredd, simply entitled "DREDD" and despite a lot of worrying and speculation it did NOT dissapoint. Hands down film of the year for 2012 and one that I've been dreaming about since I was about 8 years old. If you haven't seen it, do it immediately and if you don't like it, never speak to me again :D


so..as soon as the first images appeared online I've been exhaustively collecting any and all reference material I could get my clammy little hands on and decided I'd have a go at recreating the iconic Lawgiver handgun.

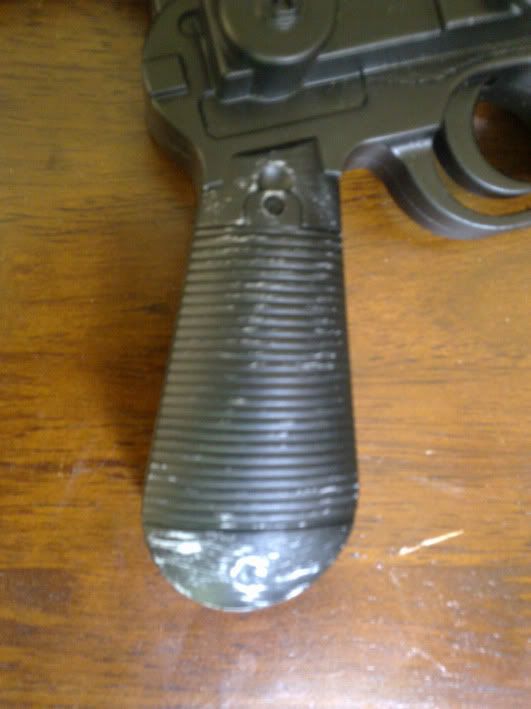
It's clearly based on a Glock pistol as can be seen from the grips in this leaked on-set photo


It just so happened that I had a cheap spring powered replica to begin making templates over..so it was straight to photoshop. Here's my first, rather simple, attempt at drawing them up in photoshop way back in early September.


But after discovering more images of the gun, particularly screencaps from some of the trailers and behind the scenes vids I refined the design quite considerably...


It was then time to get printing and cutting to see how the templates worked in the 3rd dimension...it wasn't a bad start and the original prop design is so well done that it's relatively easy to get things to work...relatively....


Happy with the basic dimensions being correct I then moved on to tackle the easiest part first..the magazine. I'm using sheets of styrene for 80% of this build as it's easy to cut and durable enough to handle as a completed prop once it's been reinforced internally.


It was then time to move on to the other parts, lots of little fiddly cut outs...then to start assembling the parts in an almost kit like form...


As I had designed it all in photoshop to realise it in 3D with tops, bottoms and back and front was quite a challenge and I had many failed attempts at heating and bending the styrene to give the squareish curvature of the top section...let alone the bottom shape..but more on that later...I finally, after hunting high and low for the correct length and width, settled on the spine of an old Illustators agency catalogue..haha! it was damn near perfect to bring the flat parts to glorious 3D life...and from there it went full throttle...I also decided to make it a firing prop an acquired another replica Glock but this time, for a few extra ££'s, got an automatic gas powered BB gun to replace the rapidly deteriorating through glue and scalpel cuts springer.


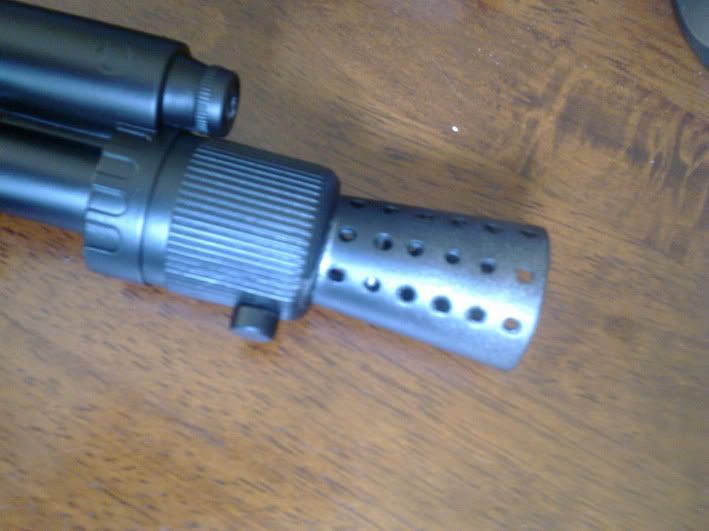
With some old steel tubing for the barrel and a little bit of milliput to sculpt the more difficult parts it's coming along nicely...the culmination of all this hard labour leaves me with the following..it's in 6 parts :- the main body, the front shroud/vent, the rear receiver (that will move when fired), the saddle at the back of the handgrip, the barrel and the magazine that fits together something like this....


There's still a loooong way to go, I'm having the serial number plate laser etched and am awaiting delivery of an LED screen to attempt a recreation of this...


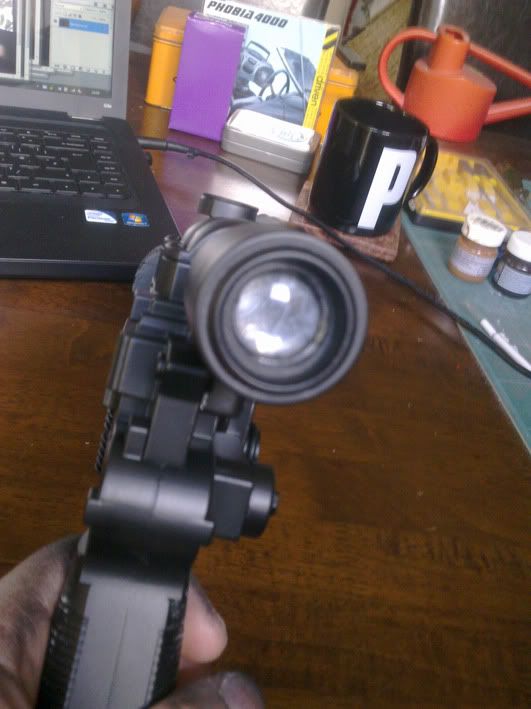
but I'm happy so far with the 75% finished piece, after all the optional extras it's just a paintjob away from me taking law and order back to the streets of Mega City One.

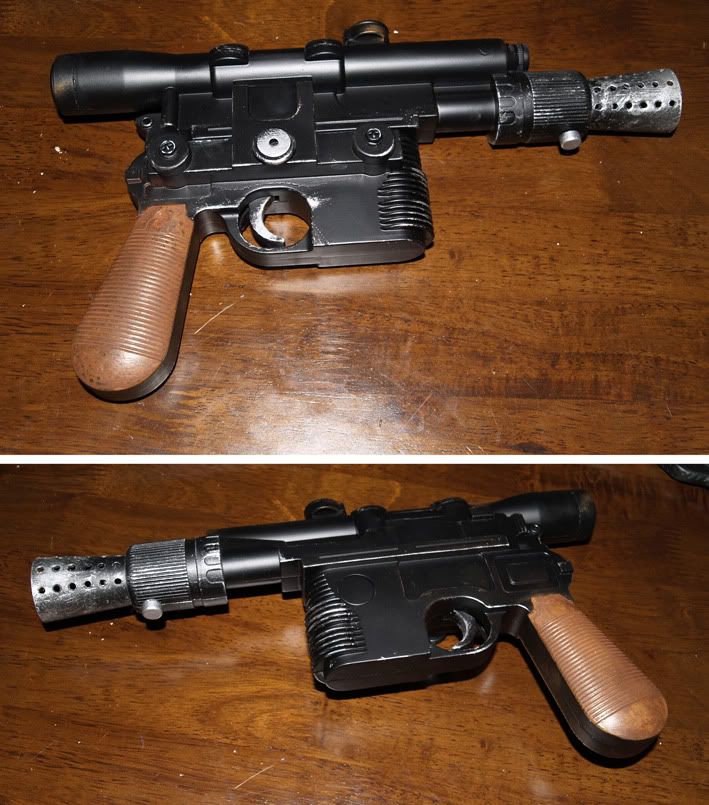
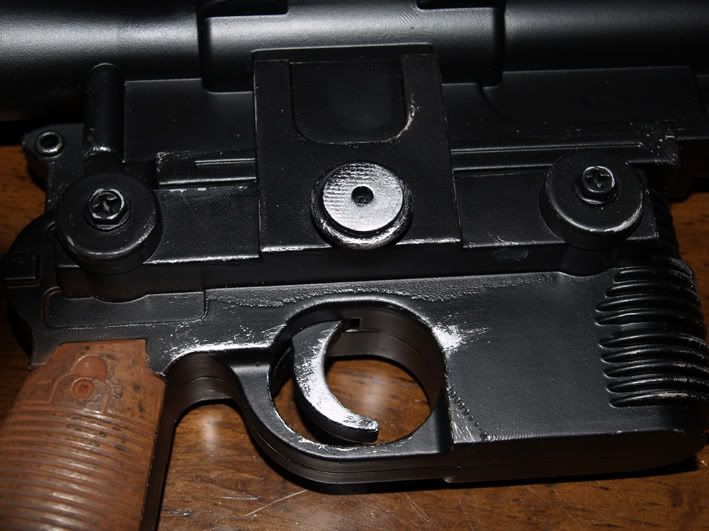
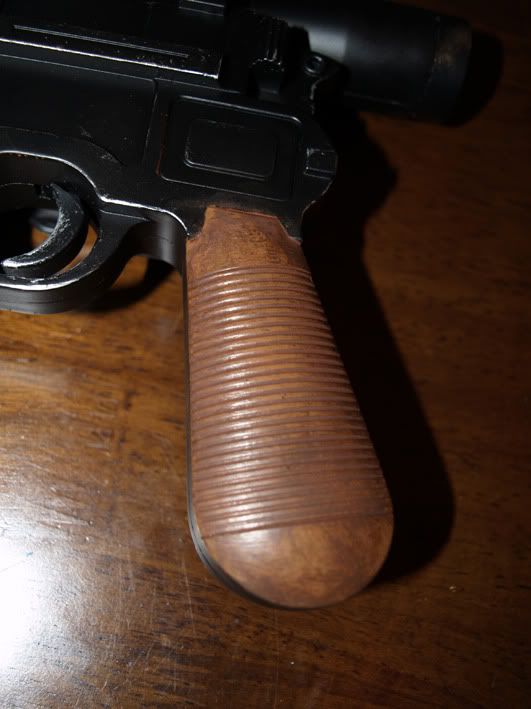
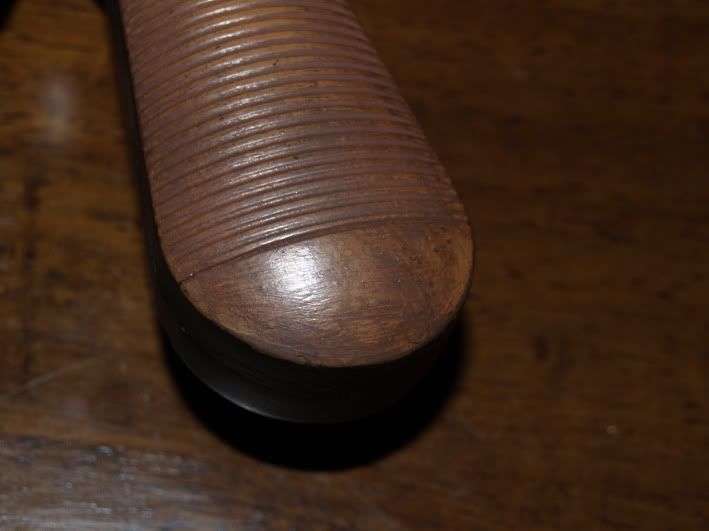
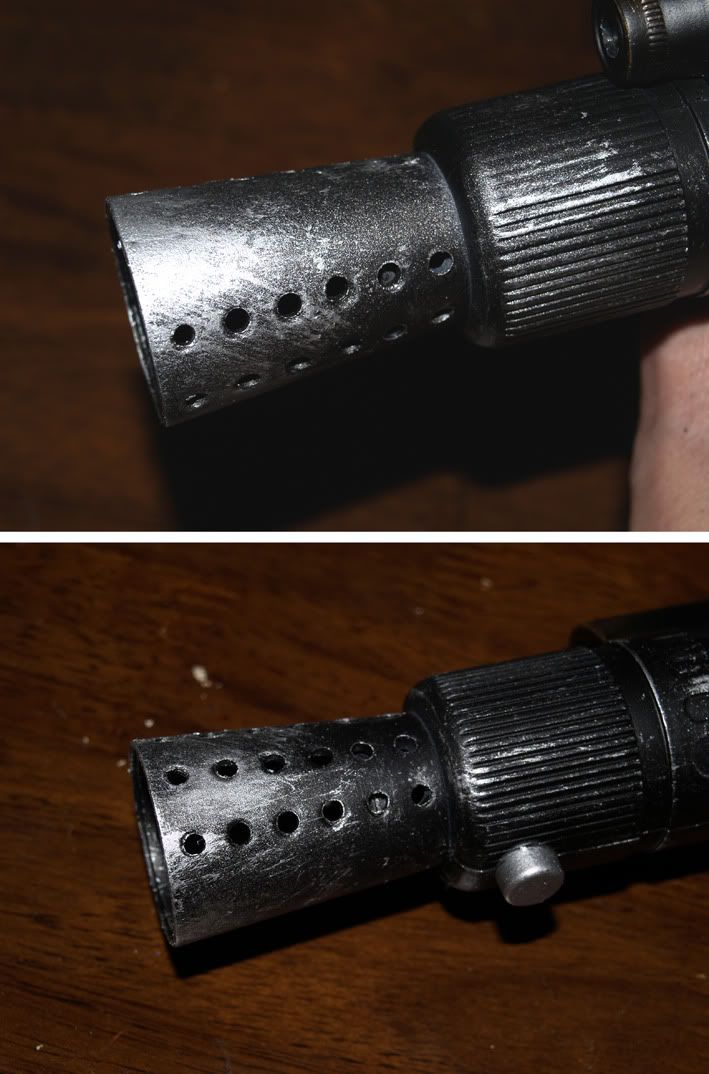
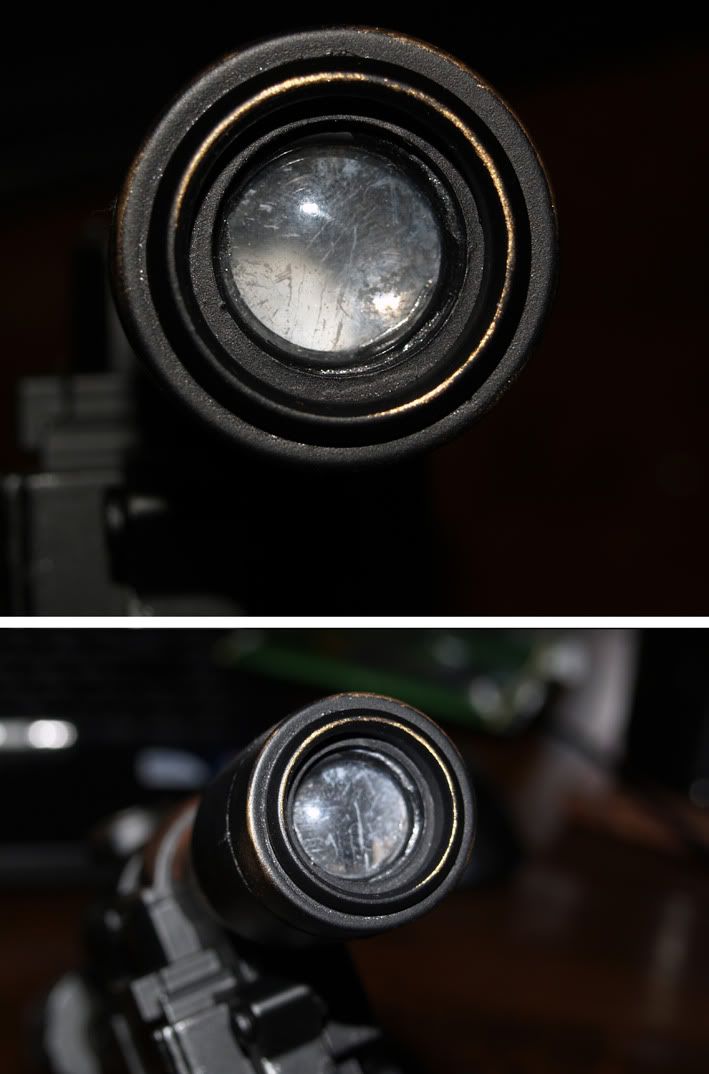
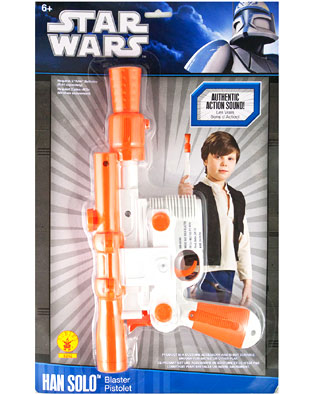
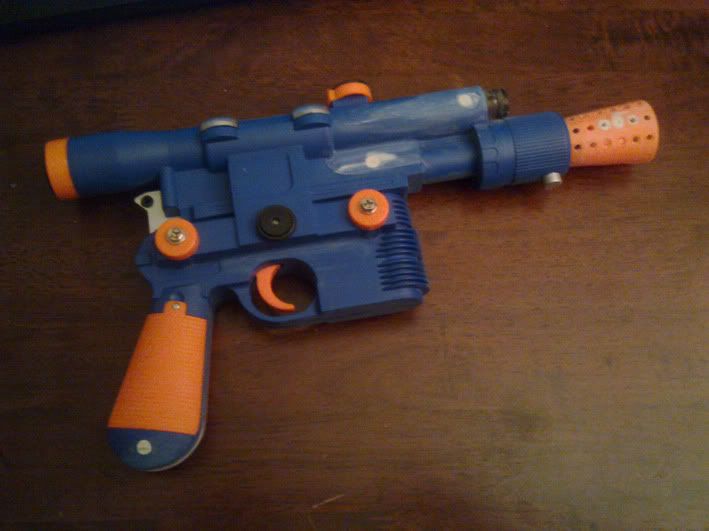
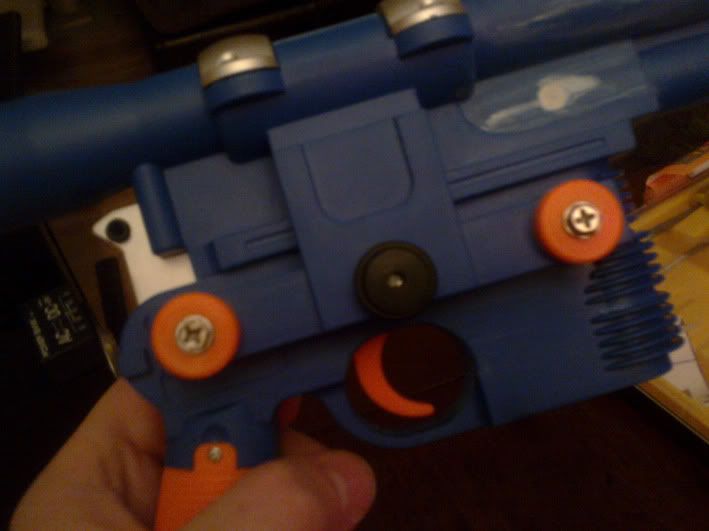
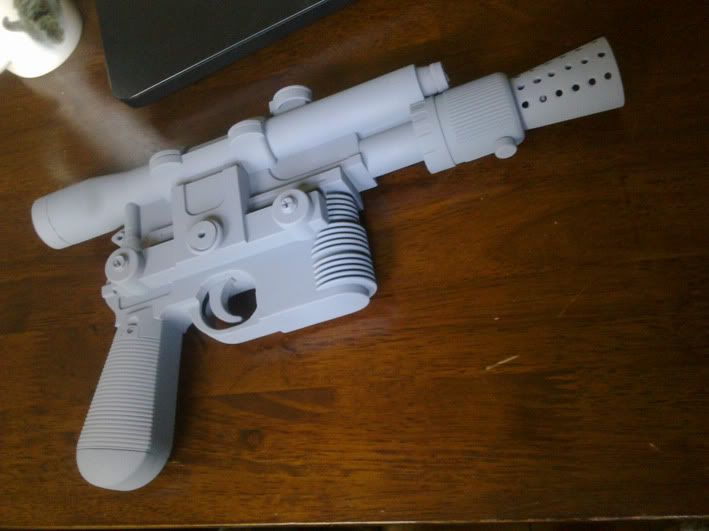
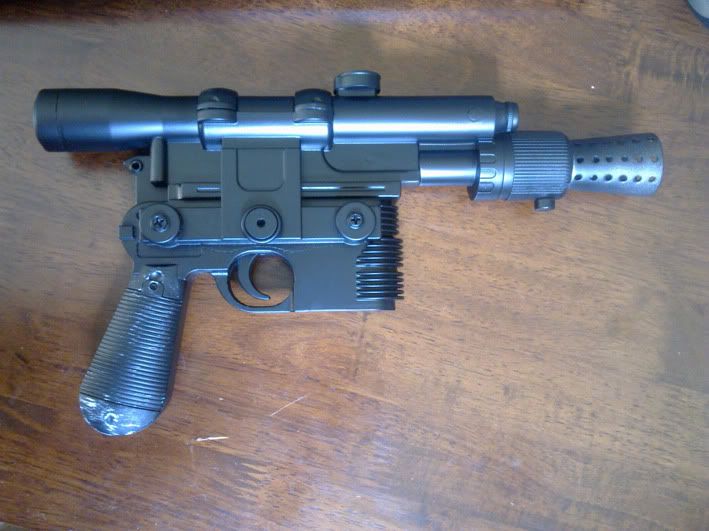
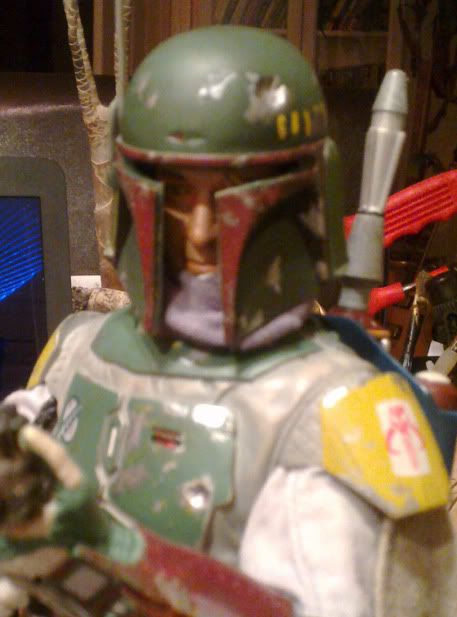
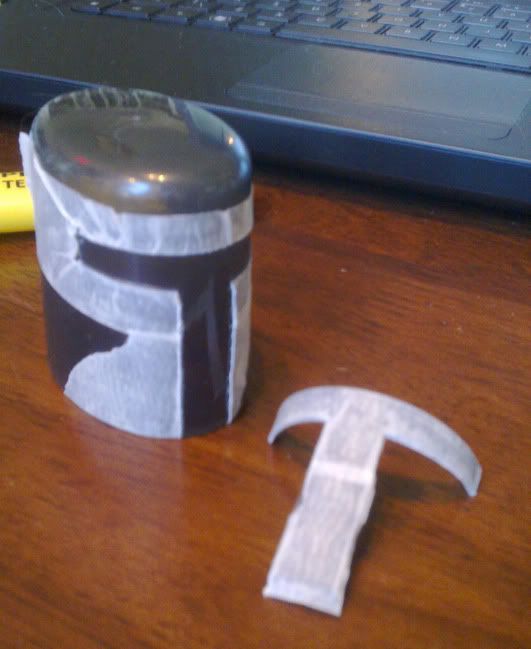
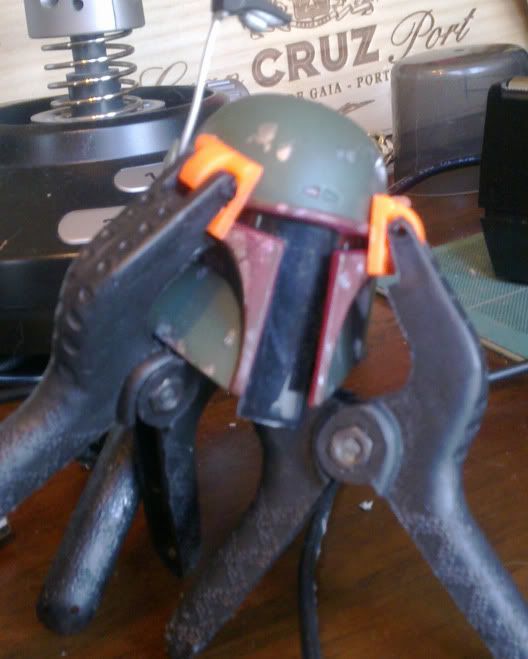
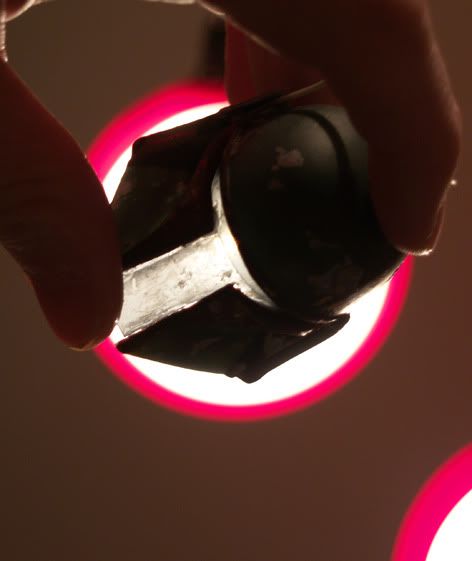
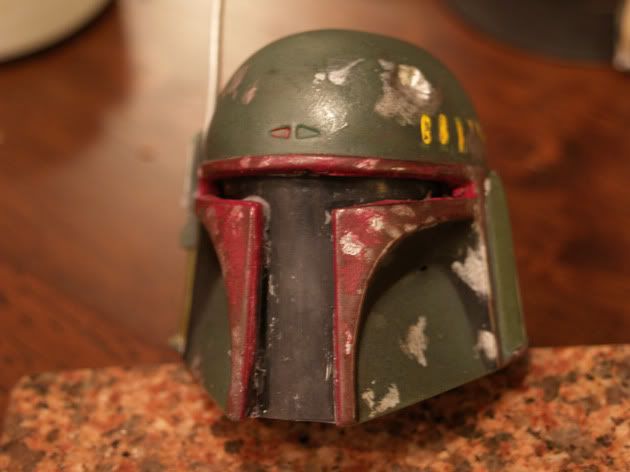
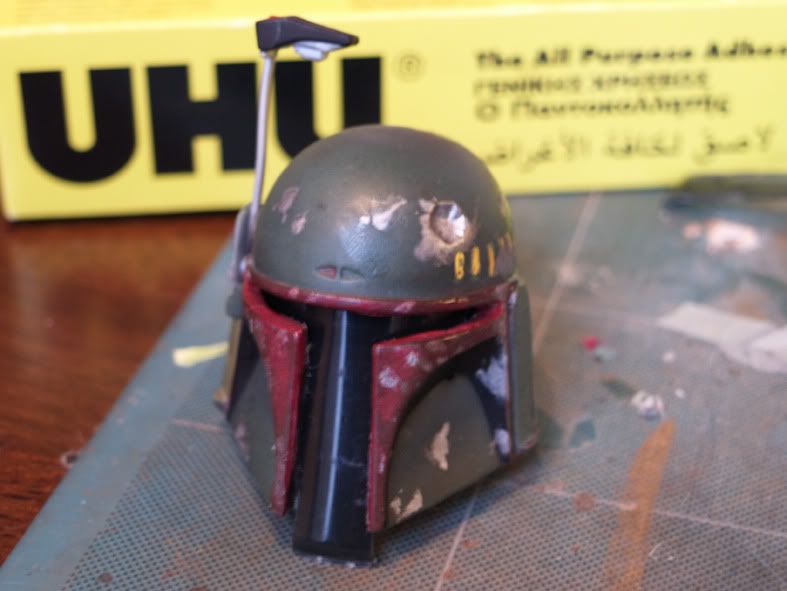
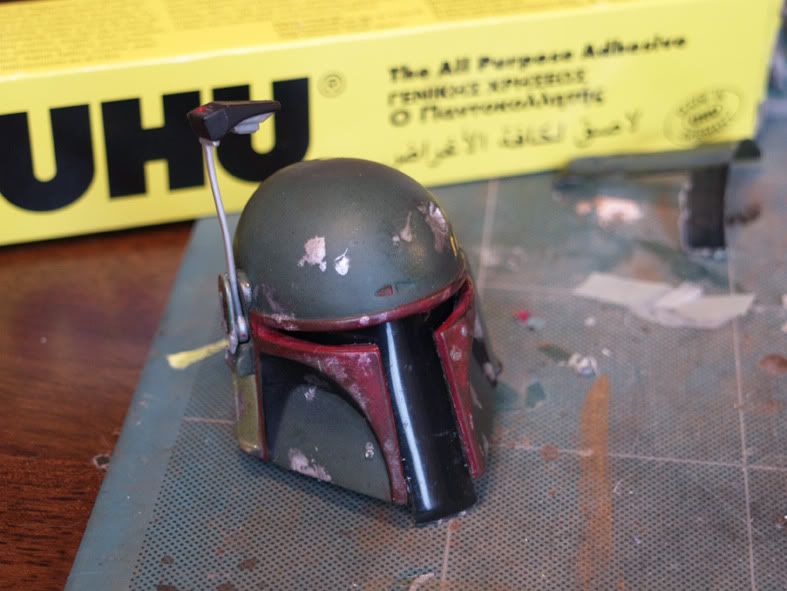
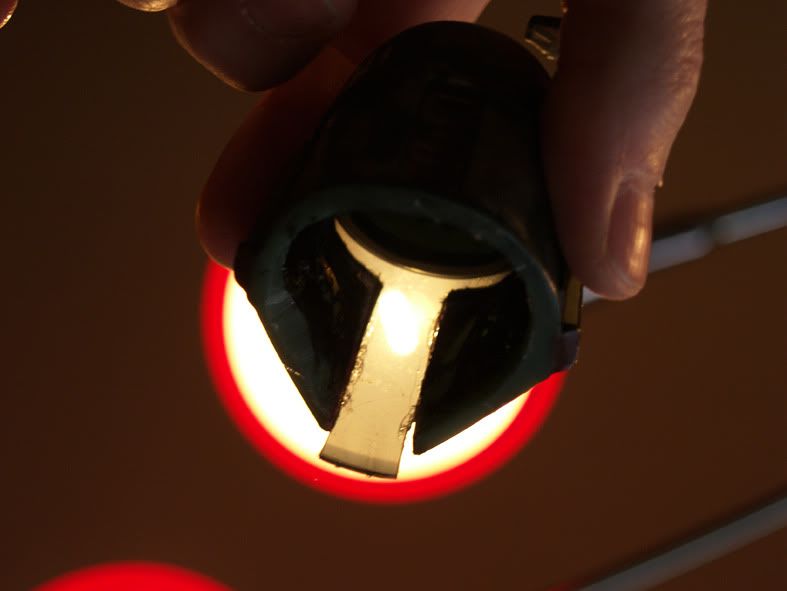
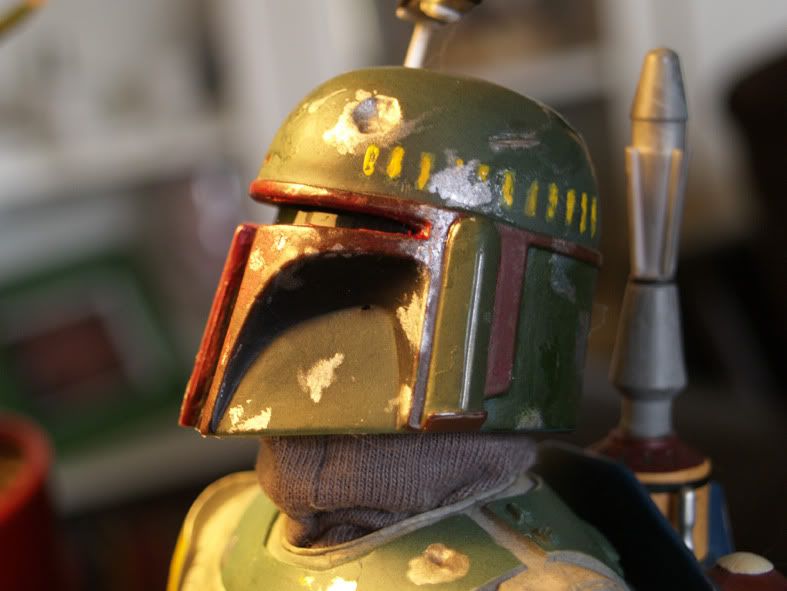
Oh and while I had a lull in activity on this I acquired something nice from a friend in the US that I proceeded to prep and paint into something AWESOME!


I AM THE LAW! or will be when I finish this epic build!

Until the next update, keep it geeky...
I ARE NERD!
Pedro Von Blondle

This posting is respectfully dedicated to Michael VK - The Yoda to my Skywalker

Monday 9 May 2011

Uh, everything's under control. Situation normal

You wait 4 months for an update and two come along at once...typical...

So here it is....finished - at least til I get itchy or discover a new technique. I'm pretty happy with the result if you don't mind me saying so.

I'm slightly less happy with the photography but there you go, can't have everything....


I'm particularly happy with the misting/weathering on the muzzle flash suppressor and the wood finish, the muzzle looks nicely worn from heat of many blasts and the wood, well, looks like wood...


close up woodgrain detail..mmm woody

Muzzle/Flash suppresor weathering

I've tried my best to capture the lovely scope effect but my aforementioned lack of photography skills can't quite do it justice...you'll have to commision one from me to enjoy it's glory to the full in person ;)

still, here are some pics to give an idea of what the deal is...

Rear of the scope

front of the scope

Thanks for looking
I ARE NERD
Respect
P.

Han Solo Greedo killer DL-44 Blaster

I'm back! after a long hiatus involving many exciting but obviously top secret missions I can finally return to my armoury to wreak more havoc with toys, paints and a dremel.

On the bench this time is another Star Wars project, my refit of the popular blaster of Han Solo...

GREEDO KILLER!! or to be technically correct for full geek points the DL-44
The Original looks something like this...


the toy comes looking like like this...er...um...nice colours...


Despite the garish colour scheme it's actually another pretty decent looking mould and is full size so doesn't need any adjustments to make it look more grown up, unlike some of my previous conversions of Star Wars toys.

So straight out of the packaging the first order of the day is to fill the screw holes and add a few bits and bobs. I added screw heads to the two end "dials" and a rubber washer to beef up the middle one...


I then drilled a hole through the rear silver insert or "cocking handle" and added two tiny tap washers to add an extra detail making it a little bit more screen accurate..but just a little bit.


I've also drilled out the muzzle. There were already little dents in it so that made it a relatively easy task to handle...


Then I added my trademark Realistic Scope effect (tm) but failed to take pics before painting it so you'll have to wait a second for photos of that little beauty.

With all the prep and greeblies done it's time to move on and undercoat it. First primer (grey) and then a silver coat..I also forgot to take pics of that so you'll just have to trust me on that one. Here's the blaster primered though, it's already starting to look pretty funky (in a Jamiroquai way rather than a soiled underpants way)...


so onto the main topcoat - a simple matt black auto paint, which just raises the coolness factor by several decimals...


Whilst spraying the black topcoat I left the muzzle tip with just a misting to give it an already worn looking effect before later drybrushing/washing to give it a battle scarred feel...I also have taken some heavy duty sandpaper to the handgrips to prep for what will finally be (hopefully) a woodgrain effect...


Okay that's the extent of this projects progress so far, all that's left is to wash over with a gunmetal colour, weather the protruding greeblies with silver or scratch and dent and finally to paint the grips to simulate old wood.

In the meantime here's those snaps I promised of the Realistic Scope effect (tm) - Unfortunately the lens got a little bit dirty somewhere along the way which although not ideal, actually adds to the 'used' feel so I'm not too fussed about that...

Rear Scope detail

Front scope detail

Until next time, keep it geeky

I ARE NERD
Respect
P.

Tuesday 1 February 2011

Mini Boba Fett Intergalactic makeover - part 2

Okay I actually did it, I cut out the visor!!!!
Now the problem I have is that the plastic is so thick the visor (black transparent plastic deodorant lid) sits waaaaaaay back and looks a bit silly....so...I've had to take my bravery to new levels and start cutting out chunks inside the helmet itself..not much room to maneuver and a sharp scalpel can easily slice a big chunk off if care isn't taken..


here's the visor cut from the lid....


and here it is glued in place....

now...after the glue has set it's noticable that the visor has become tarnished or clouded by the glue..so..it looks like it's back to the drawing board and to find another type of glue...


still the idea is sound and it still looks kinda cool...


Another glue and (yet) another visor has resulted in the following developments...much cleaner!


aaaaaaaaaahhhh...nice
I ARE NERD
Respect
P.