Meanwhile a fairly straightforward modification project has landed on my interalactic workbench. The conversion of the Hasbro Boba Fett blaster from a kids scale to MAN scale (please use husky voice here).
Seriously though...it doesn't get much cooler than this dude, and concidentally he's handling the weapon in question as well as just oozing general shit the bed badassness...

The 'off the shelf' toy is actually pretty good considering it's meant for kids..but well..we all know that Star Wars kids are usually in thier mid 30's. Not exactly screen accurate but I'm not gonna cry myself to sleep over two inches of plastic that's missing from the 'proper' version...boohooooo.....
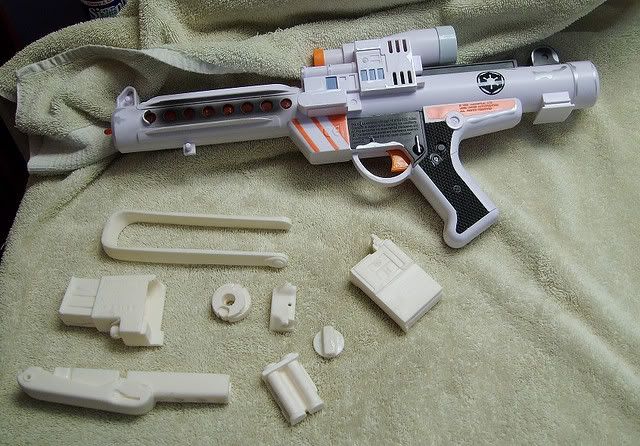
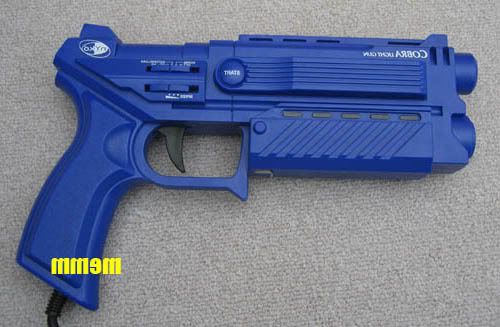
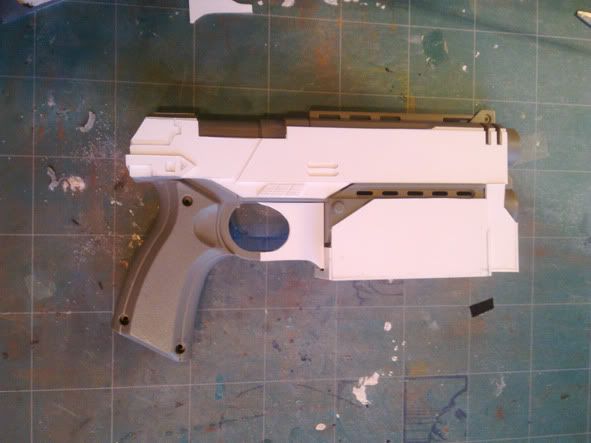
Introducing...The Toy

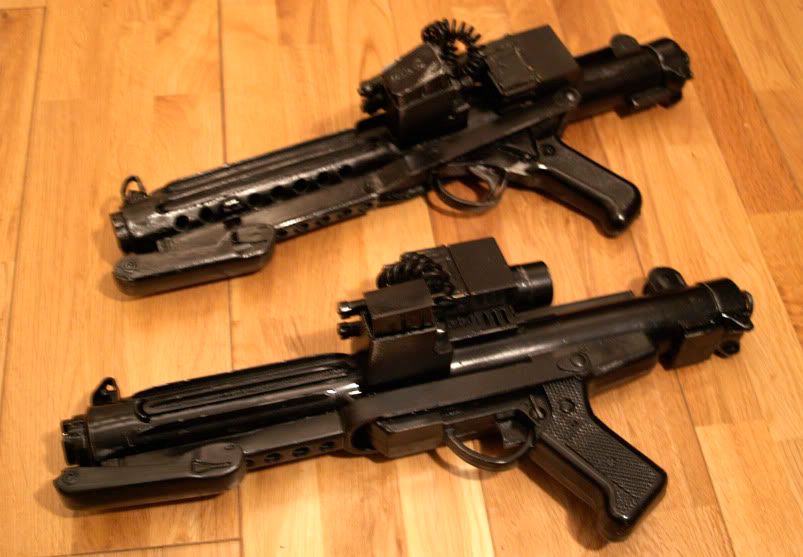
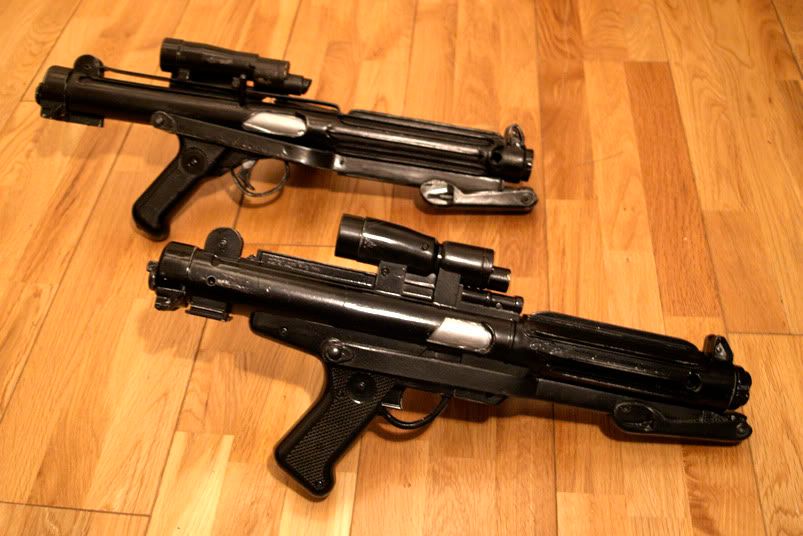
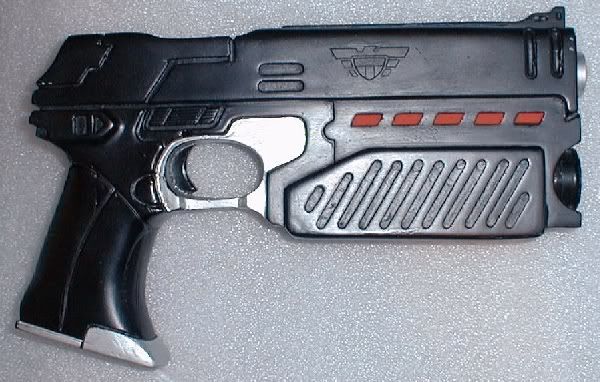
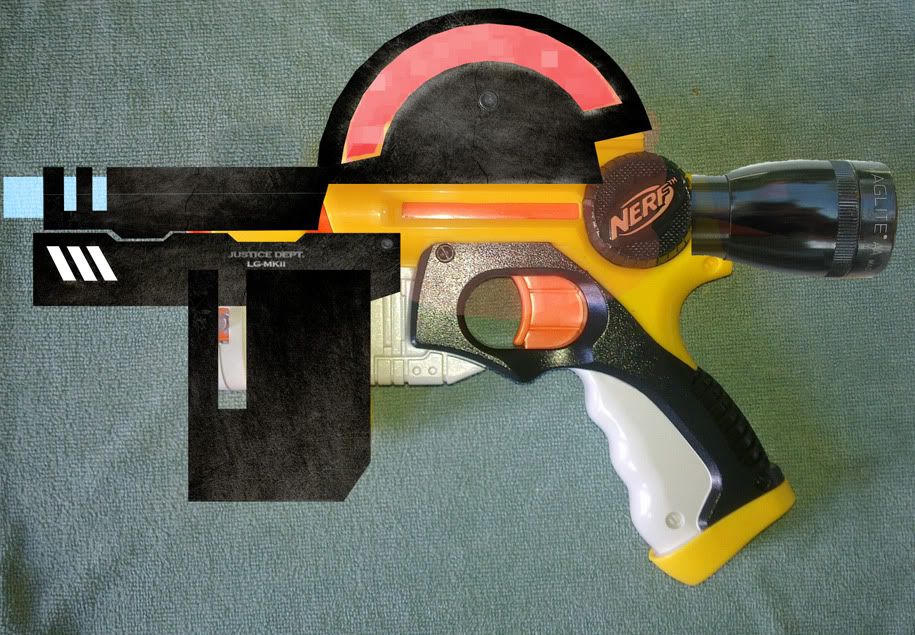
Below is the comparison pic of the toy and the actual prop (originally adapted from a WW1 British army Webley Flare gun)

As you can see the Toy comes up a little bit short-scale, To better fit into 8 year old bounty hunter's mitts no doubt. But I'm no 8 year old (at least not physically..although that's also debatable) so it's onto the bench and under the knife for this baby.
So in this adult child's mind I reasoned firstly that the least sculpture heavy way to progress would be to add some inchage to the shoulder stock and secondly that the handgrip could be more comfortable for my hamfisted farmers digits.
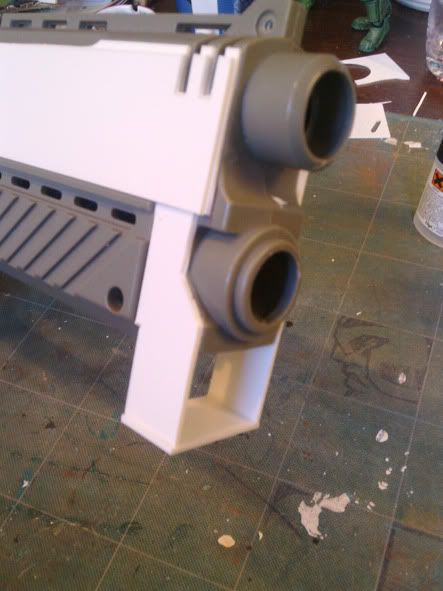
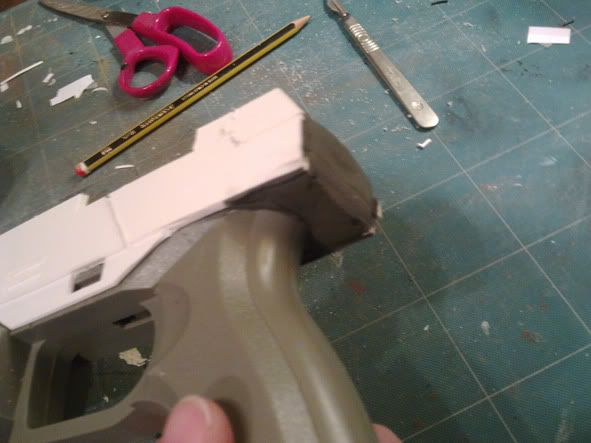
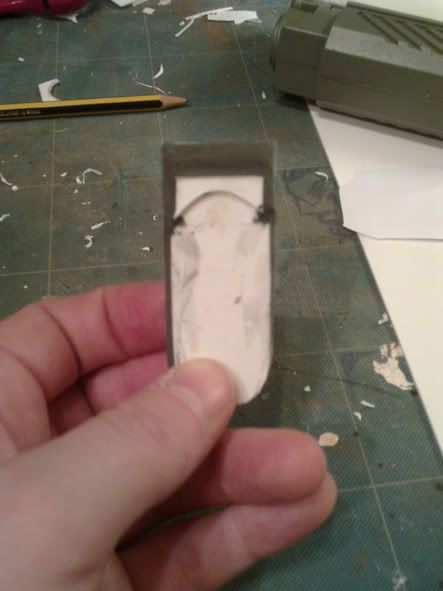
First and easiest by far (bar almost slicing the end of my thumb off with the scalpel) was removing the handgrip from a waterpistol from my box of 'bits'


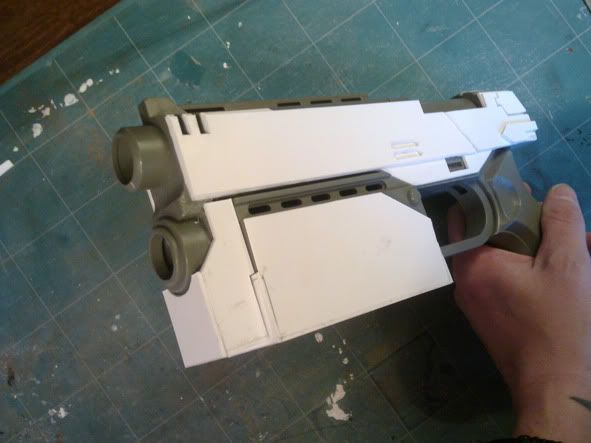
as you can see from the test fitting photo below it adds the necassary inch or so required for a comfortable grip.
Before...

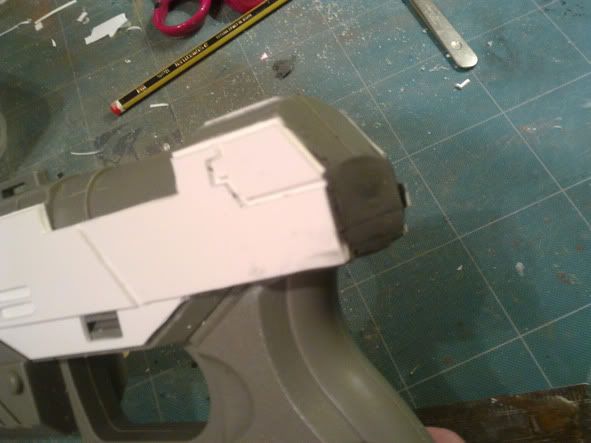
After...


Just needs a bit more filler to attach seamlessly and we're good to go.
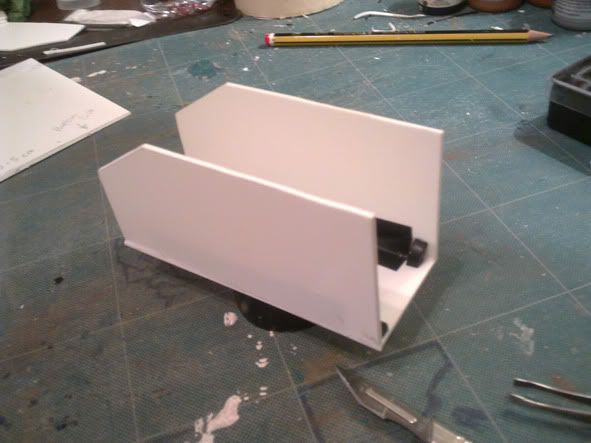
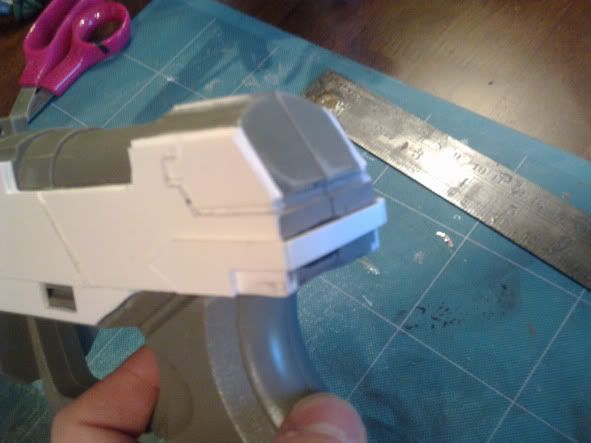
Next, the shoulder stock...
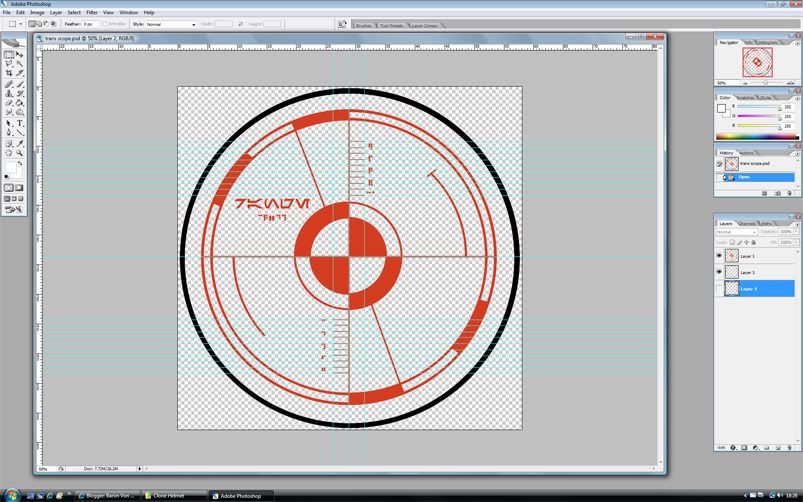
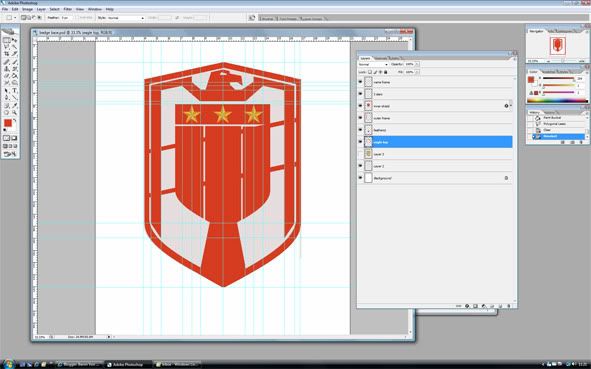
So after deciding with the help of a photoshop mockup where to cut...I cut the child sized stock into three parts.

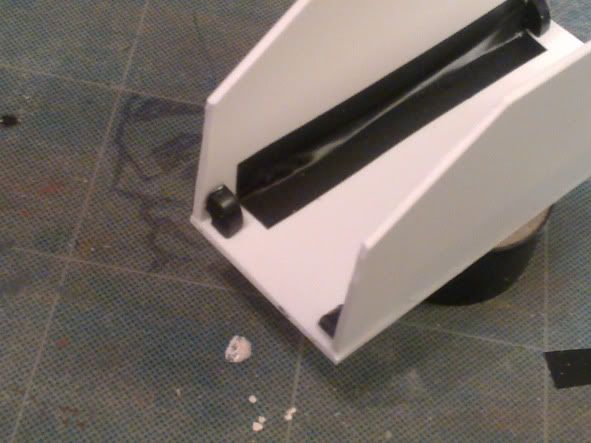
Then using a supremely dodgy corrugated cardboard filler and some jiggery pokery (advanced technical term) I attached it all together to extend the stock by approximately 3 inches or so

aaah..much better...

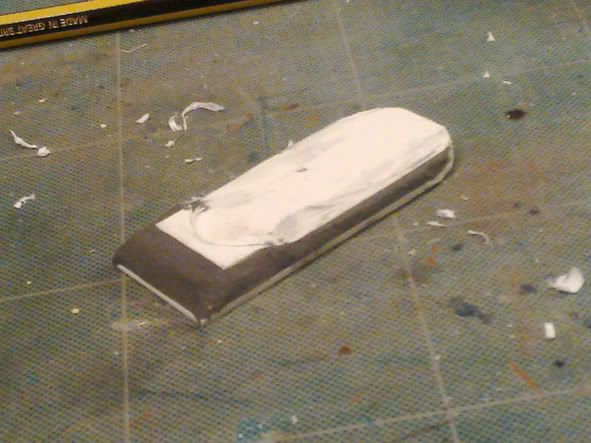
lastly, at least for this update, I began to fill out the gaps with Fimo airdry sculpting clay. Leaving me with the below state of affairs. Should be ready to sand flush in 24 hours.

I've also filled in all the screw holes that reveal it as a toy and will now await the drying of the filler clay before moving to stage 2...sanding and primer undercoat! (ooh 'citin')
until the next time...which could be a while due to Christmas alcoholism...
I ARE NERD
Respect
P.