Monday 9 May 2011

Uh, everything's under control. Situation normal

You wait 4 months for an update and two come along at once...typical...

So here it is....finished - at least til I get itchy or discover a new technique. I'm pretty happy with the result if you don't mind me saying so.

I'm slightly less happy with the photography but there you go, can't have everything....


I'm particularly happy with the misting/weathering on the muzzle flash suppressor and the wood finish, the muzzle looks nicely worn from heat of many blasts and the wood, well, looks like wood...


close up woodgrain detail..mmm woody

Muzzle/Flash suppresor weathering

I've tried my best to capture the lovely scope effect but my aforementioned lack of photography skills can't quite do it justice...you'll have to commision one from me to enjoy it's glory to the full in person ;)

still, here are some pics to give an idea of what the deal is...

Rear of the scope

front of the scope

Thanks for looking
I ARE NERD
Respect
P.

Han Solo Greedo killer DL-44 Blaster

I'm back! after a long hiatus involving many exciting but obviously top secret missions I can finally return to my armoury to wreak more havoc with toys, paints and a dremel.

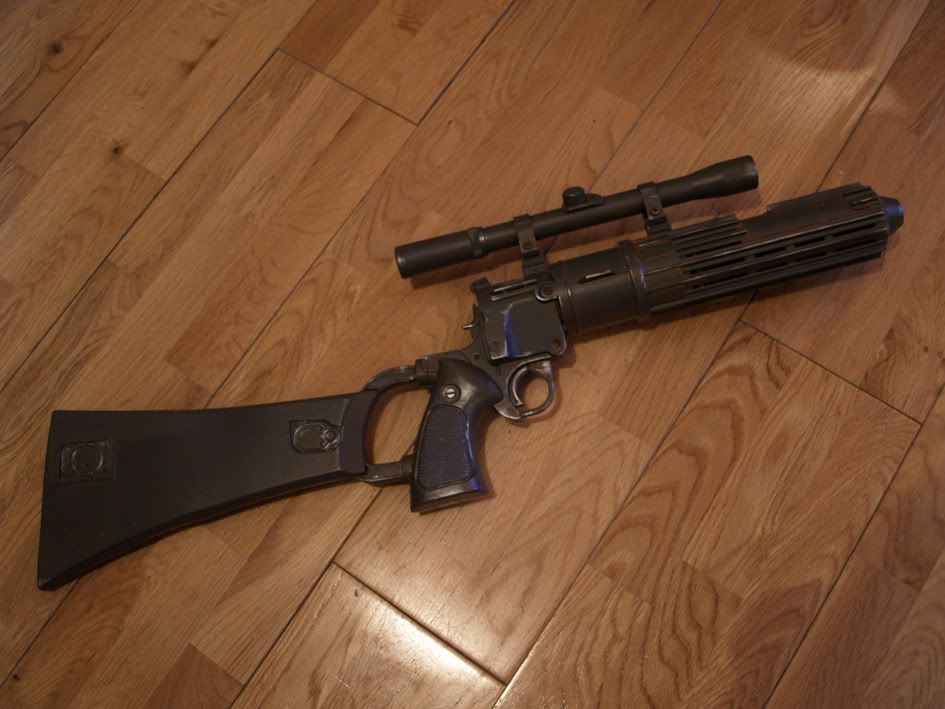
On the bench this time is another Star Wars project, my refit of the popular blaster of Han Solo...

GREEDO KILLER!! or to be technically correct for full geek points the DL-44
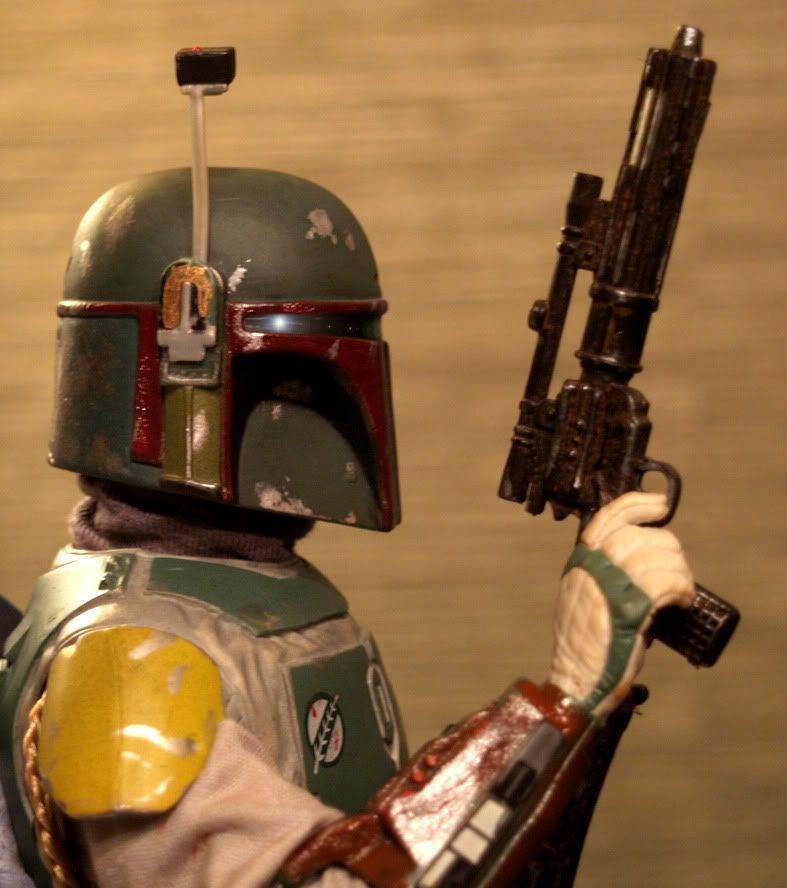
The Original looks something like this...


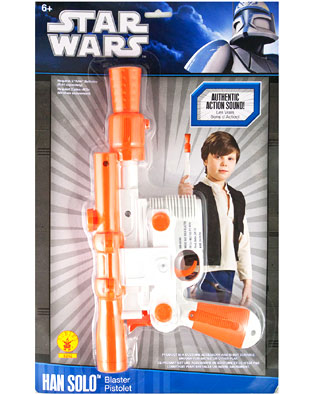
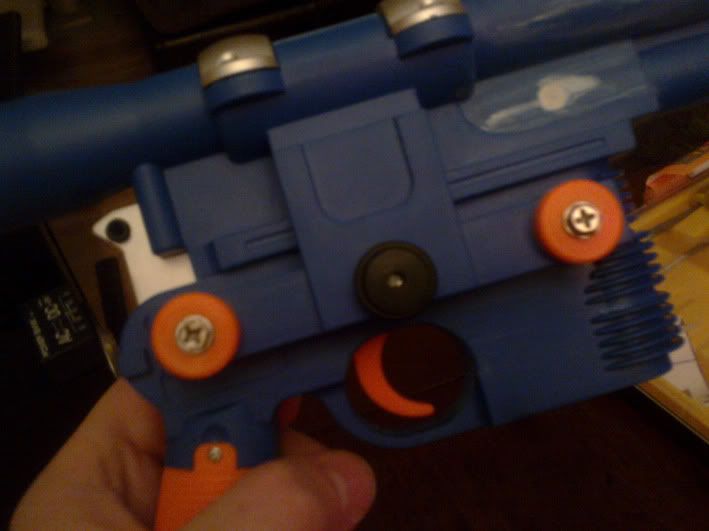
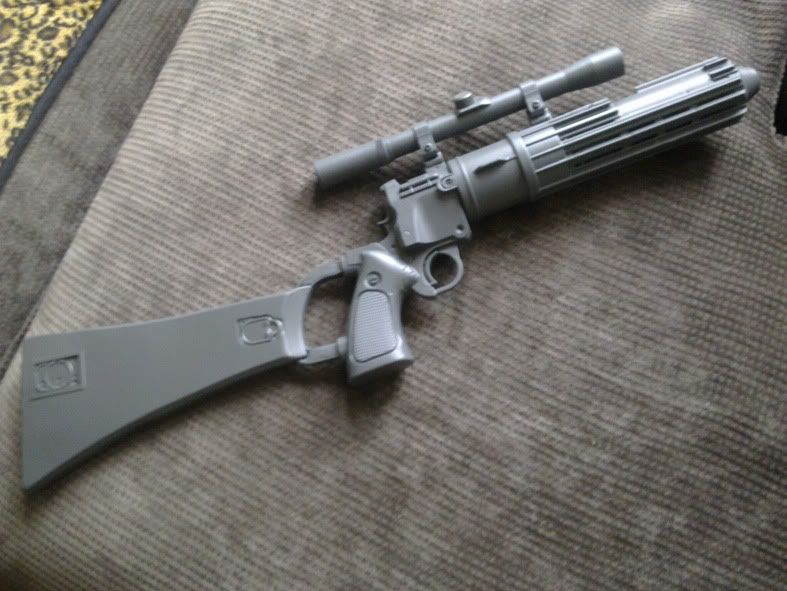
the toy comes looking like like this...er...um...nice colours...


Despite the garish colour scheme it's actually another pretty decent looking mould and is full size so doesn't need any adjustments to make it look more grown up, unlike some of my previous conversions of Star Wars toys.

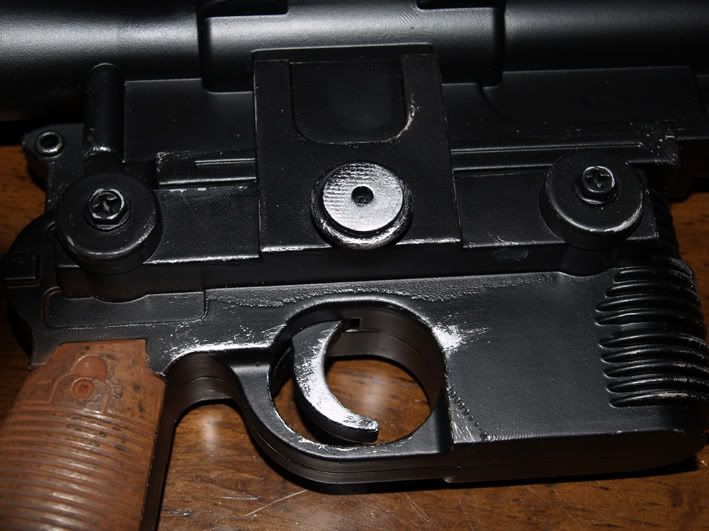
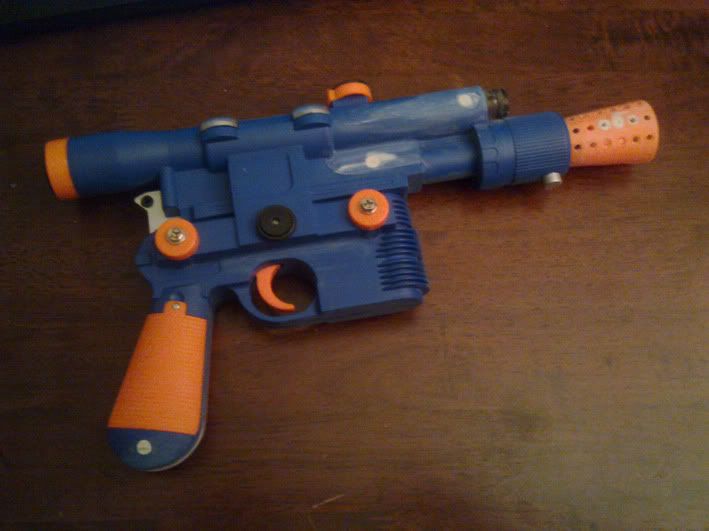
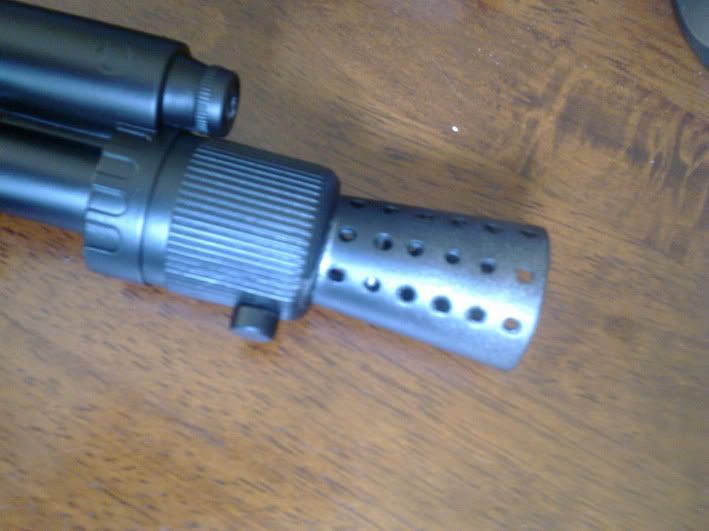
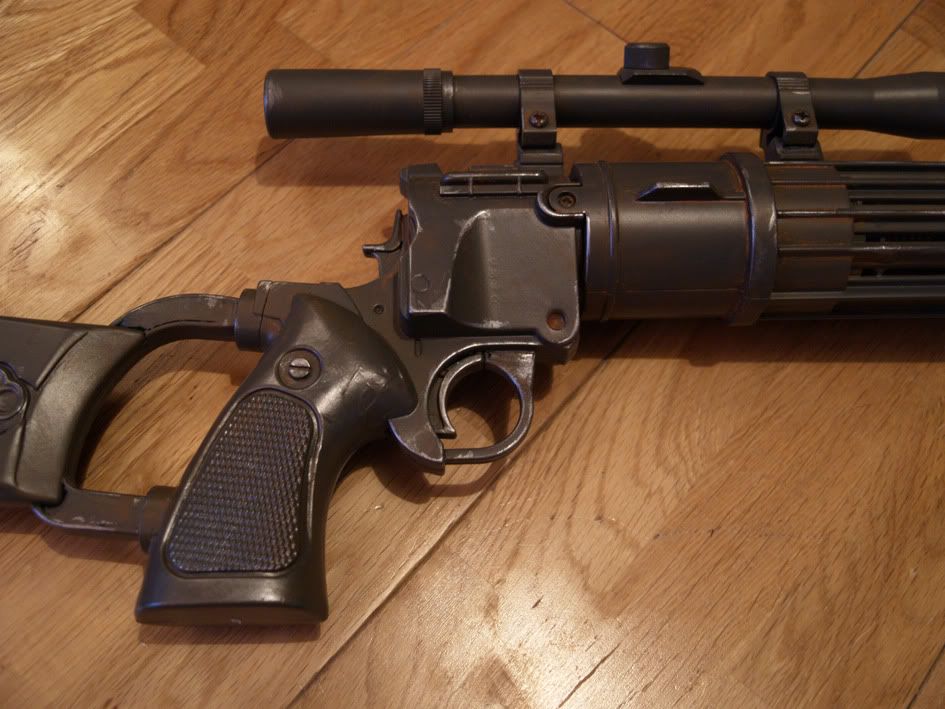
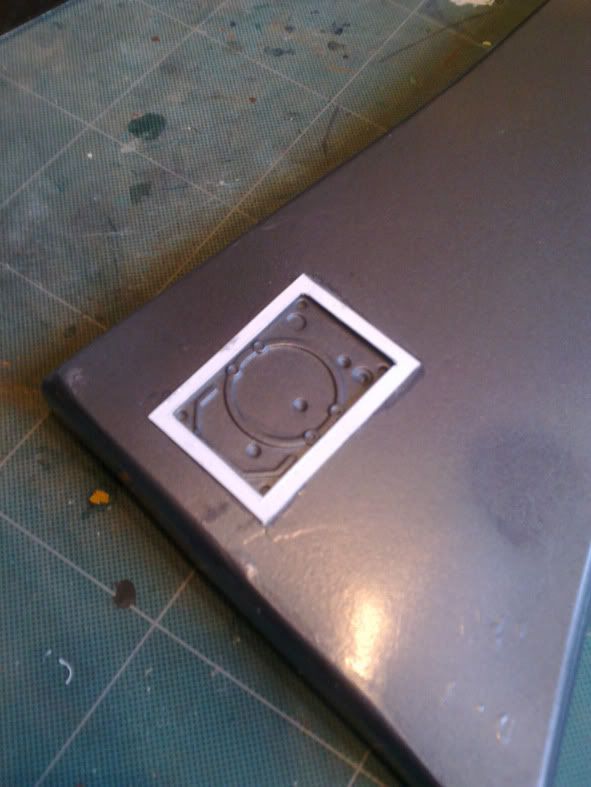
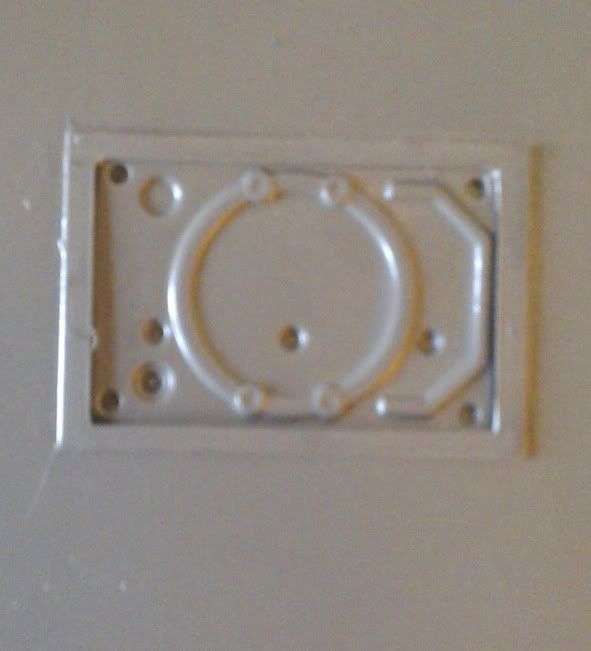
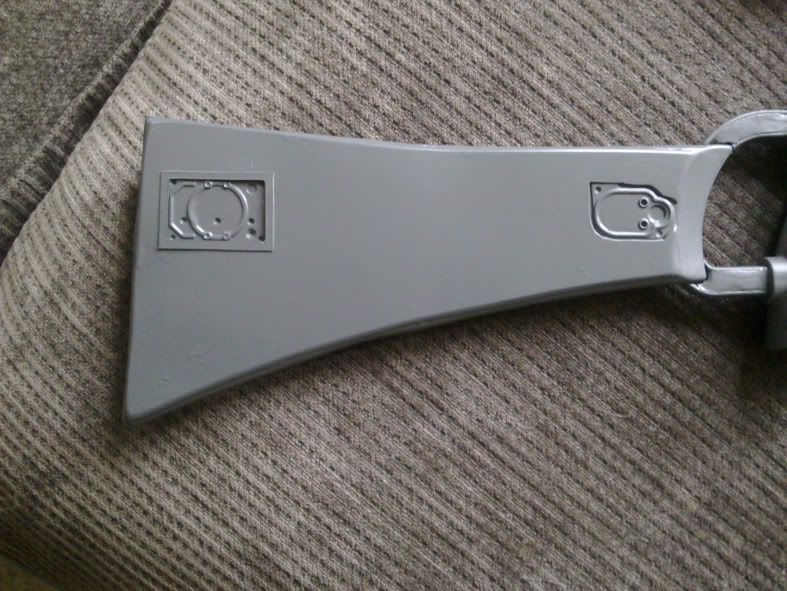
So straight out of the packaging the first order of the day is to fill the screw holes and add a few bits and bobs. I added screw heads to the two end "dials" and a rubber washer to beef up the middle one...


I then drilled a hole through the rear silver insert or "cocking handle" and added two tiny tap washers to add an extra detail making it a little bit more screen accurate..but just a little bit.


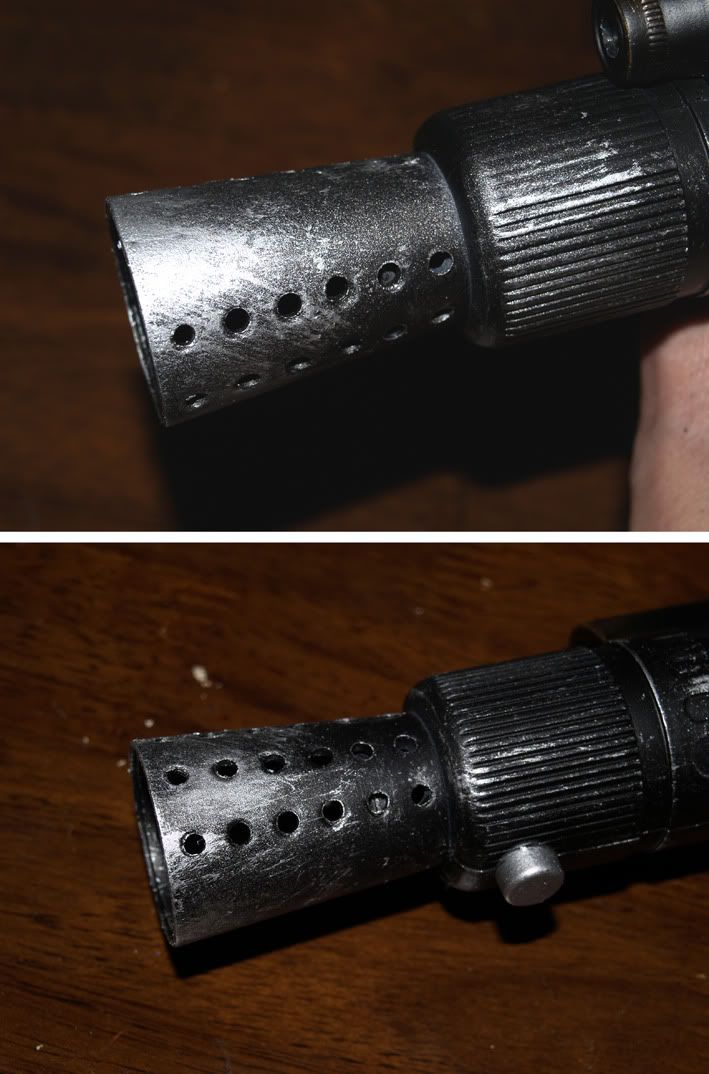
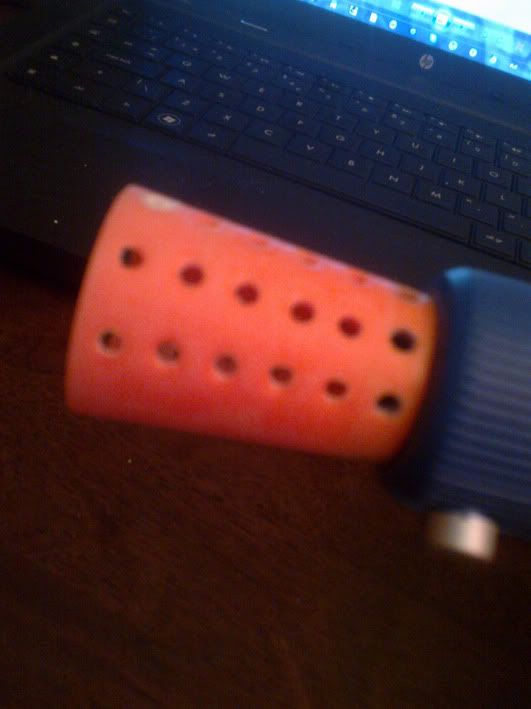
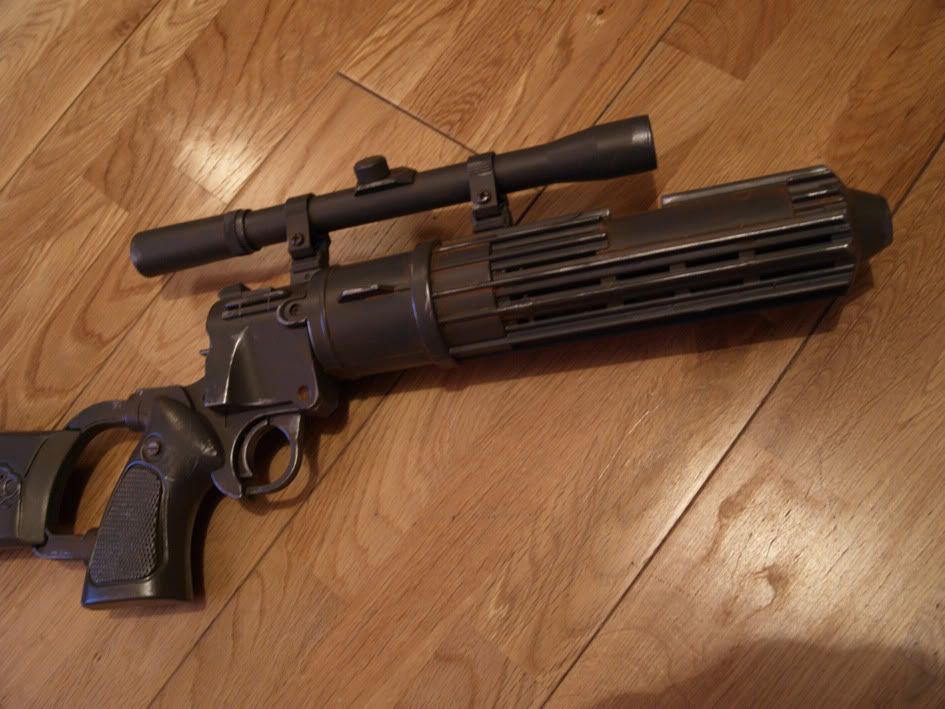
I've also drilled out the muzzle. There were already little dents in it so that made it a relatively easy task to handle...


Then I added my trademark 
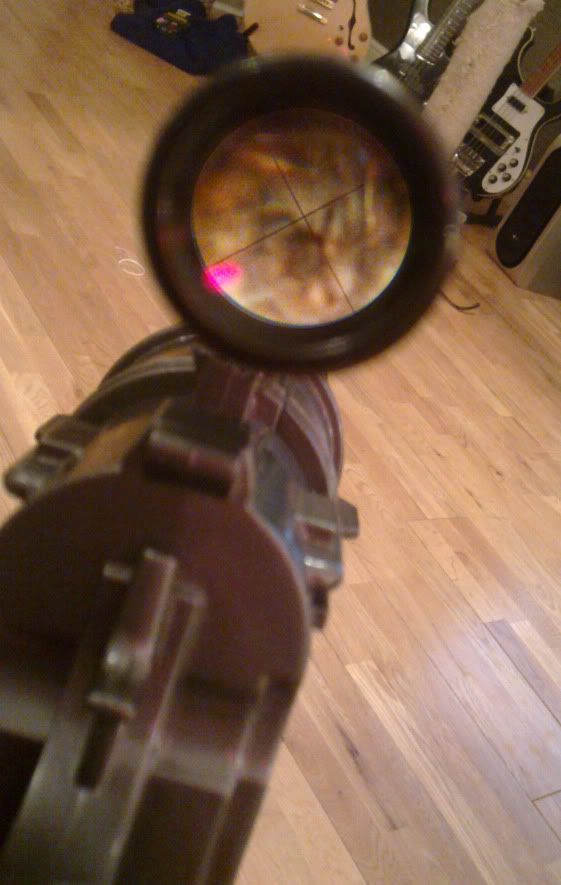
Realistic Scope effect (tm) but failed to take pics before painting it so you'll have to wait a second for photos of that little beauty.

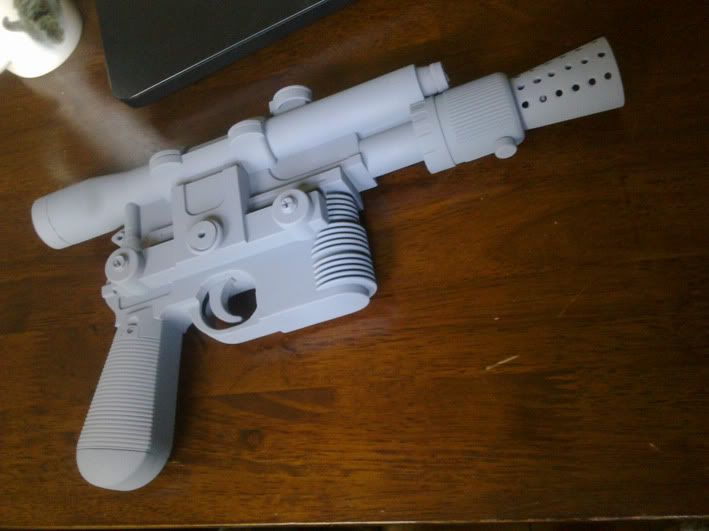
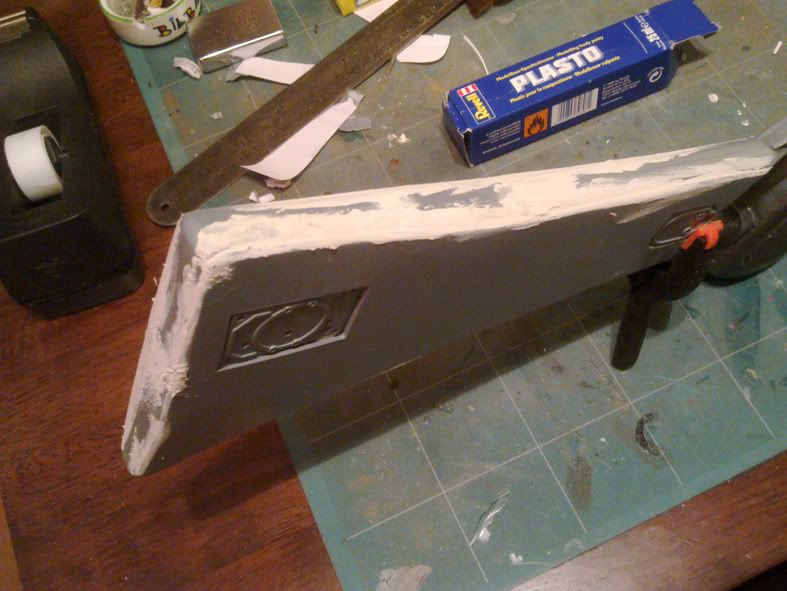
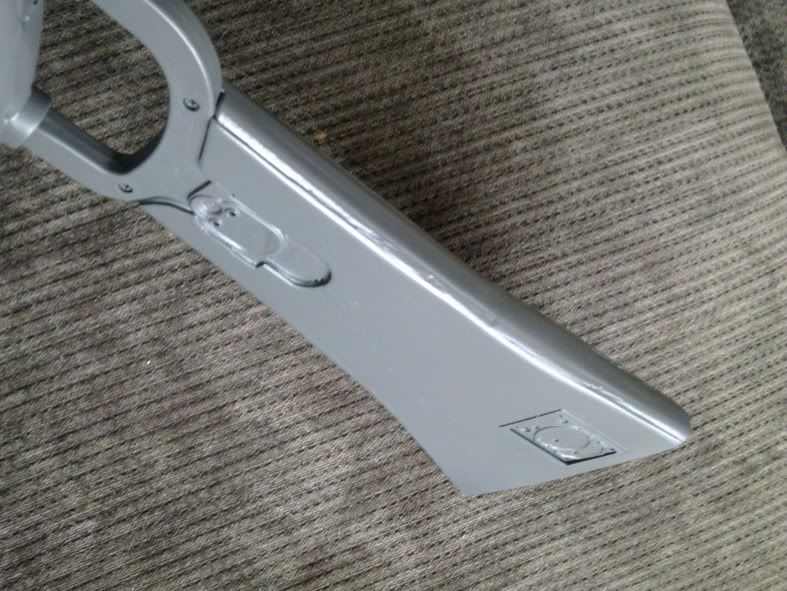
With all the prep and greeblies done it's time to move on and undercoat it. First primer (grey) and then a silver coat..I also forgot to take pics of that so you'll just have to trust me on that one. Here's the blaster primered though, it's already starting to look pretty funky (in a Jamiroquai way rather than a soiled underpants way)...


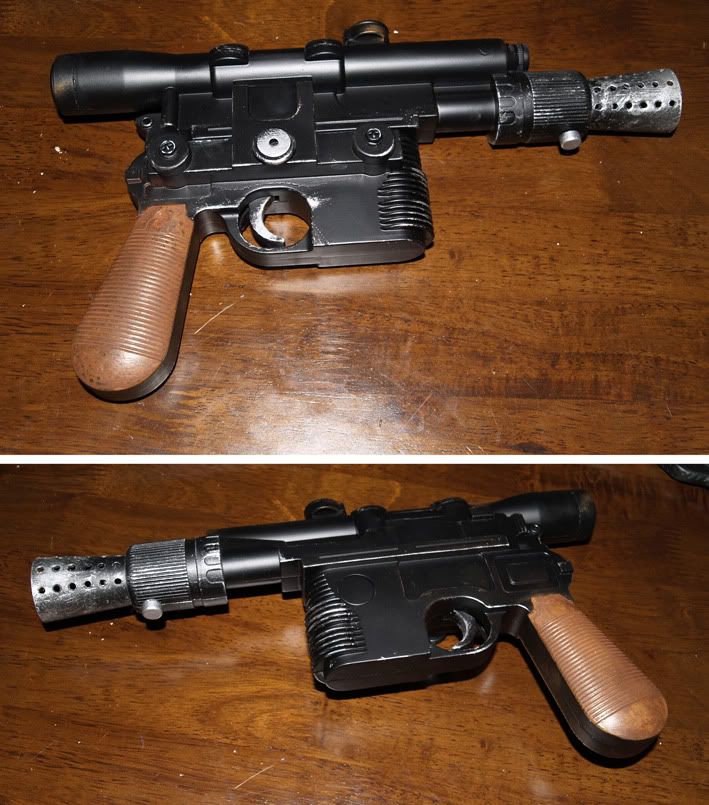
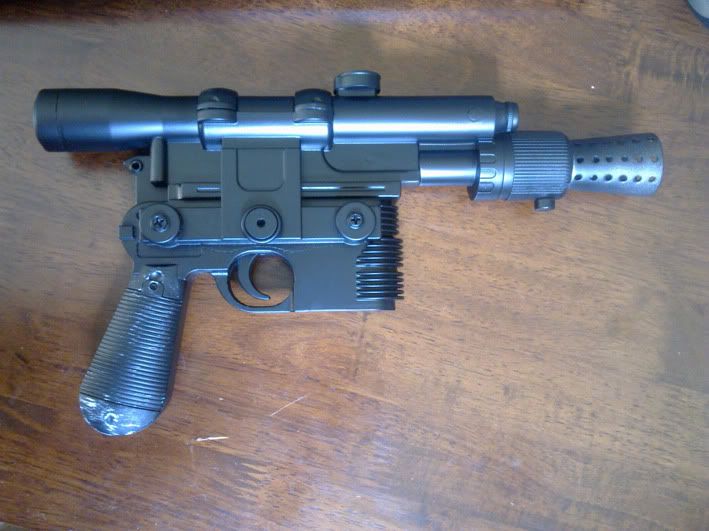
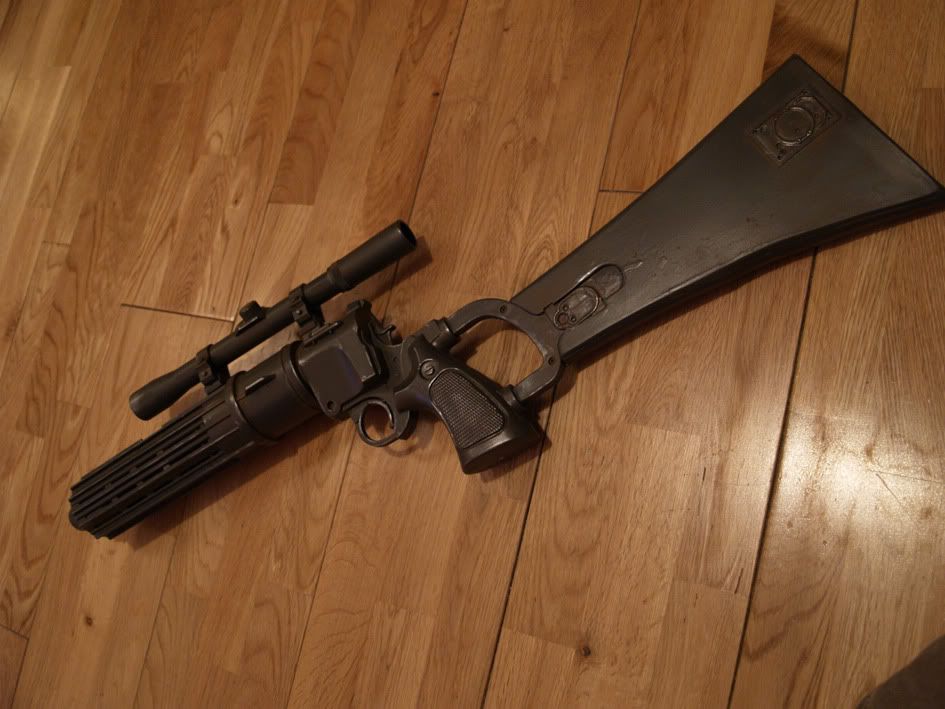
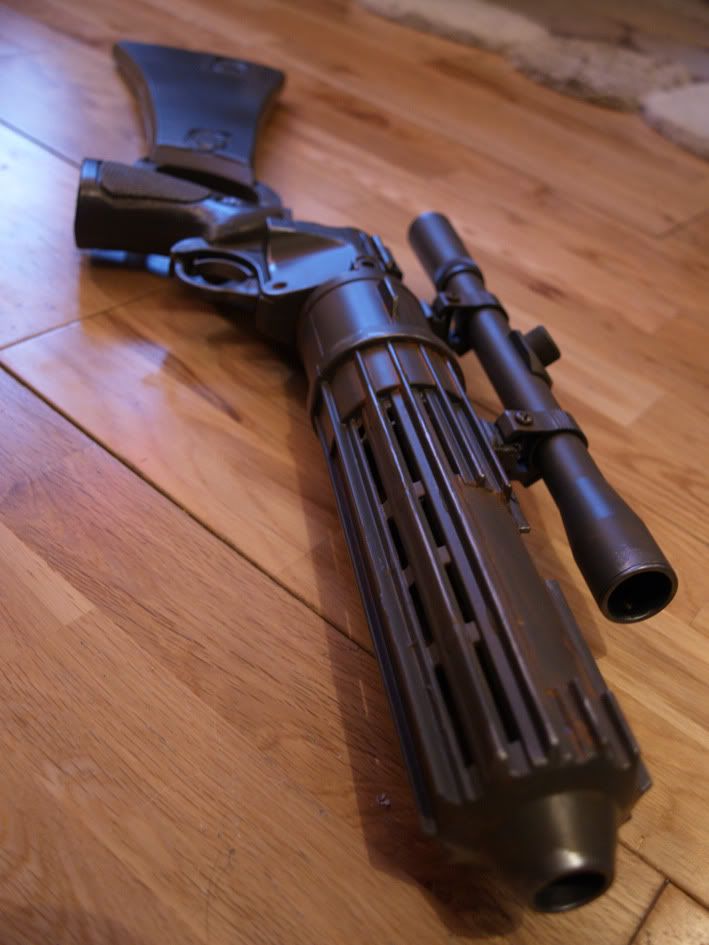
so onto the main topcoat - a simple matt black auto paint, which just raises the coolness factor by several decimals...


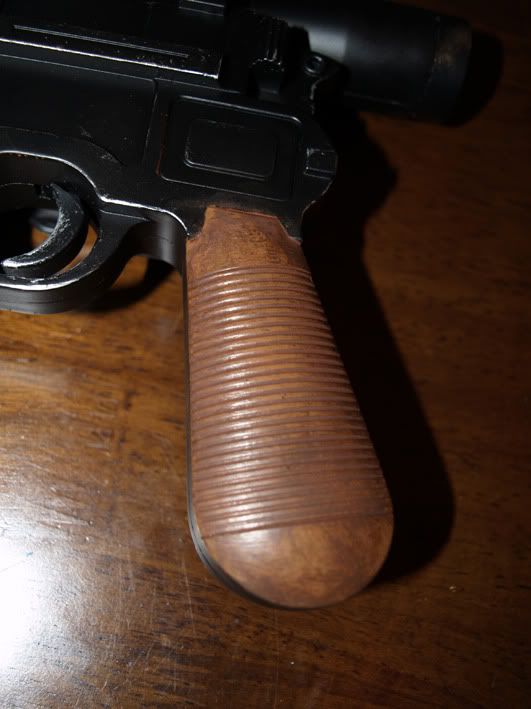
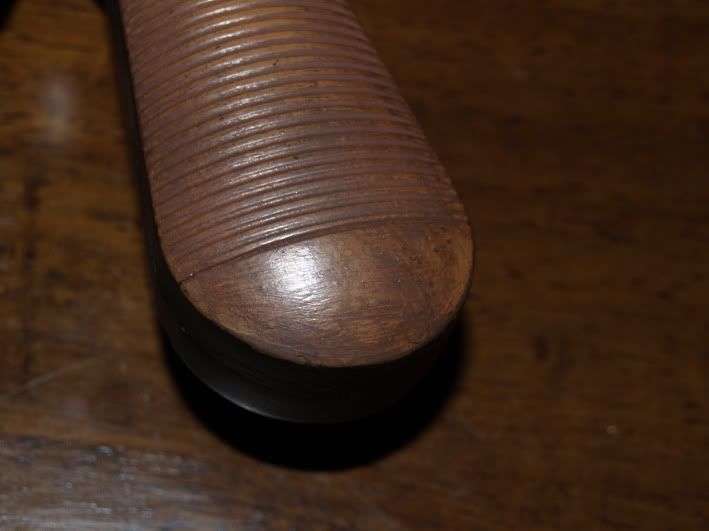
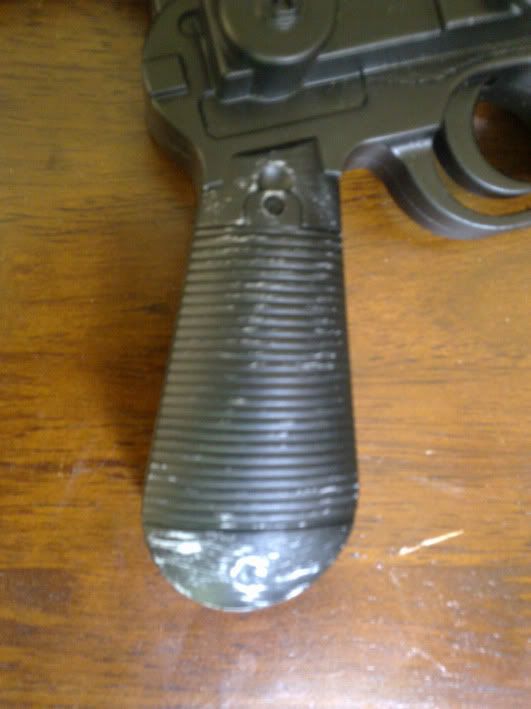
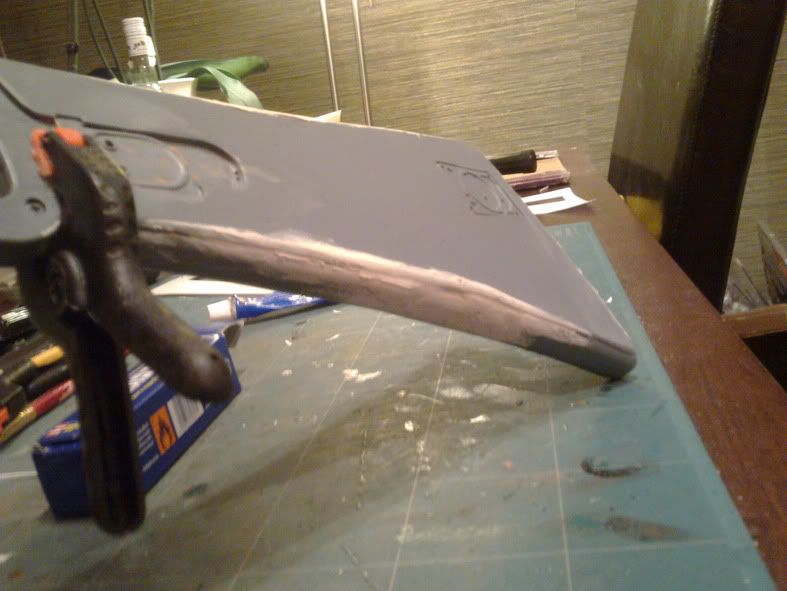
Whilst spraying the black topcoat I left the muzzle tip with just a misting to give it an already worn looking effect before later drybrushing/washing to give it a battle scarred feel...I also have taken some heavy duty sandpaper to the handgrips to prep for what will finally be (hopefully) a woodgrain effect...


Okay that's the extent of this projects progress so far, all that's left is to wash over with a gunmetal colour, weather the protruding greeblies with silver or scratch and dent and finally to paint the grips to simulate old wood.

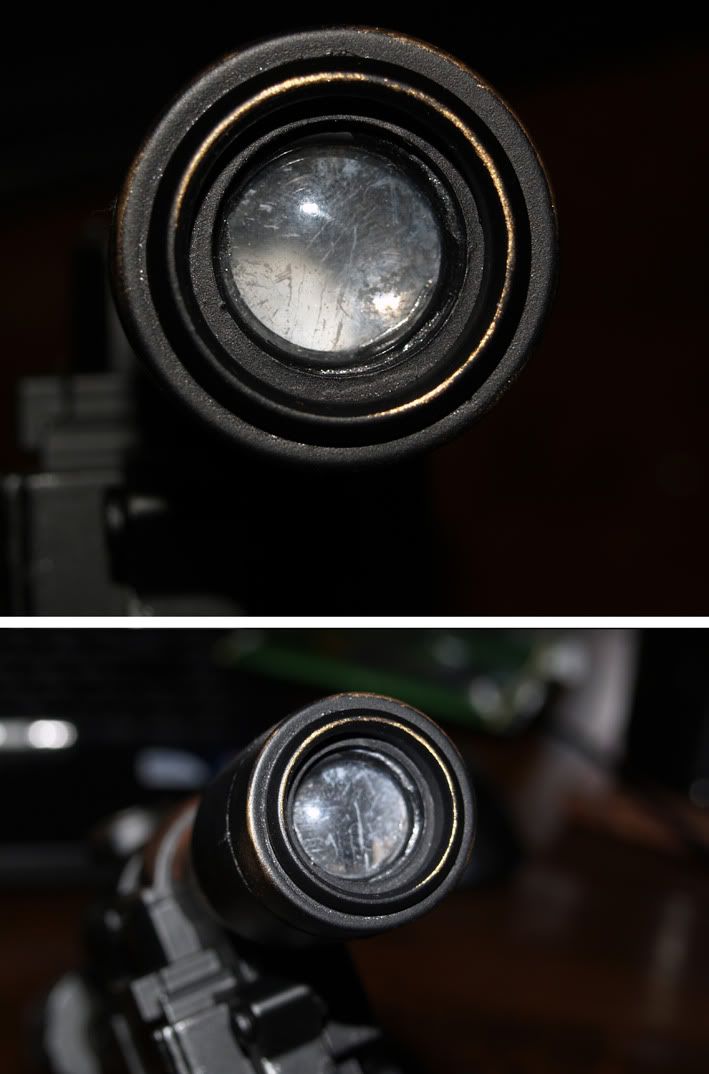
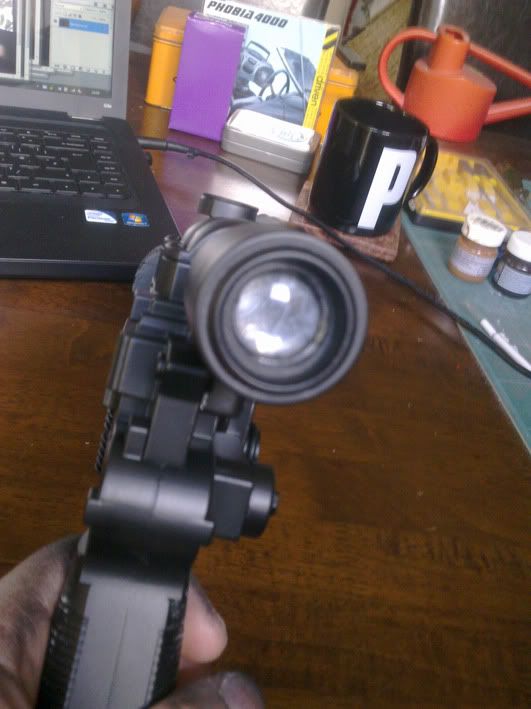
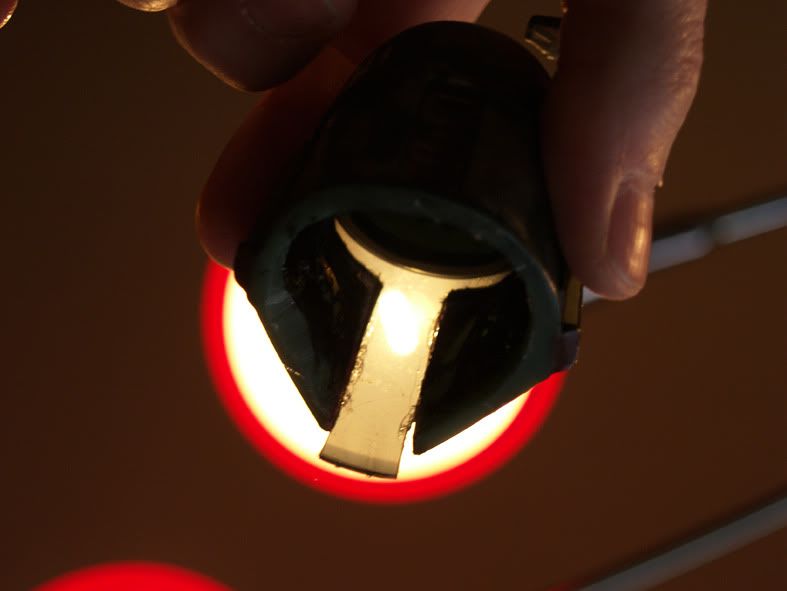
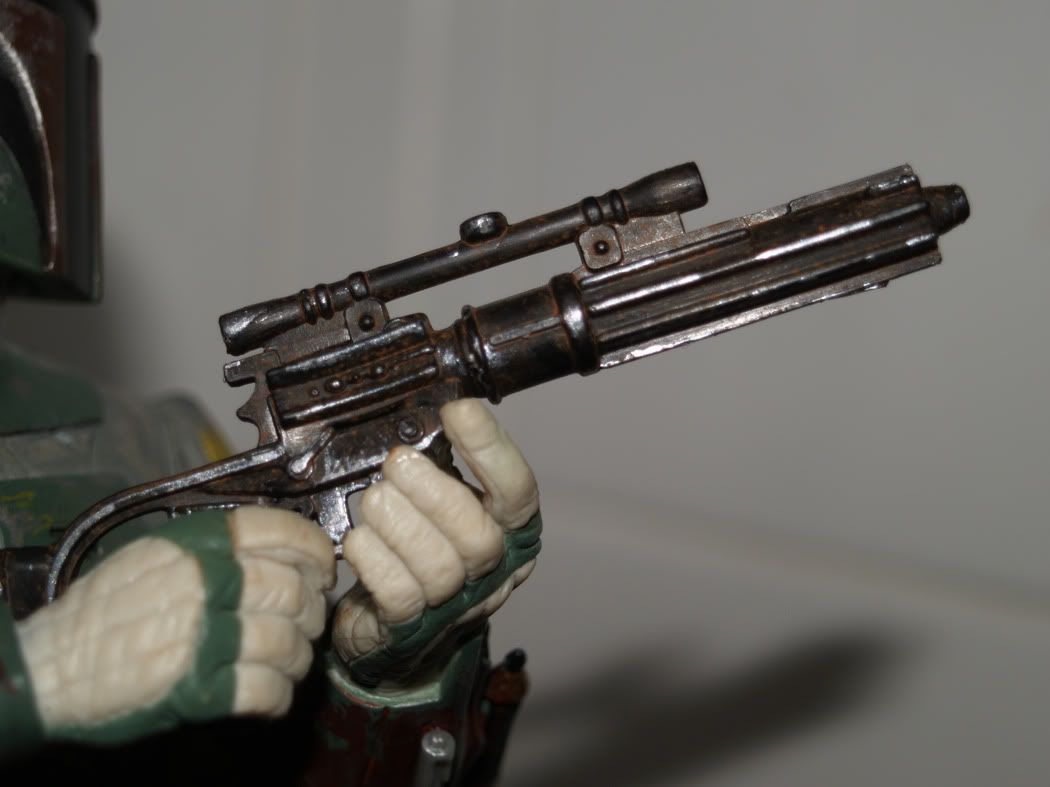
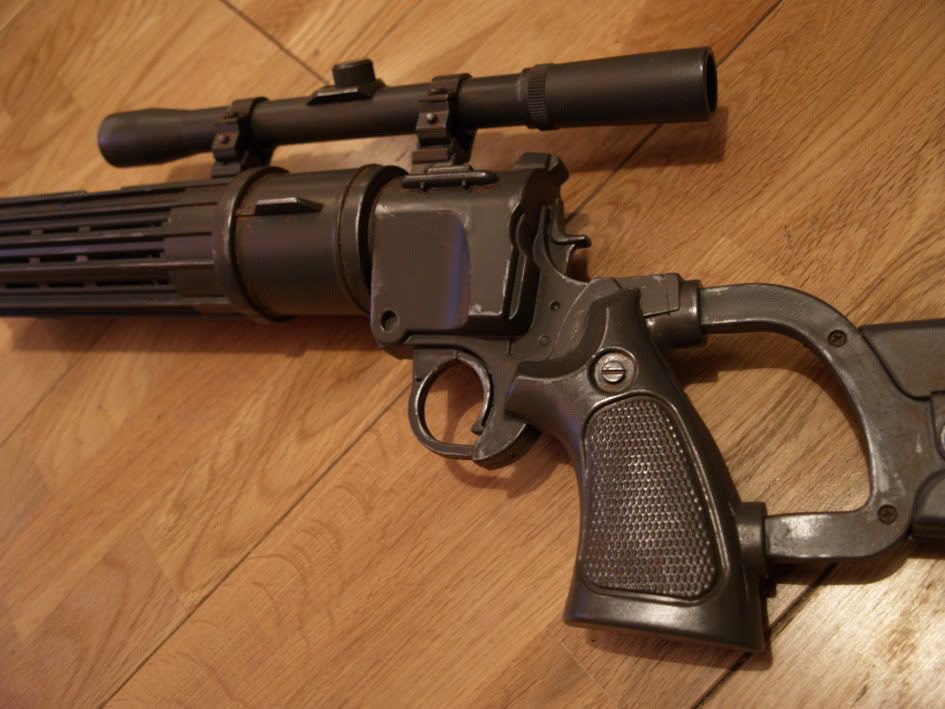
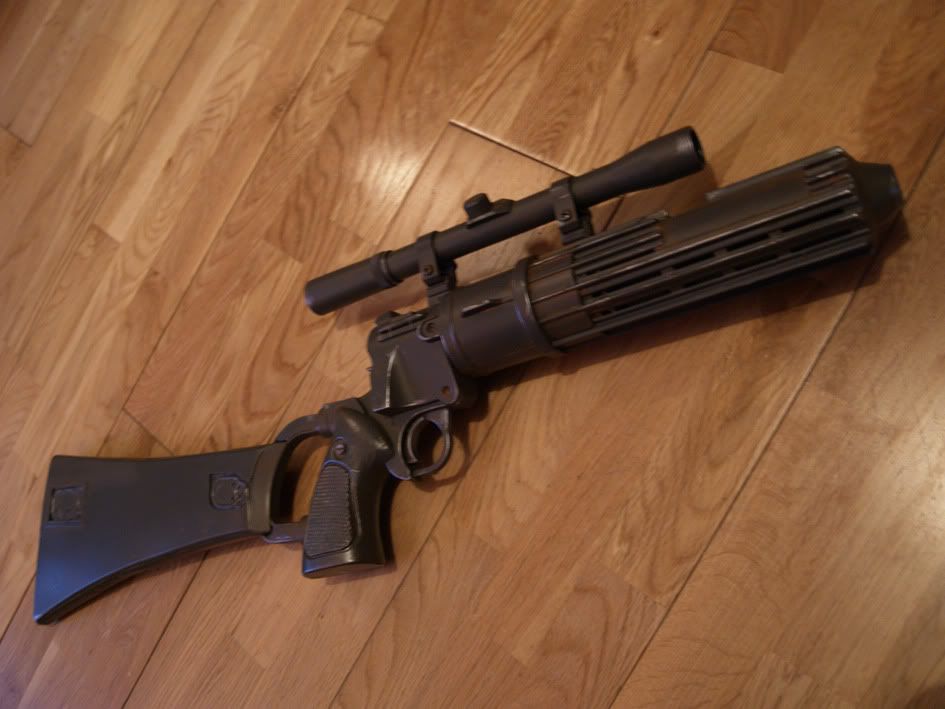
In the meantime here's those snaps I promised of the Realistic Scope effect (tm) - Unfortunately the lens got a little bit dirty somewhere along the way which although not ideal, actually adds to the 'used' feel so I'm not too fussed about that...

Rear Scope detail

Front scope detail

Until next time, keep it geeky

I ARE NERD
Respect
P.

Tuesday 1 February 2011

Mini Boba Fett Intergalactic makeover - part 2

Okay I actually did it, I cut out the visor!!!!
Now the problem I have is that the plastic is so thick the visor (black transparent plastic deodorant lid) sits waaaaaaay back and looks a bit silly....so...I've had to take my bravery to new levels and start cutting out chunks inside the helmet itself..not much room to maneuver and a sharp scalpel can easily slice a big chunk off if care isn't taken..


here's the visor cut from the lid....


and here it is glued in place....

now...after the glue has set it's noticable that the visor has become tarnished or clouded by the glue..so..it looks like it's back to the drawing board and to find another type of glue...


still the idea is sound and it still looks kinda cool...


Another glue and (yet) another visor has resulted in the following developments...much cleaner!


aaaaaaaaaahhhh...nice
I ARE NERD
Respect
P.

Wednesday 26 January 2011

Mini Boba Fett Intergalactic makeover

Whilst doing my last mod project on the Hasbro Boba Fett Blaster I remembered my 1/6 Boba Fett that was languishing in a box under the stairs for 2 years...
First of all it was just to use up the paint I'd mixed on the mini Boba blaster

Then I got to thinking...why not finish the whole thing off?....So I kinda have.
The original idea was to put a Dragon models body, new hands, replace the feet etc...but I'd run into a dead end then and so decided now, to go with what I've got.

So it's a Dragon head (James) on the original Hasbro body and a repaint of some parts.


I had the vintage 70's 12" fett and scalped the pouches to fill the inexplicable gap in the later (1992) Hasbro ammo belt - superglued and repainted the whole belt

a repaint for the red and chromed chips on the helm and gauntlets...


painted in the LED chest display


and a touch of brass and thge red light deatil on the ear cap and rangefinder


and finally heres Boba (James) Fett without his helm - scarred by a red hot screwdriver :D


Some other details worth mentioning are the added pipes from the gauntlets to the sleeves and the neck/head cowl from Dragon's Zanis. But details schmetails, isn't he cool?


I ARE NERD
Respect
P.

Thursday 20 January 2011

I have you now.....

I know it's a lot to take in on one day but...

Finished, weathered, rusted, chipped, knackered, been through a lot....I present to you...
El Barone's Hasbro Boba Fett EE-3 Blaster Mod - Complete.....


Pretty cool the things you can acheive with a toy, some putty and some immature enthusiasm right?

I ARE NERD!
Respect
P.

Almost there, stay on target, stay on target....

This Project is now in it's closing stages, also the most critical one, so I'm gonna take a day or two to research the proper techiques for weathering to give it a dirty, scuffed up, rusty, battered old weapon of intergalactic death type finish.

The bugbear, the stock - is DONE!! (applause please) thankyou, thankyou.

 After the genius that was plasticard, I filled and sanded the last niggly bits and proceeded to the undercoat stage...


 It then occured to me that the stock greeblies were now looking too 'buried' so again, turning to my old friend plasticard, I cut out two frames to sit on top of and around the rear greeblies and bring them back into play, with a more raised feel...


When the undercoat and topcoat have been applied it looks way better than previously...


so now, here's how she looks as of now, this is pre-weathering so it's new and shiny looking. But that's soon to change muwhahahaha (evil bounty hunter style laugh). The grey is actually much much darker than it appears in the photographs. But that's mobile phone photography for you.


It may not be perfect for those of you out there that can only live with the exact replica of the movie version (which incidentally looked pretty cheap shit under scrutiny) but it certainly is keeping my inner bounty hunter happy. once the weathering is done it's gonna be pride of place in the Baronial sci-fi movie museum.


In the meantime, here's how it looks to a bounty hunter when he sights his prey. In this case Aitor the scourge of the spaceways (and food bowls everywhere)


I ARE NERD!
Respect
P.