

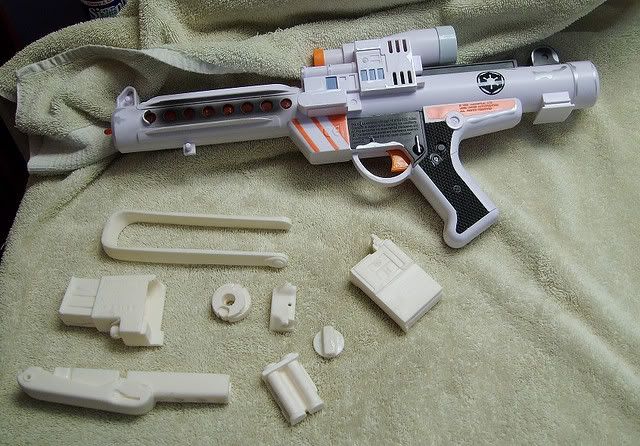
Now the beast way to make the best out of these less than screen accurate renderings is to get yourself a resin kit that modifies the worst elements to make them more passable...the below pic is of one such kit (not my pic or horrible blaster, but you get the idea)
I've started prepping the toy and kit parts with an undercoat of primer and a second coat of chrome/silver and it just remains to overcoat with a black, either metallic or matte (your choice) and glue it all together and then proceed to weather/age it with nice knocks and scratches.
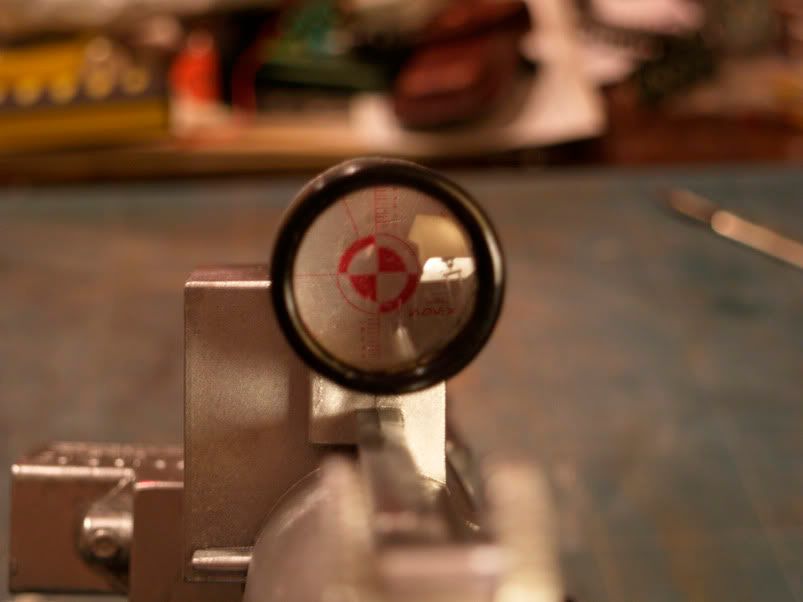
All too easy you think? well, frankly it is fairly trouble free and needs minimal prep...but...BUT...for this baby I'm going to recreate my patented Baronial Starwarsian wonder - The realistic looking scope! HOORAY i hear you cry...
With my scope graphic painstakingly designed in Photoshop including real Aurek Besh characters (go nerds!!)...
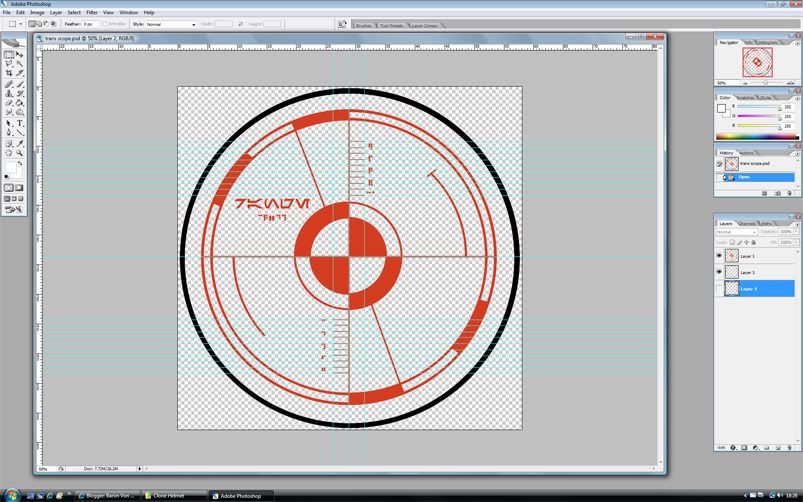
I print it onto a sticky back transparency and sandwich it with a layer of reflective material, in this instance some Hi Spec Eroski aluminium foil, no expense spared. Then glue it to a pre-prepared mount that sits nicely inside the hacked up toy scope...
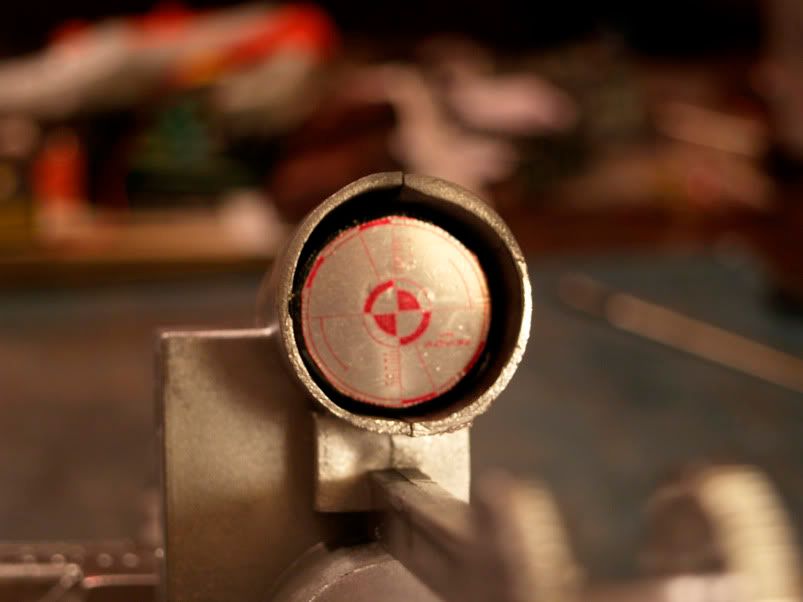
Giving it the proper distance from the little cannibalised toy telescope lens that sits on top of it, thus creating the illusion of depth... please see example B and C.
Example B.
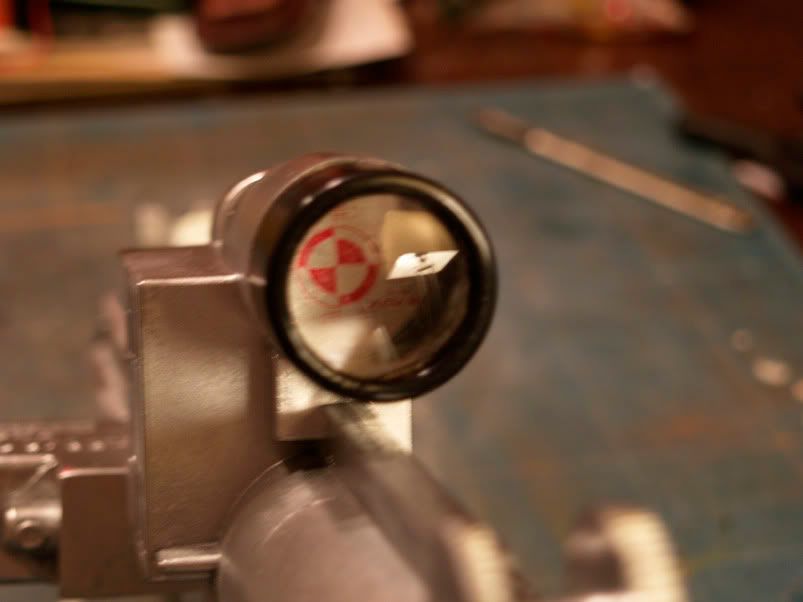
Example C.
Cool huh? I think so too. But now I have to wait for all the paint to dry on the prepped parts before I can proceed. So what can I do in the meantime? Watch X-Factor? um..no thanks..watch Battlestar Galactica again from the beginning?..maybe...or..I could begin with project number 2..concurrent Star Wars modificationalizing...
THE CLONE TROOPER HELMET PROJECT - PHASE 1
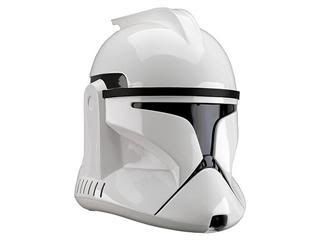
There's a lot of Clone Trooper Helmet variants out there, costing from £30 to £300. I dunno about you but I'm not insane enough to spend the equivalent of a flight to Sweden on a dust catching relic, no matter how obsessed I am with all things Star Wars so I went for the do-it-yourself option. Again a Hasbro toy but a pretty well designed and very durable one at that. Here's the original clone bucket as seen in the movies...

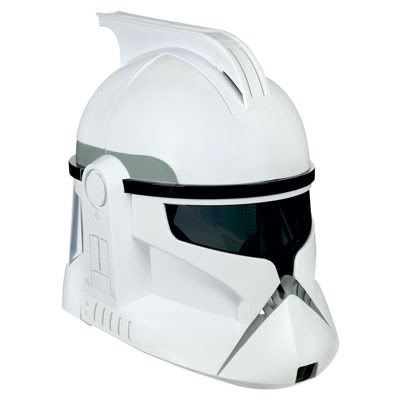
Here's a very expensive prop replica...
and here is the toy version that I picked up on ebay for about £15...
as you can see, there's not a lot in it. However, the Hasbro toy version has loads of vents, spaces and a MASSIVE oversized visor so it needs the gaps to filled, the buttons for the voice features to be sanded and glued and probably after all that a decent paint job so it doesn't look so shiny whity virgin and new.
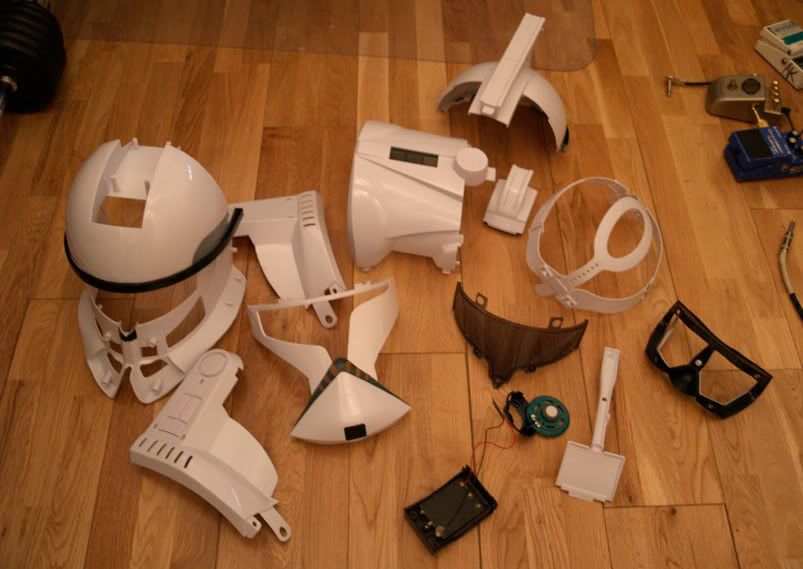
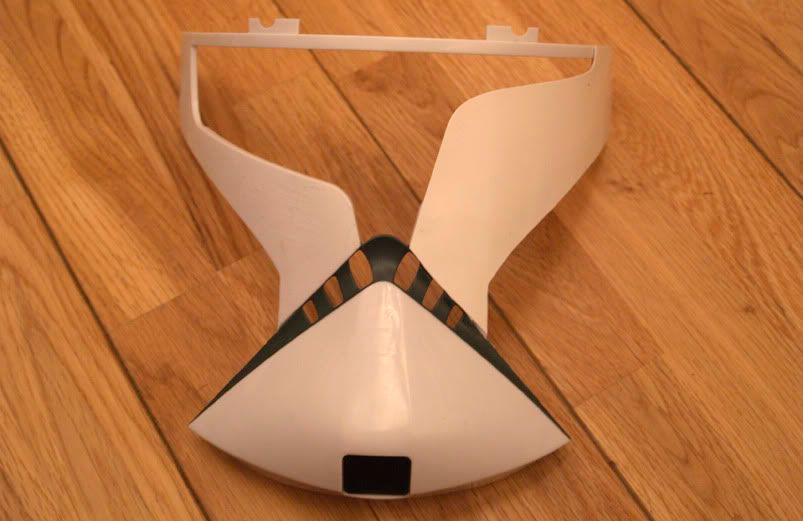
So that's how it looks off the shelf, this is how it looks after screwdriver attack!!!!...
LOTS of bits do be modified...The first and most exciting one is the visor. I cut an overlay using a paper template onto my trusty friend plasticard...here is the first side glued so you can see the difference from the original...
Simply superglued on and trimmed with a nice razor sharp scalpel for uniformity. It makes a massive difference already!
This is just the beginning for both projects and there's a fair few man hours to go and fumes to inhale from toxic chemicals..here's to paranoid hallucinations and vomiting in the name of NERD.
stay tuned for more updates...
I ARE NERD
Respect
P.
No comments:
Post a Comment
whaddya think? go on leave me a comment...