On the bench this time is another Star Wars project, my refit of the popular blaster of Han Solo...
GREEDO KILLER!! or to be technically correct for full geek points the DL-44
The Original looks something like this...
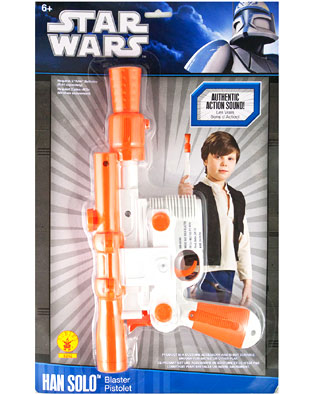
the toy comes looking like like this...er...um...nice colours...
Despite the garish colour scheme it's actually another pretty decent looking mould and is full size so doesn't need any adjustments to make it look more grown up, unlike some of my previous conversions of Star Wars toys.
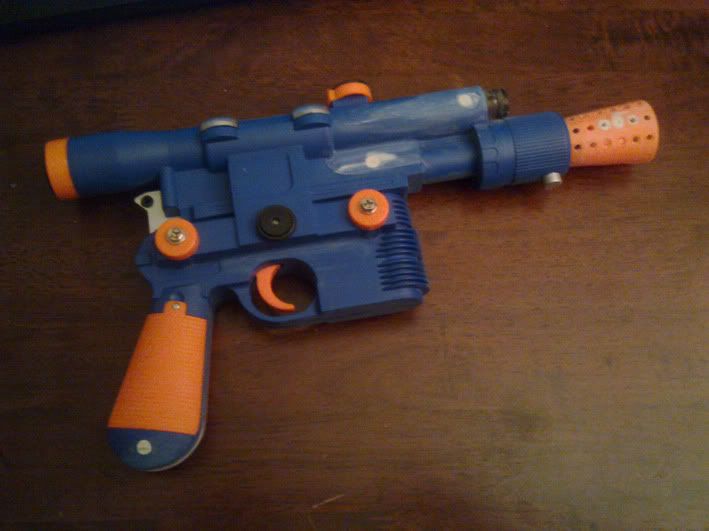
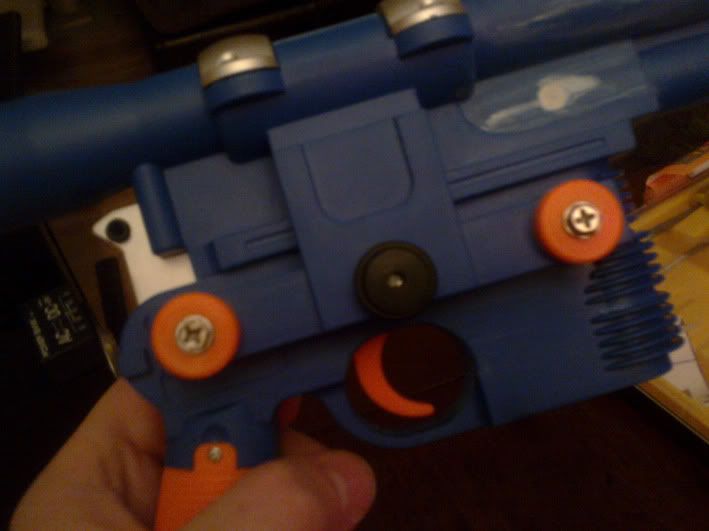
So straight out of the packaging the first order of the day is to fill the screw holes and add a few bits and bobs. I added screw heads to the two end "dials" and a rubber washer to beef up the middle one...
I then drilled a hole through the rear silver insert or "cocking handle" and added two tiny tap washers to add an extra detail making it a little bit more screen accurate..but just a little bit.
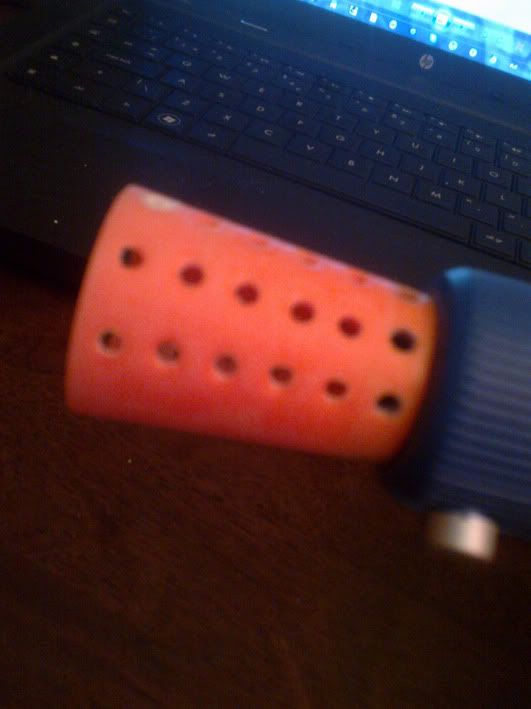
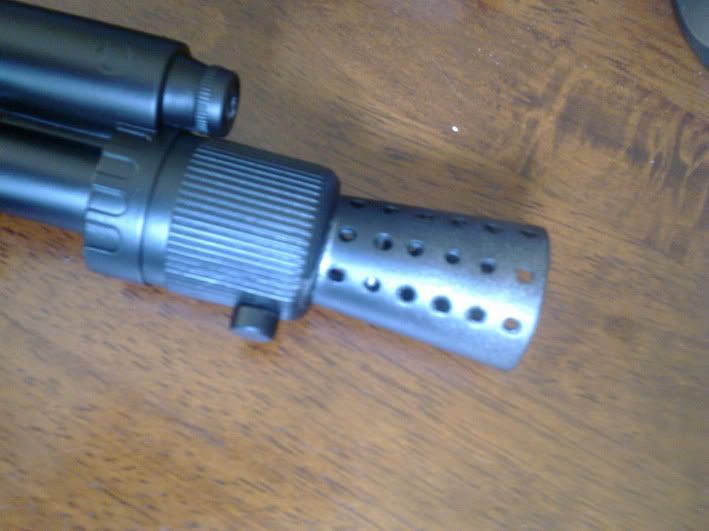
I've also drilled out the muzzle. There were already little dents in it so that made it a relatively easy task to handle...
Then I added my trademark Realistic Scope effect (tm) but failed to take pics before painting it so you'll have to wait a second for photos of that little beauty.
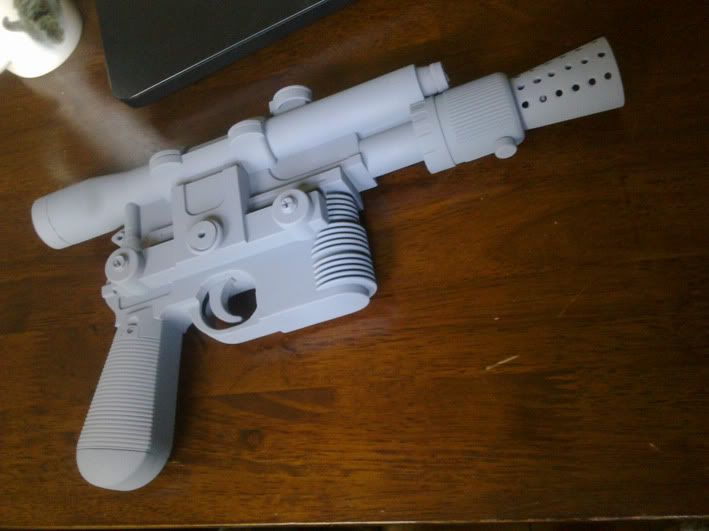
With all the prep and greeblies done it's time to move on and undercoat it. First primer (grey) and then a silver coat..I also forgot to take pics of that so you'll just have to trust me on that one. Here's the blaster primered though, it's already starting to look pretty funky (in a Jamiroquai way rather than a soiled underpants way)...
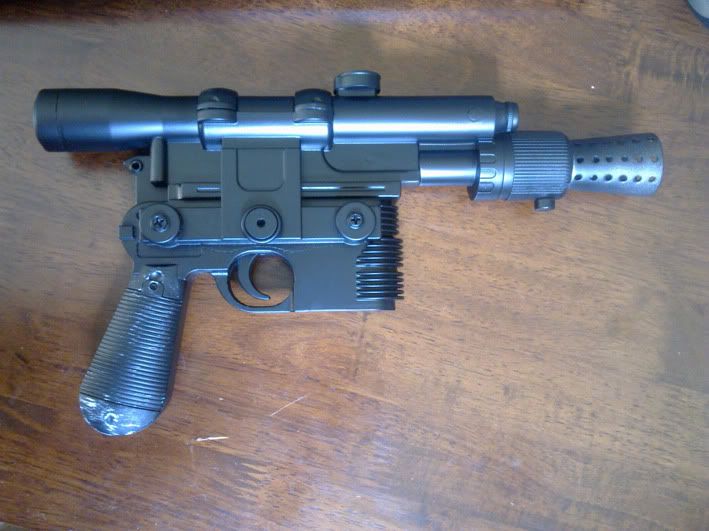
so onto the main topcoat - a simple matt black auto paint, which just raises the coolness factor by several decimals...
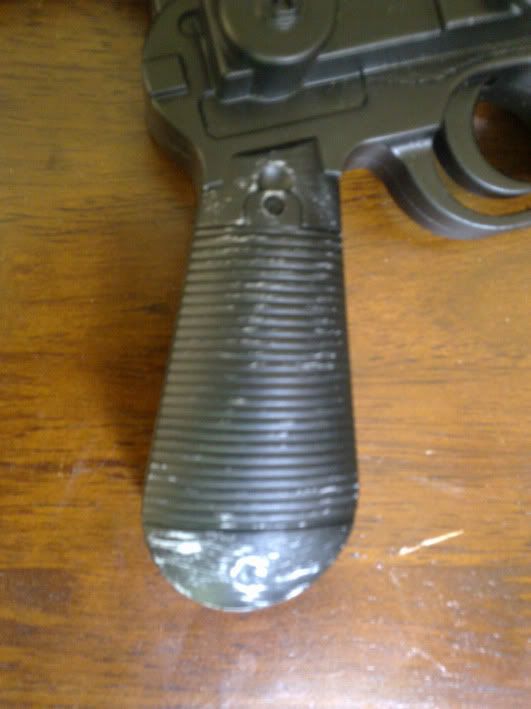
Whilst spraying the black topcoat I left the muzzle tip with just a misting to give it an already worn looking effect before later drybrushing/washing to give it a battle scarred feel...I also have taken some heavy duty sandpaper to the handgrips to prep for what will finally be (hopefully) a woodgrain effect...
Okay that's the extent of this projects progress so far, all that's left is to wash over with a gunmetal colour, weather the protruding greeblies with silver or scratch and dent and finally to paint the grips to simulate old wood.
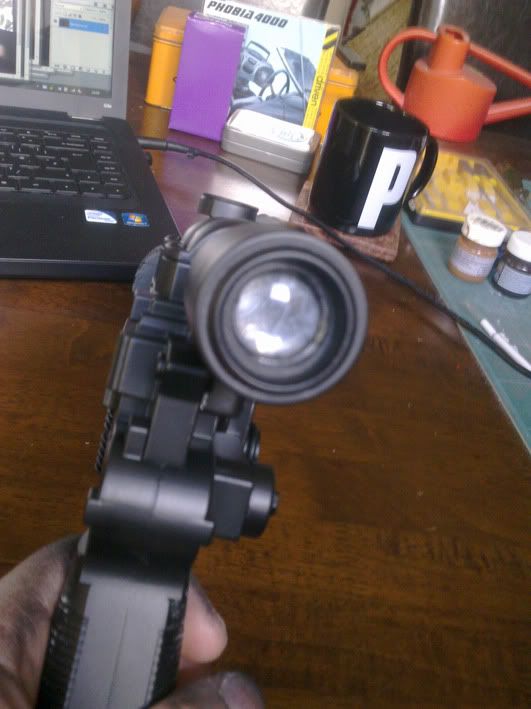
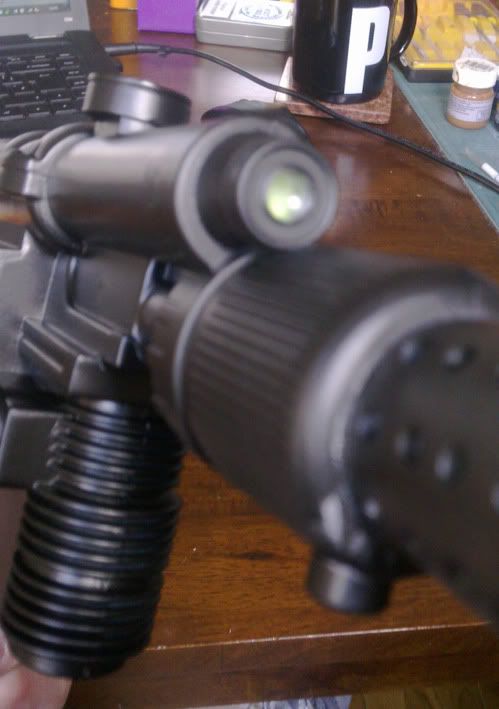
In the meantime here's those snaps I promised of the Realistic Scope effect (tm) - Unfortunately the lens got a little bit dirty somewhere along the way which although not ideal, actually adds to the 'used' feel so I'm not too fussed about that...
Rear Scope detail
Front scope detail
Until next time, keep it geeky
I ARE NERD
Respect
P.


Uh, that isn't the Greedo Killer. The Rubie's DL-44s are all based on the Hero prop.
ReplyDeleteHe probably doesn't know the story around this.. ;)
ReplyDelete