Wednesday, 19 January 2011

Desperate times sparks genius....EE-3 Fett Blaster...moving again!

okay so todays progress is as follows...

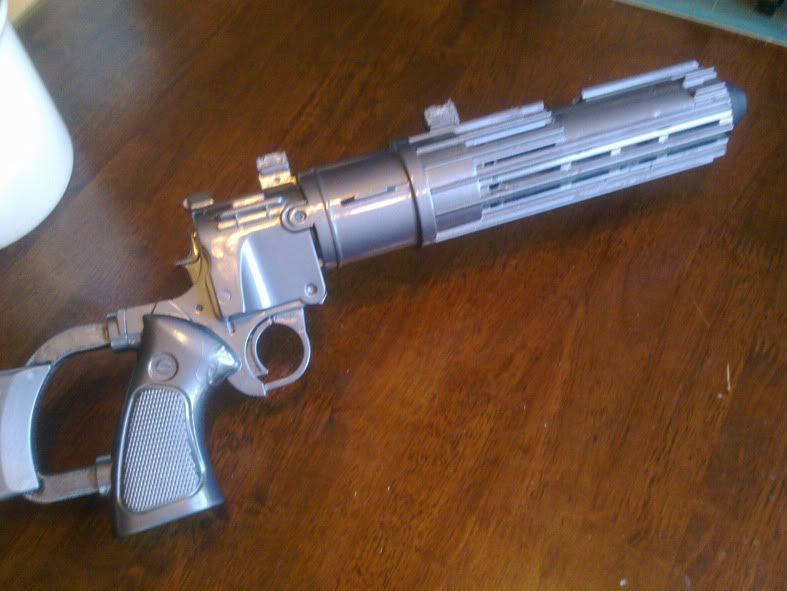
primered and undercoated (metallic auto-paint) the front half, I'm leaving the stock as is for now..you'll see why in a minute
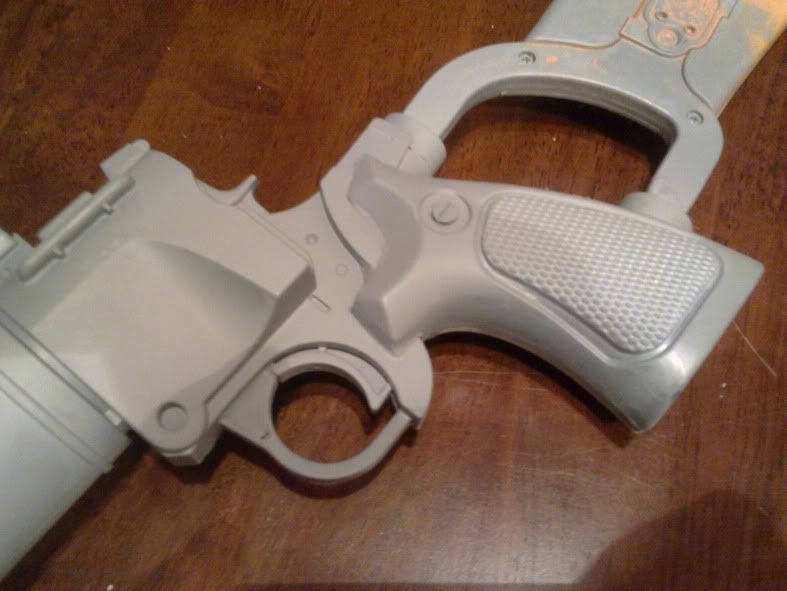
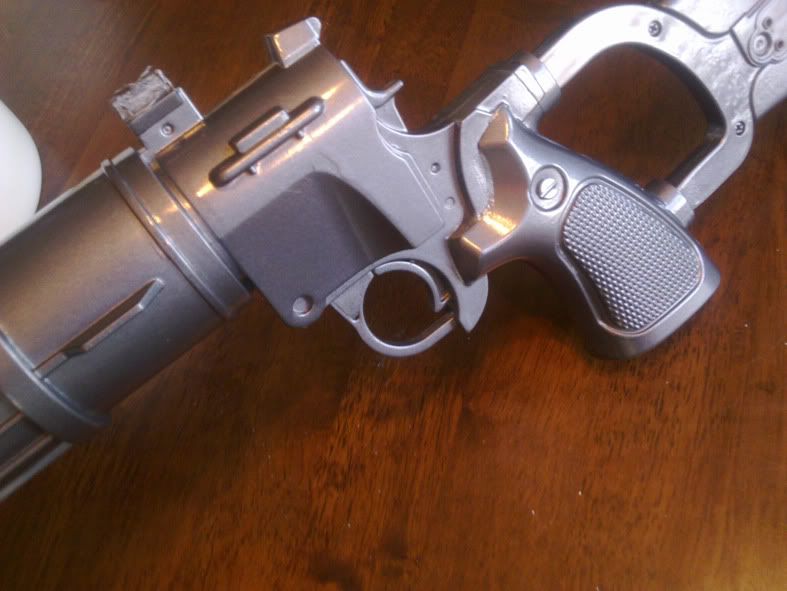
the add-ons and fill-ins are nicely vanished with a lick of paint...


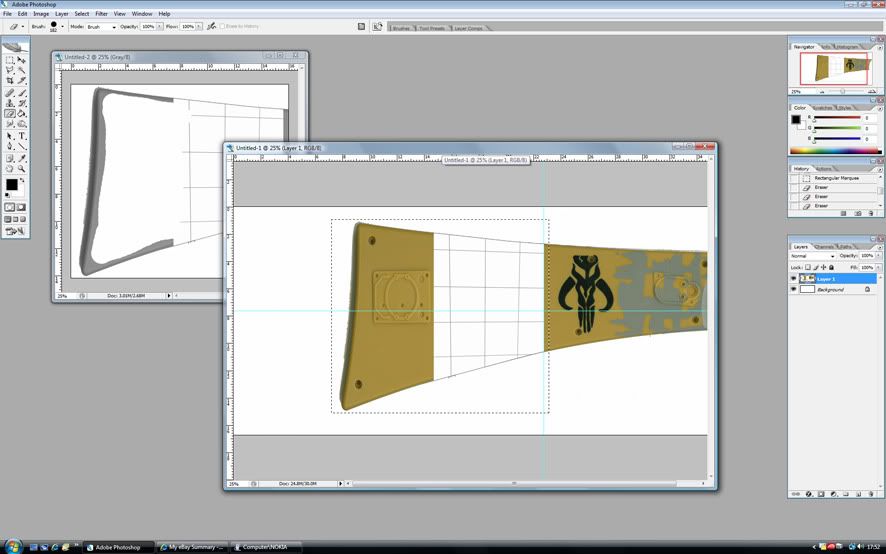
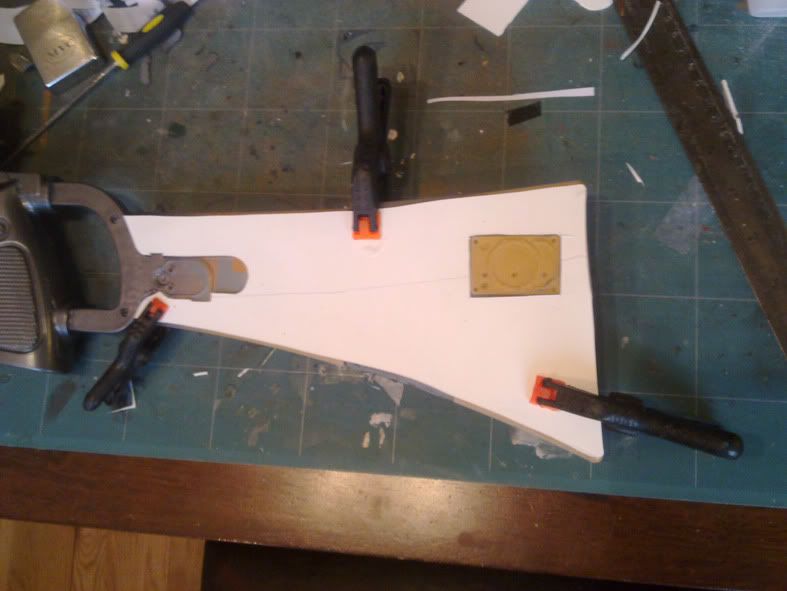
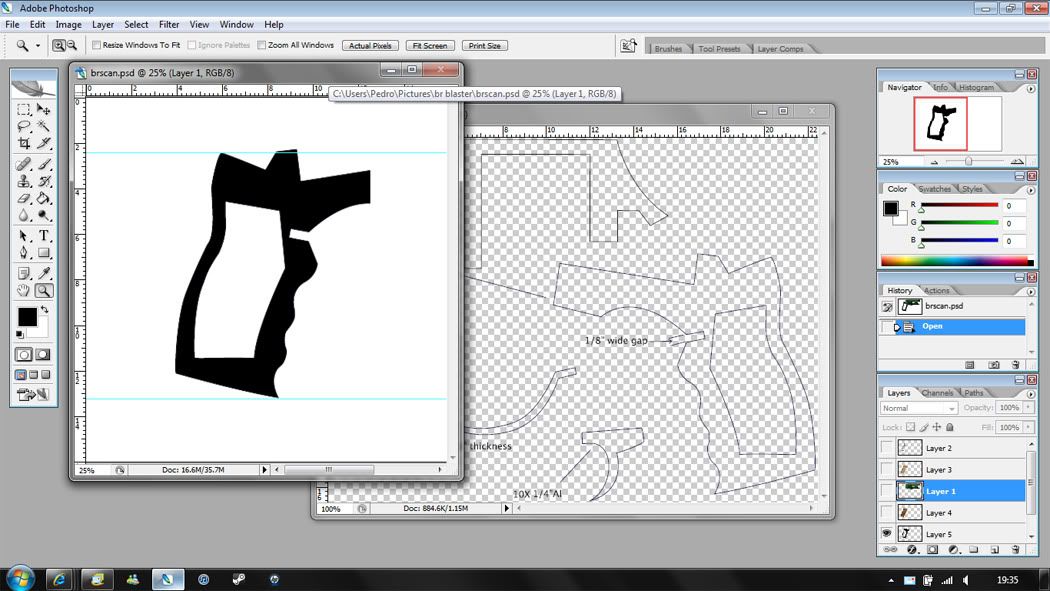
Whilst I was painting and despairing about the stock, it hit me, why not make a template out of plasticard to cover AND strengthen the stock? So I scanned the blaster and photoshopped up a rough template to cut out...


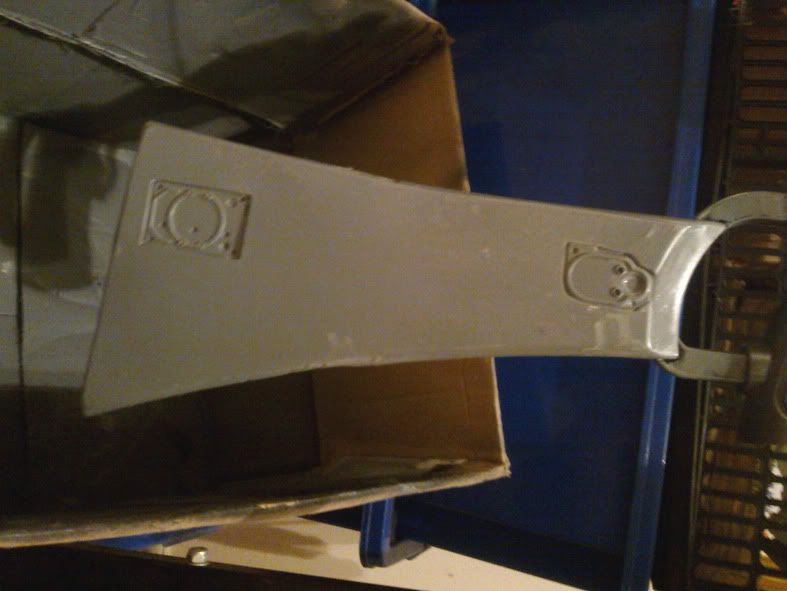
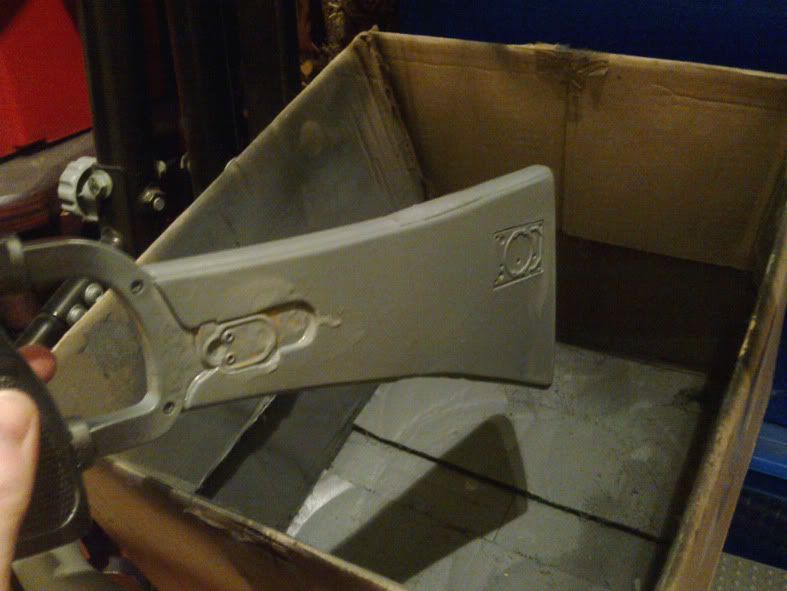
Then using trusty superglue attached the cut out plasticard cover...it's a little rough but I'm thinking with some sanding and a bit of filler it could potentially work nicely...


 So, glued, sanded and primed...priming has highlighted some areas for a little filler/attention but overall it works!! hooray for desperate measures!


Next steps...fill the little 'niggits' sand, primer again, lightly, undercoat then it's time to start the prep for the final paint job touches.

I ARE NERD
Respect
P.

Wednesday, 12 January 2011

Proud of yourself, little man?

Whilst awaiting inspiration and materials to continue building the hand grips I've not been lazy...much...

With help from some great folks over at propsummit I've tentatively drafted the frame for the grip. It's potentially a goer in some 1/2" wood but until I've decided on material for the actual grips themselves I'm holding fire on cutting it.


So in the meantime, to not lose momentum/excitement I've been busy with some minor beautification.
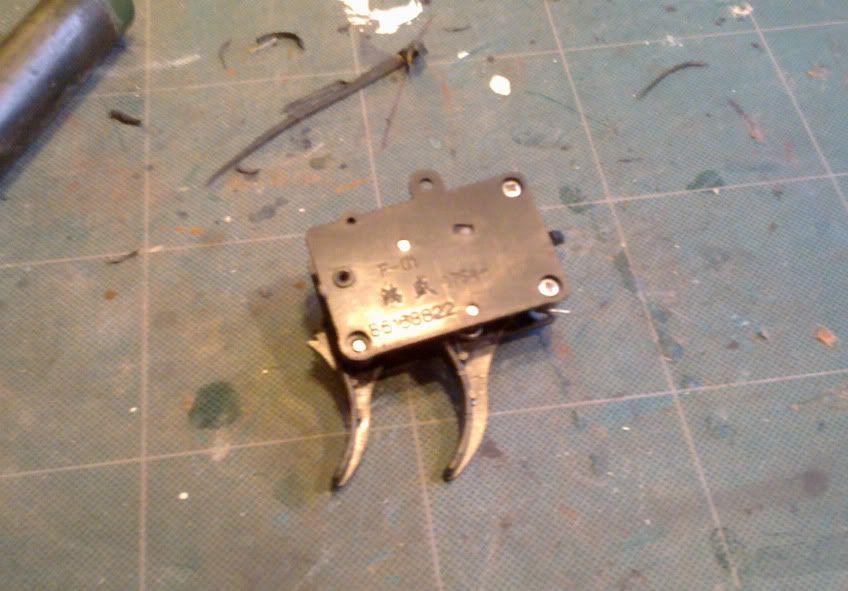
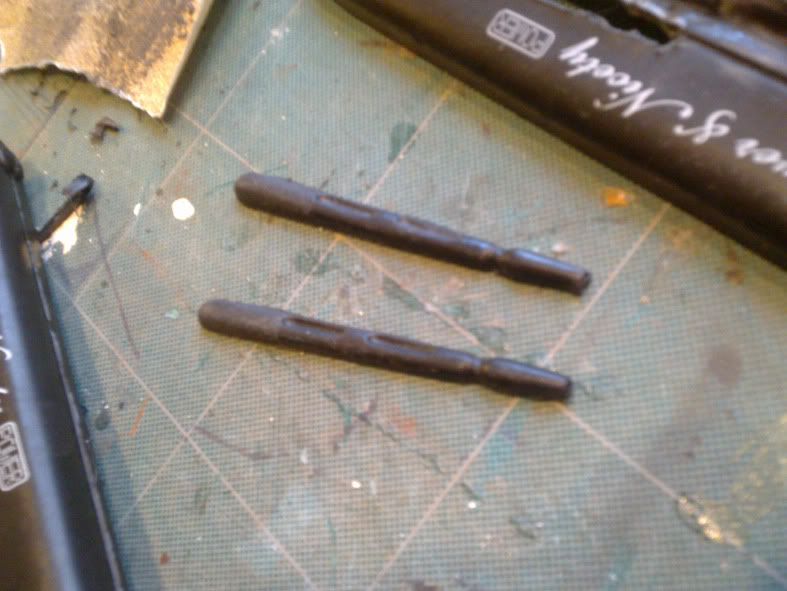
The double trigger is an iconic part of the design so I got that sorted fairly easily.


They won't function as such but are pretty sturdy against the attack of curious fingers..
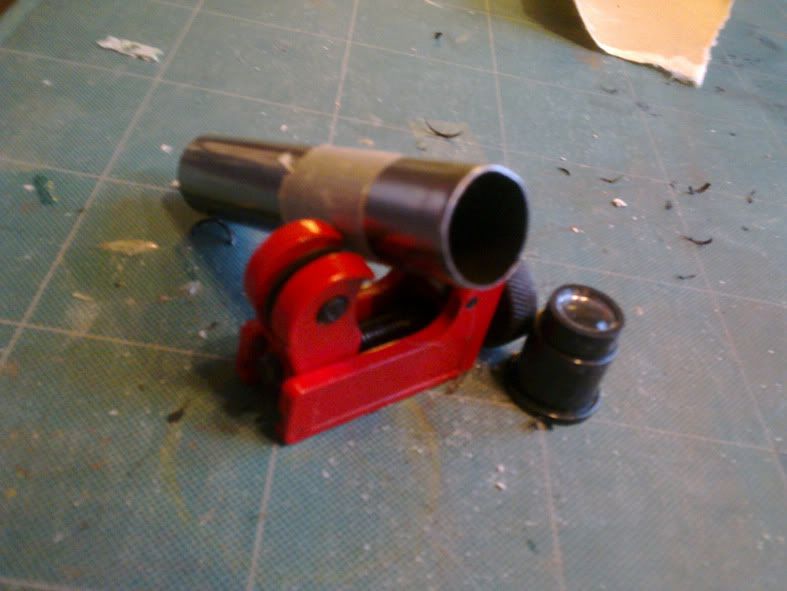
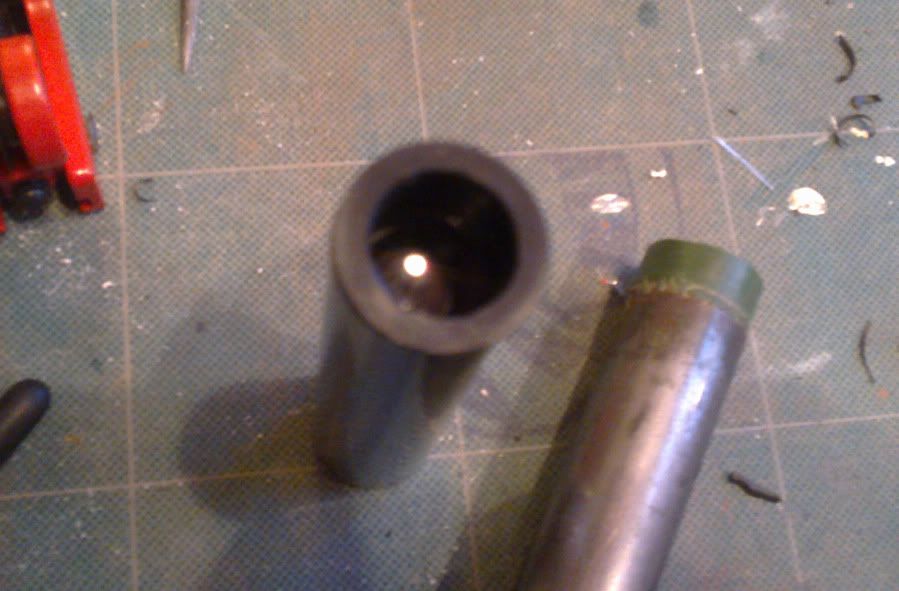
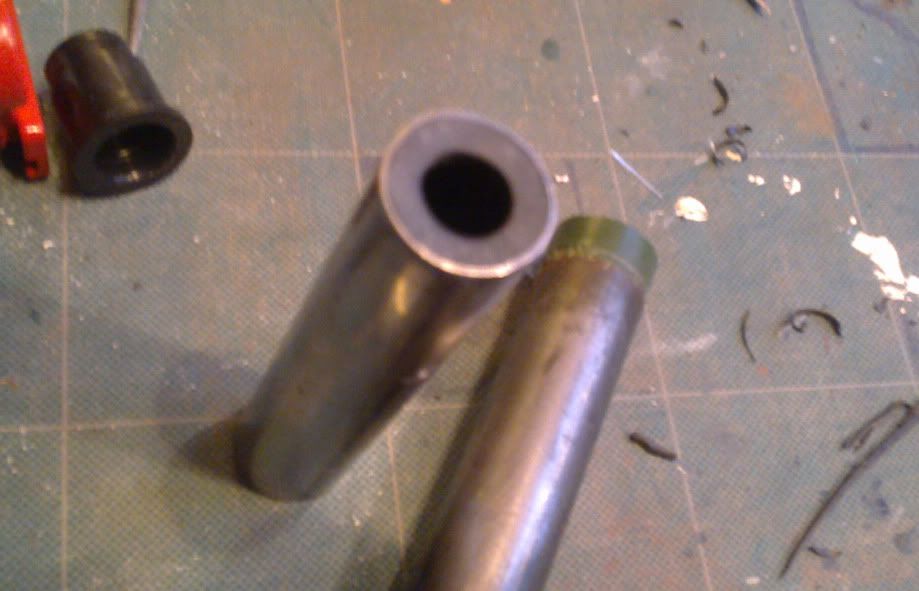
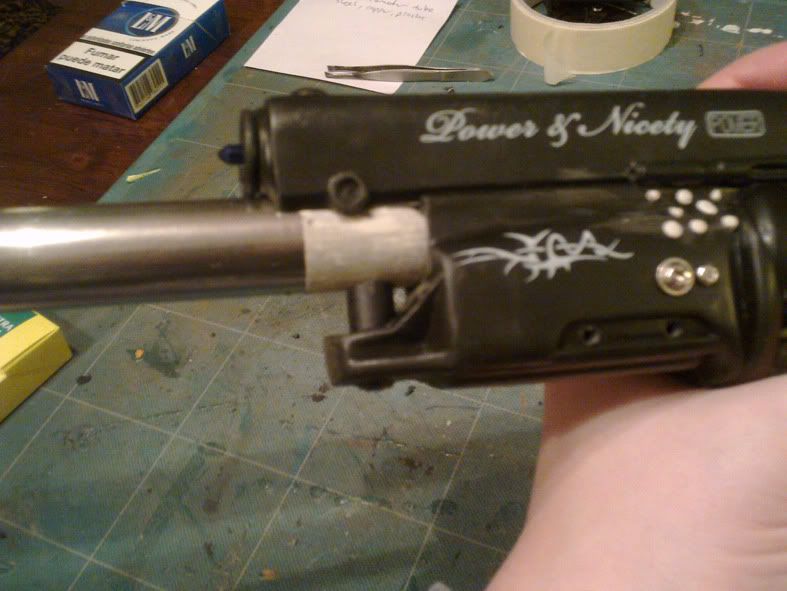
My mini pipe cutter arrived today too so I set about cutting down the barrel insert I've already started on..


The issue here is that the pipe is barely 1mm thick so needs to be fattened up somehow to look more badass..two options present themselves now the first is my trusty rubber washers...


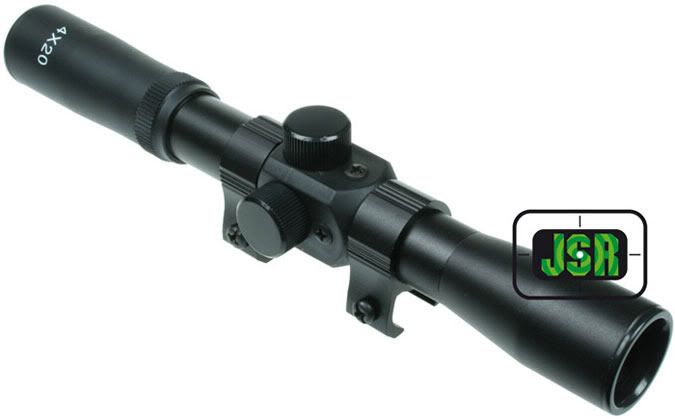
or this cheeky little leftover from a mini scope..it has a lens so looks quite cool, if not screen accurate (so what?) not sure which to go for yet though....


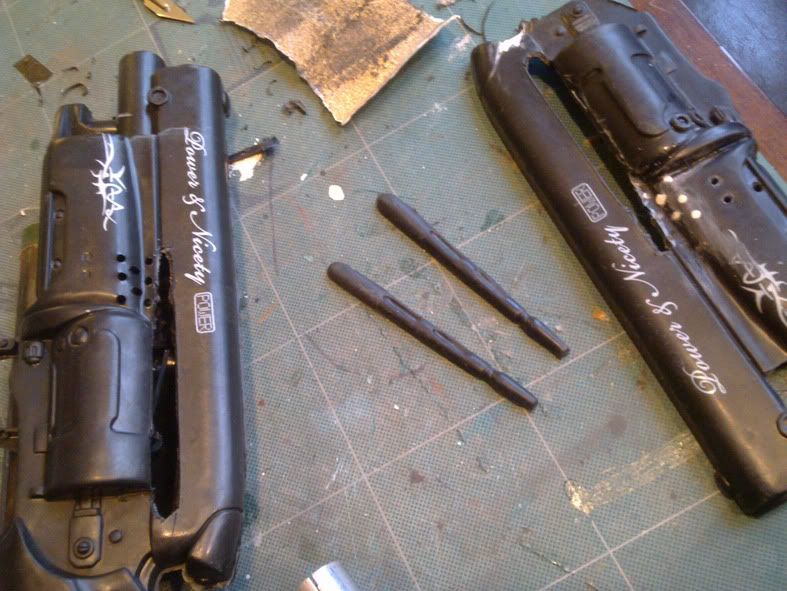
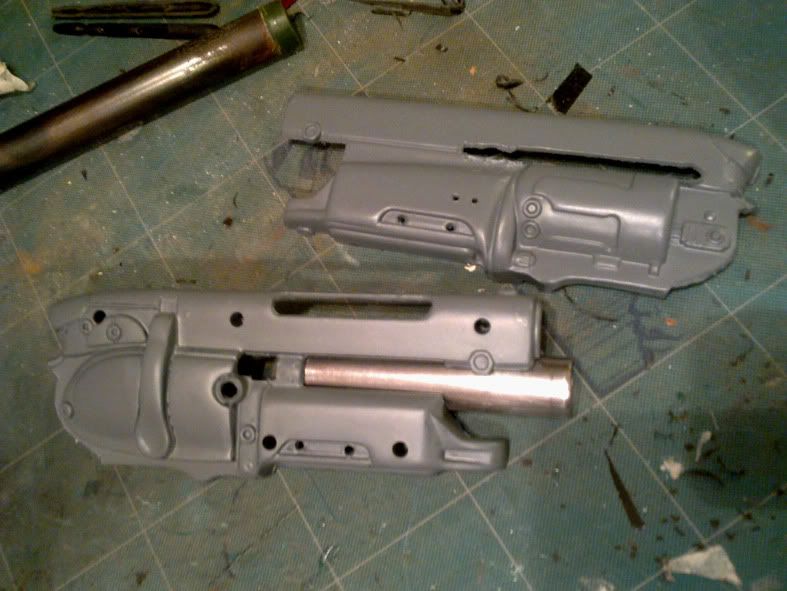
With the backup blasters sitting in thier packaging still it struck me that I could cut out the half laser sight on it and also on my hero I'm working on and by carefully sanding and cutting could put the two halves together to create a more 'standout' rod...


and lastly for now, the two halves after a few coats of primer...much better...


more to come...so much more...

I ARE NERD
Respect
P.


Saturday, 8 January 2011

Space, guns, space, guns, robots, brooolooooo....

You know how it is you wait ages for one science fiction weapon conversion project then two come at the same time...here's how it stands so far with the two projects on my intergalactical robobench. First the continuation of the latest Blade Runner blaster project.

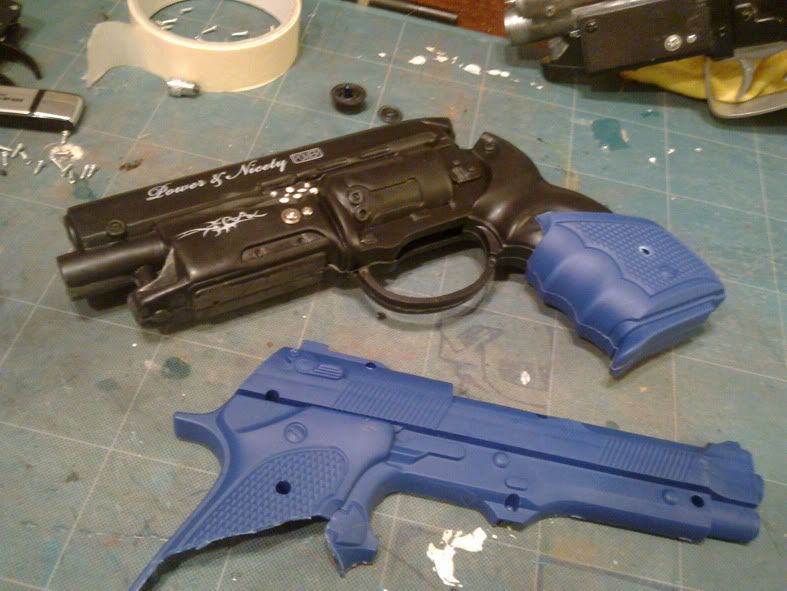
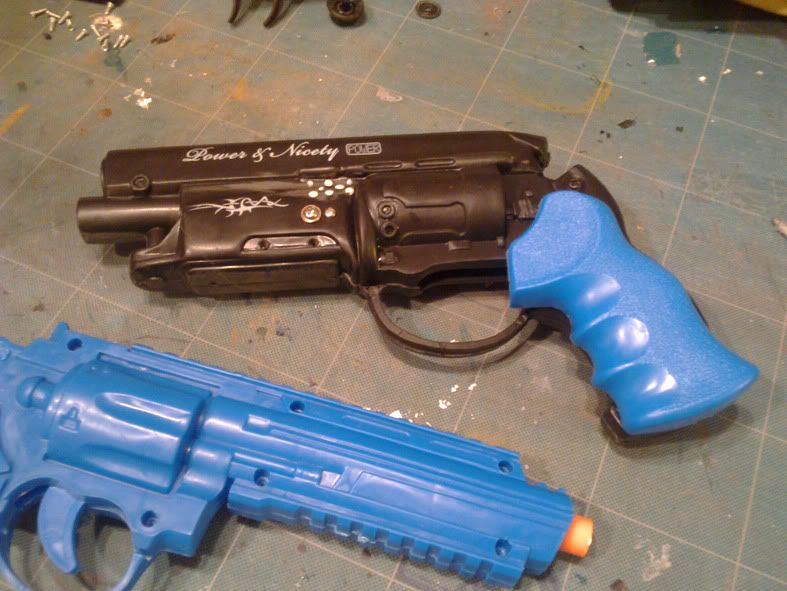
I've got brave...having 2 backups helps but I ot brave nonetheless. After trying out some other grips from different plastic shooters I took my trusty, thumbslicing scalpel and hacked the entire bugger off.

half  Beretta idea...mmm...nope

Hogue style grip overlay....mmmm, well, mmmm...naaah

off she comes..

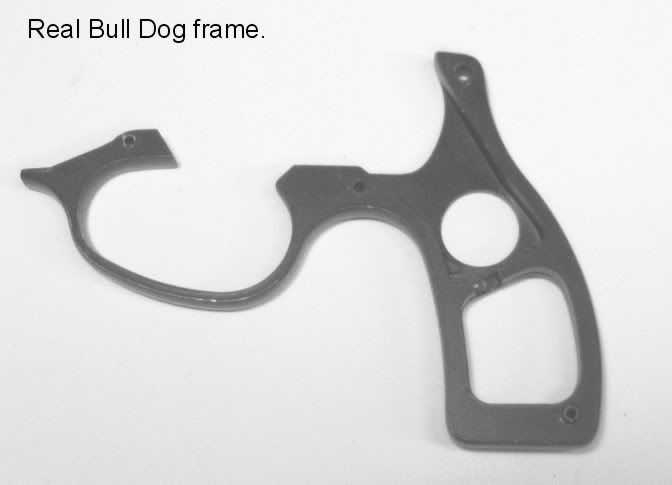
so now the idea is to fabricate an inner frame and somehow, mould, carve or hand sculpt a more accurate set of grips..the inner frame will be based on something like this....


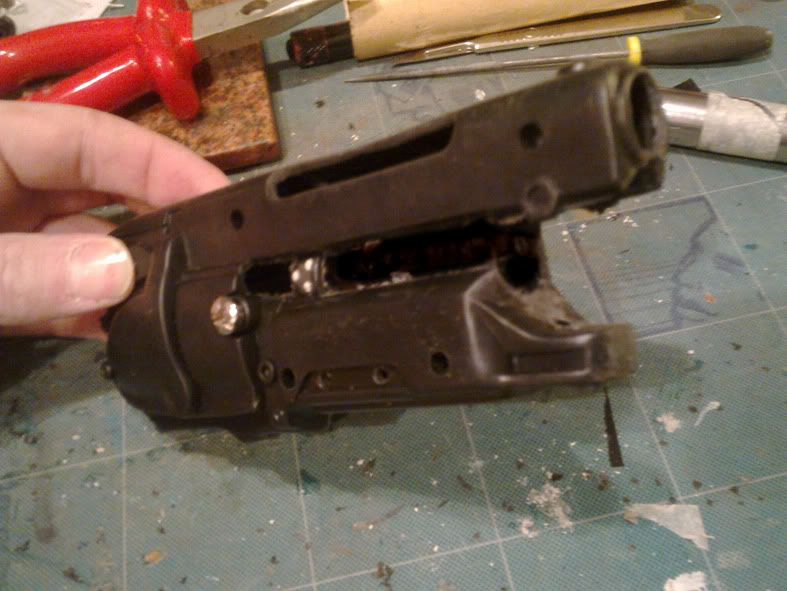
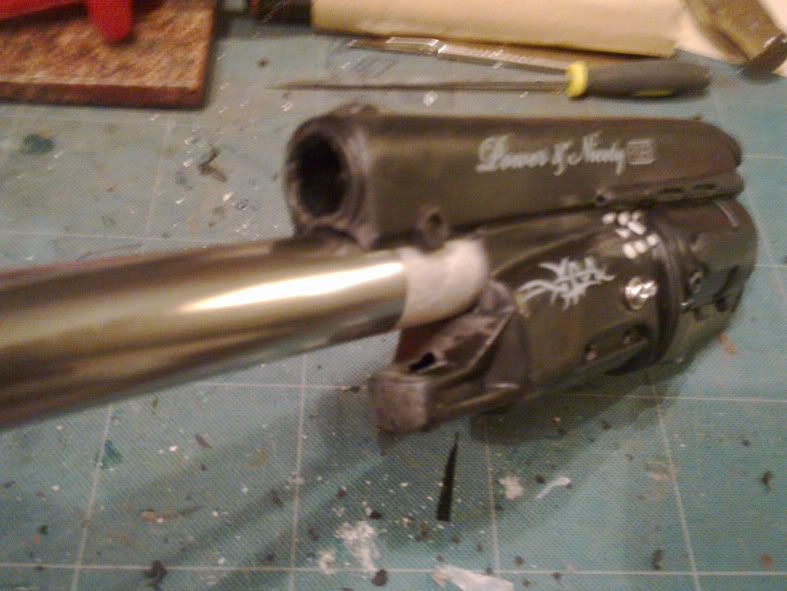
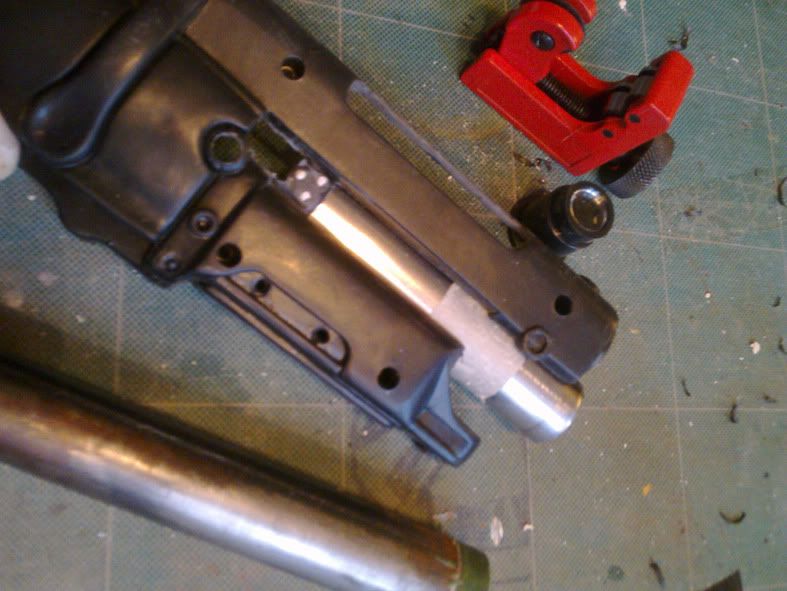
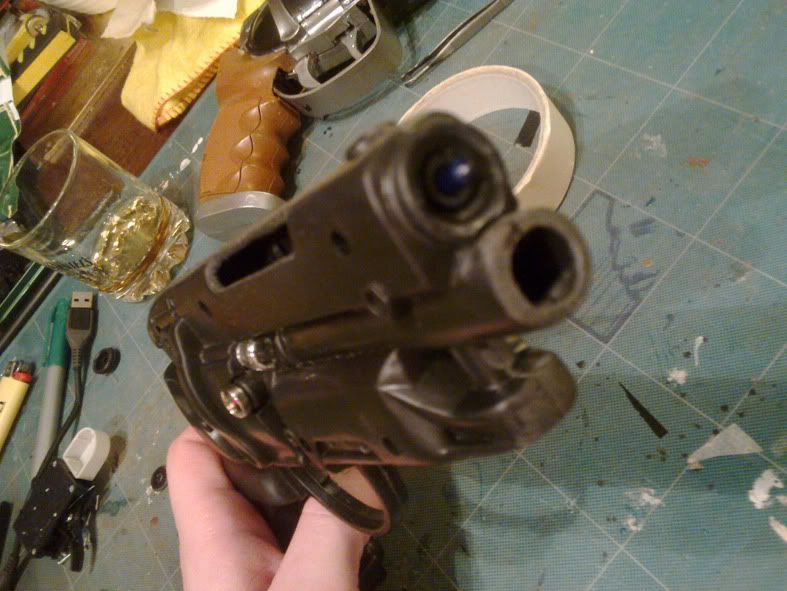
The next bold move inspired by stong black coffee and too many cigarettes was to cut out the moulded plastic barrel and replace it with some metal tubing...
First..out comes the offending section..hack..hack...


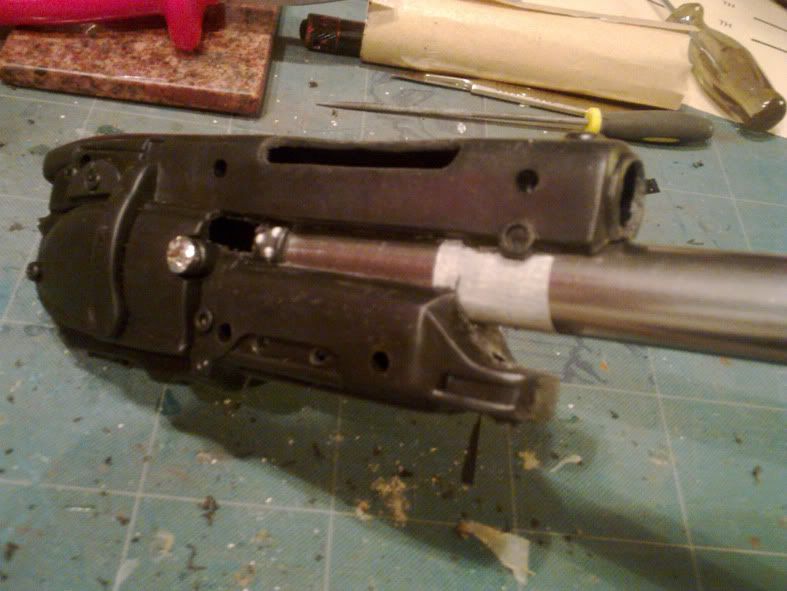
Then after a quick visit to the local garden centre and with the aid of my eagle eyed wife we found a corrct sized metal tube and after cutting of a workable length...in she goes...


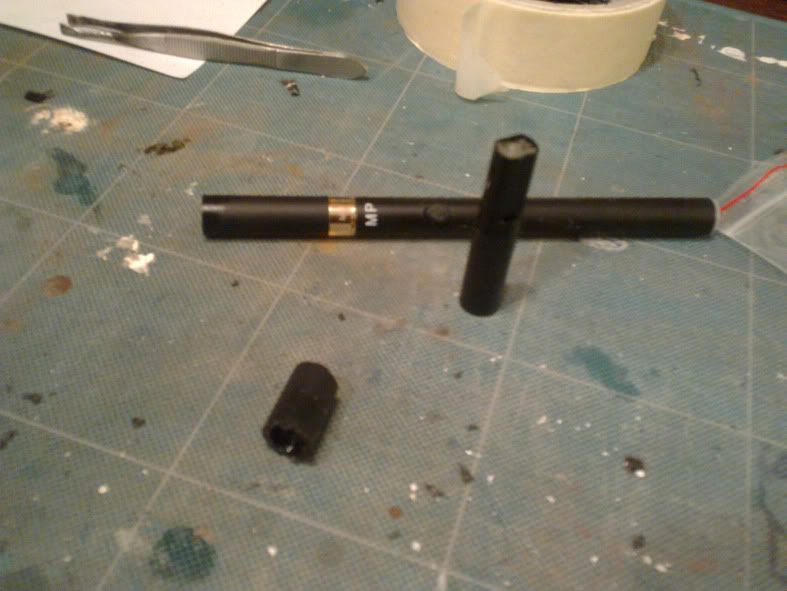
I'm just waiting on a pipe cutter to be delivered to trim it to the correct length. As you can see from the above photograph whilst removing the barrel I had to also remove the bottom support detail, but with the help of an old plastic filter from an E-cigarette and some patience, that was quickly replaced.

Humble E-cig filter gives it's life for a higher purpose...

From simple earthly filter to super hi-tech blaster barrel support

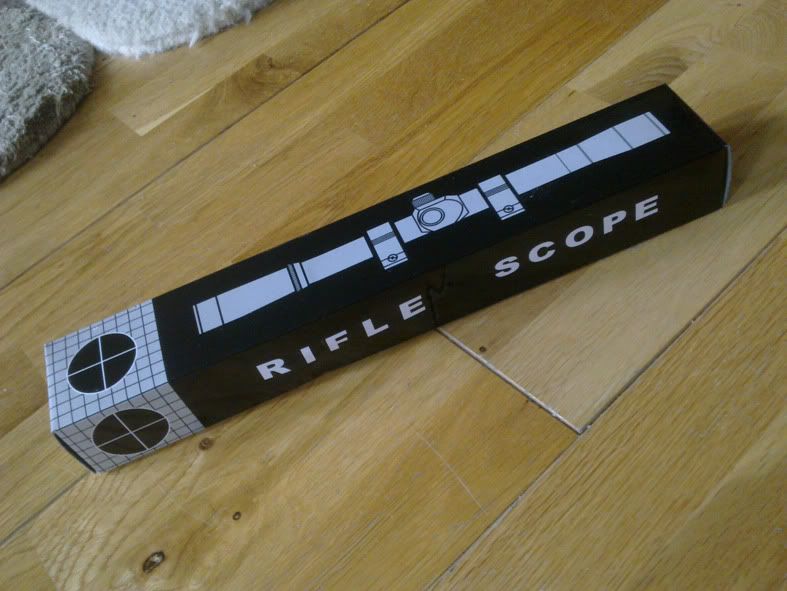
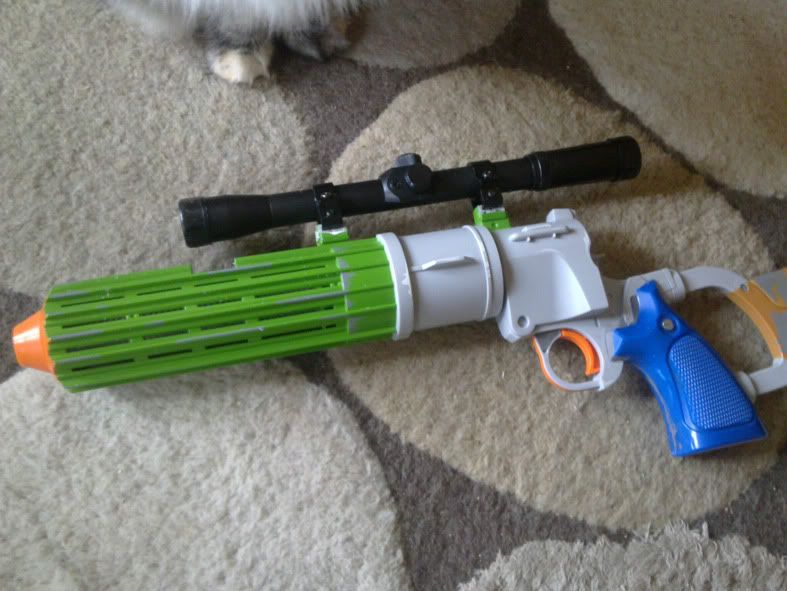
So that's where things stand with that at the moment. The other project - Boba Fett's ROTJ EE-3 Blaster - has been gathering dust over the holiday period, partly due to alcohol and poultry intake and partly due to my dissatisfaction with how the work is going on the buttstock. I'm hunting for a decent sized 'real' wooden stock to replace the tiny flimsy plastic one with due to it's general poor quality. BUT...the postman came today bearing gifts...


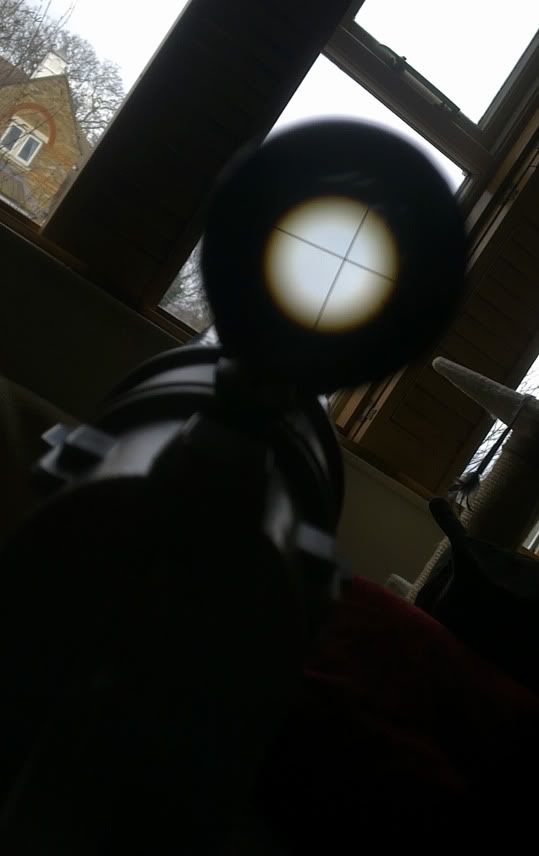
and with a bit of fiddling around my EE-3 is now fully scoped out.


How cool is this?....

Until the next time...
I ARE NERD
Respect
P.
Wednesday, 5 January 2011

Blade Runner - phase 2....

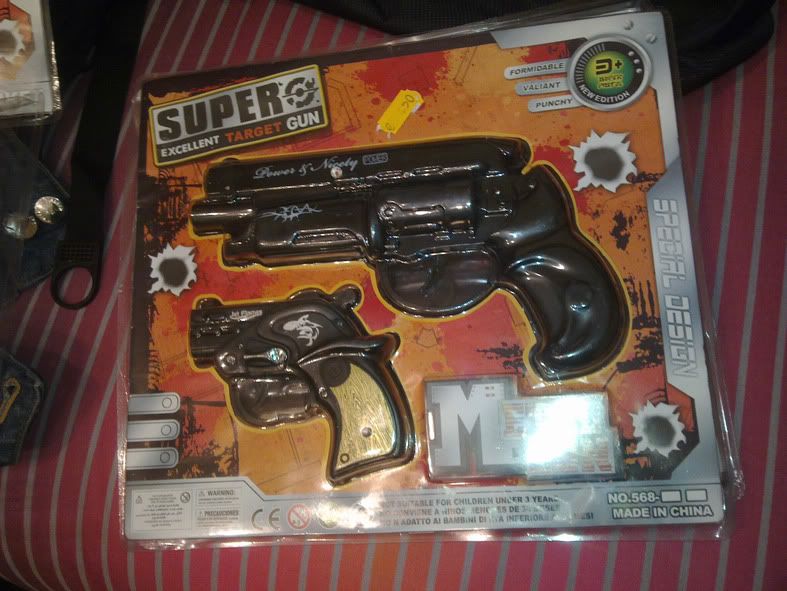
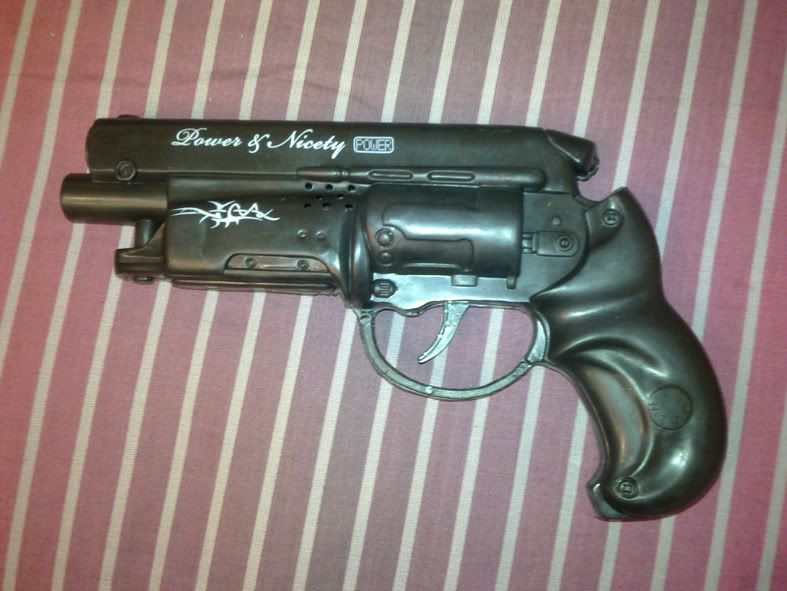
Whilst spending the holidays with my family in Spain and due to my previous triumphs in the little chinese junk shops, I thought I'd see what's on offer this time...last shop, as everything is closing up ...all hope gone of uncovering any gems and lo and behold what do I find.....not the now famous and fairly easily found rip off that I previously modded here Blade Runner Toy Gun Mod

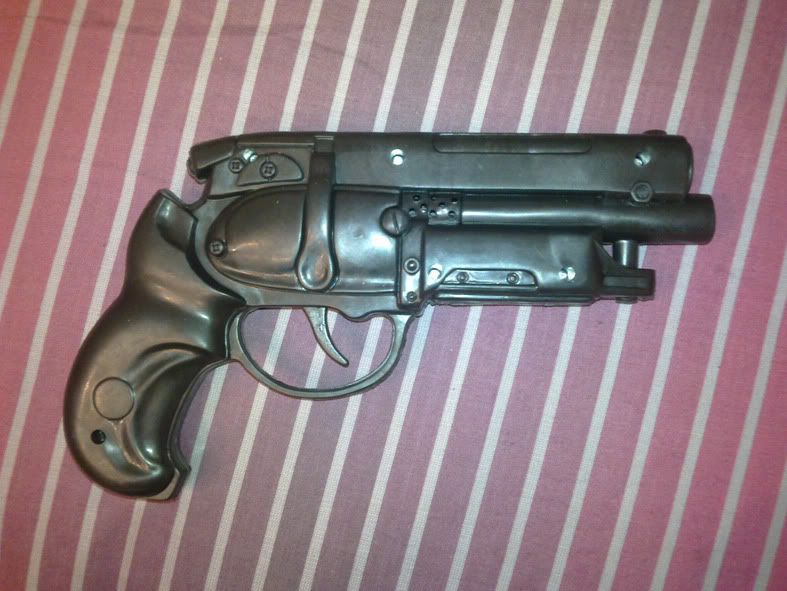
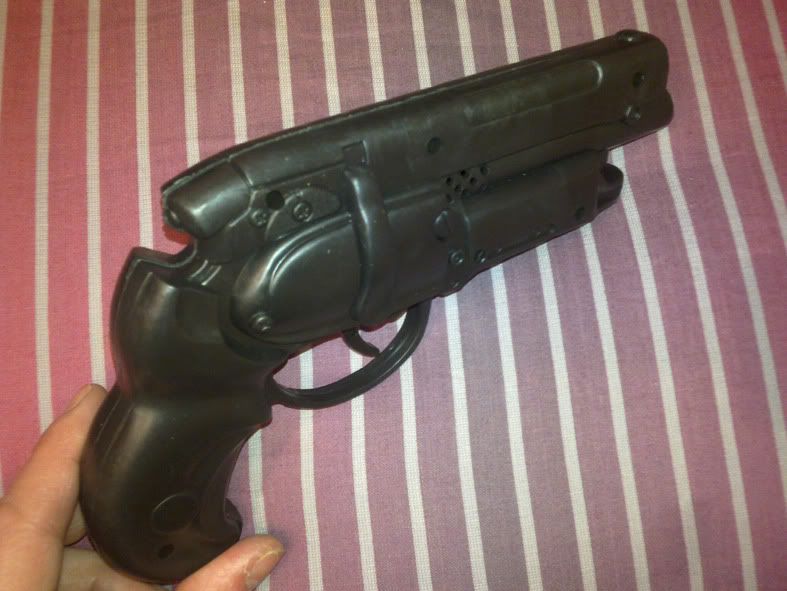
but this fabulously authentic(ish) knock off....except the obvious hand grips and the triggers/trigger guard, to my nieve eyes it's got to have been a cast from one or another of the previous "authentic(ish)" styled PKD's?


not a bad little find I reckon. This one should, in theory present a lot less trouble to mod, it's made of nice soft, easily cuttable plastic and apart from the handgrip and trigger guard I think is almost complete...or is it...

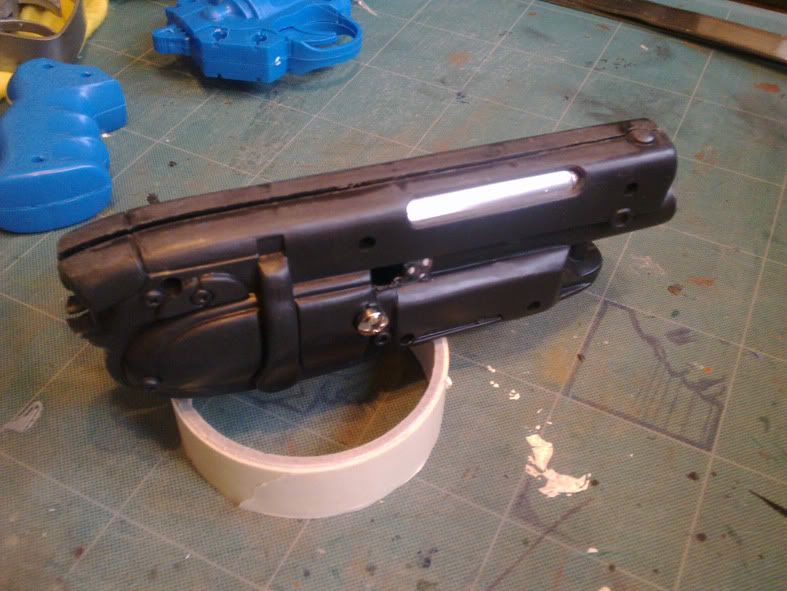
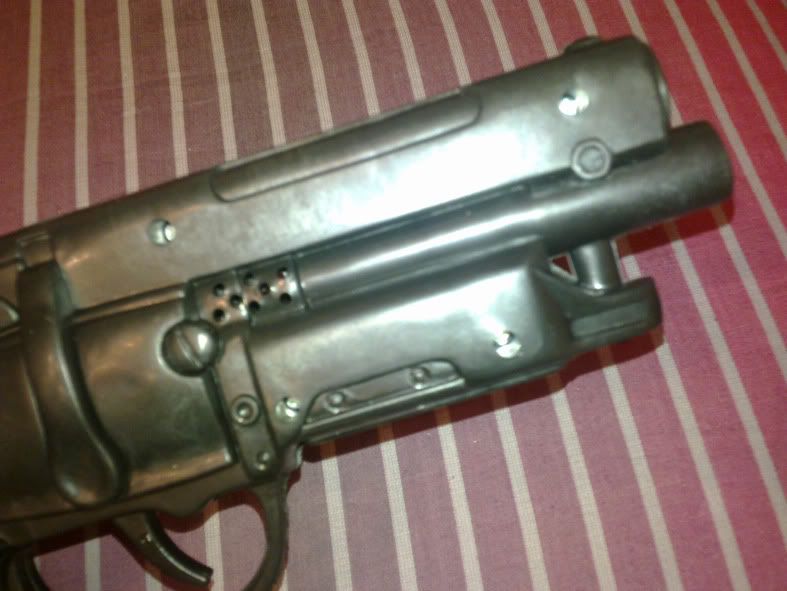
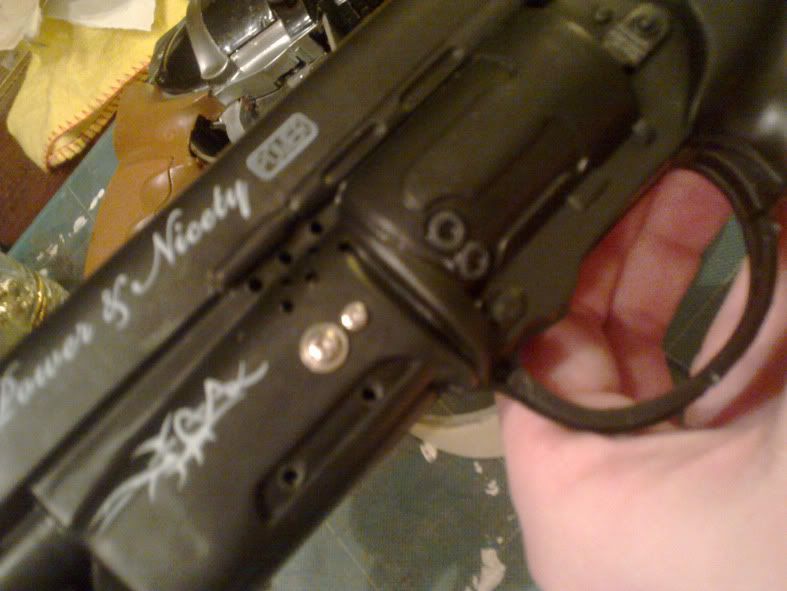
First job was to sand the rough edges cut the upper barrel out and build the wierd greeblie that's on the real deal. Using my trusty tap washer kit and the tip of a paintbrush the results are thusly..


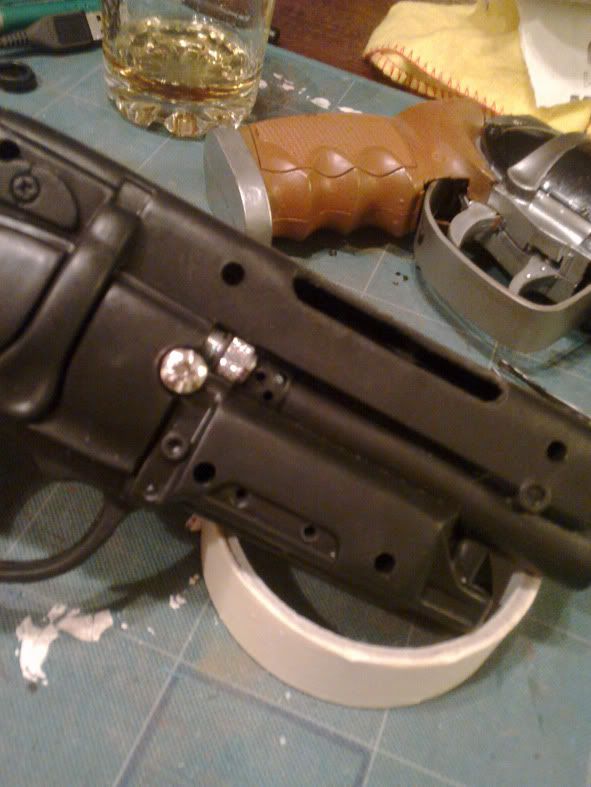
sorry for crappy mobile phone pics..but better ones will come as the build progresses. Next job was to replace the plastic 'weaver' screw effort and add the other screw that aligns with the barrel. for the latter I used the head of a pocket led torch..it has the elements of the screw from the side and as an added bonus has a cool little lens in the tip...I also cut open the ejection port on the upper reciever ready to be filled with a real metal, or metal effect inner...


finally, for this episode I added the two screws to the mag housing and again, using the tiniest tap washers to effect the allen heads on the revolver case...


more to come....as and when...

I ARE NERD!!
Respect
P.
Thursday, 23 December 2010

Happy Christmas to me! Hasbro Boba Fett EE-3 Blaster Modification

It's been a while since I spent any time in my 'workshop of dreams', partly due to indecision but mainly due to the fact I've been acting the rock and roller and recording a new album with End Of Level Boss it's gonna be a corker... some very wierd grooves and heavy riffery will be up soon for your delectation either here... www.myspace.com/endoflevelboss or here... http://www.facebook.com/endoflevelbossmusic
Meanwhile a fairly straightforward modification project has landed on my interalactic workbench. The conversion of the Hasbro Boba Fett blaster from a kids scale to MAN scale (please use husky voice here).

Seriously though...it doesn't get much cooler than this dude, and concidentally he's handling the weapon in question as well as just oozing general shit the bed badassness...


The 'off the shelf' toy is actually pretty good considering it's meant for kids..but well..we all know that Star Wars kids are usually in thier mid 30's. Not exactly screen accurate but I'm not gonna cry myself to sleep over two inches of plastic that's missing from the 'proper' version...boohooooo.....


Introducing...The Toy

Below is the comparison pic of the toy and the actual prop (originally adapted from a WW1 British army Webley Flare gun)


As you can see the Toy comes up a little bit short-scale, To better fit into 8 year old bounty hunter's mitts no doubt. But I'm no 8 year old (at least not physically..although that's also debatable) so it's onto the bench and under the knife for this baby.

So in this adult child's mind I reasoned firstly that the least sculpture heavy way to progress would be to add some inchage to the shoulder stock and secondly that the handgrip could be more comfortable for my hamfisted farmers digits.

First and easiest by far (bar almost slicing the end of my thumb off with the scalpel) was removing the handgrip from a waterpistol from my box of 'bits'


as you can see from the test fitting photo below it adds the necassary inch or so required for a comfortable grip.

Before...

After...


Just needs a bit more filler to attach seamlessly and we're good to go.
Next, the shoulder stock...

So after deciding with the help of a photoshop mockup where to cut...I cut the child sized stock into three parts.


Then using a supremely dodgy corrugated cardboard filler and some jiggery pokery (advanced technical term) I attached it all together to extend the stock by approximately 3 inches or so


aaah..much better...


lastly, at least for this update, I began to fill out the gaps with Fimo airdry sculpting clay. Leaving me with the below state of affairs. Should be ready to sand flush in 24 hours.


I've also filled in all the screw holes that reveal it as a toy and will now await the drying of the filler clay before moving to stage 2...sanding and primer undercoat! (ooh 'citin')

until the next time...which could be a while due to Christmas alcoholism...

I ARE NERD
Respect
P.