
Well, I drank tea and wondered how...
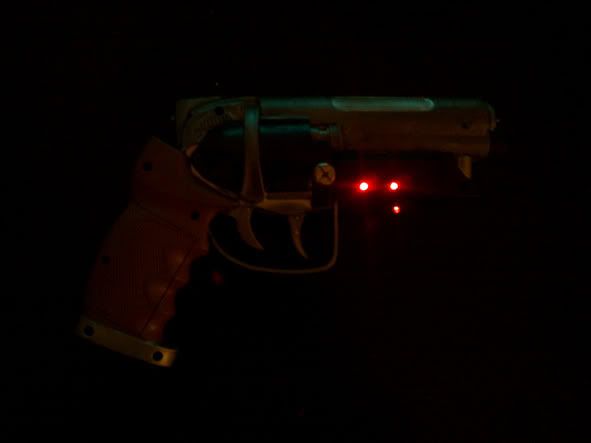
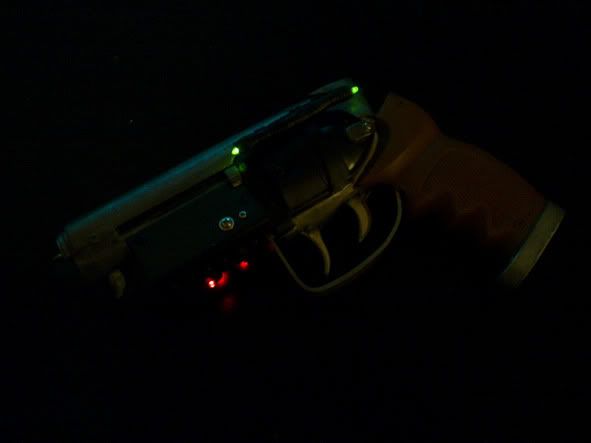
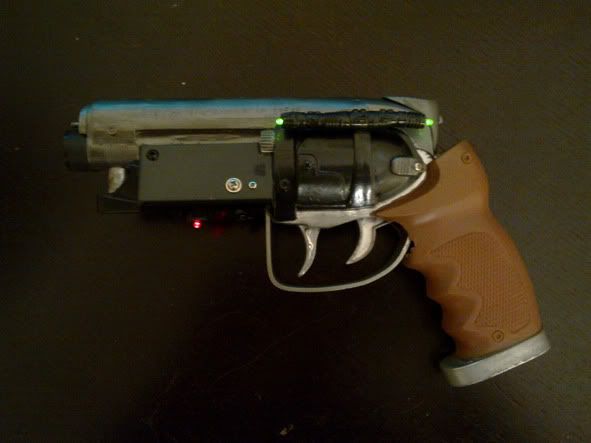
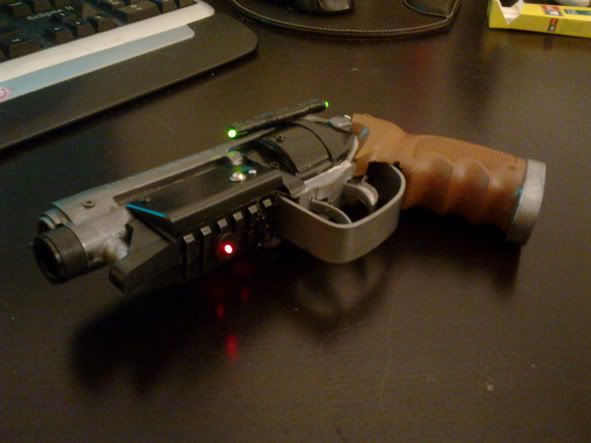
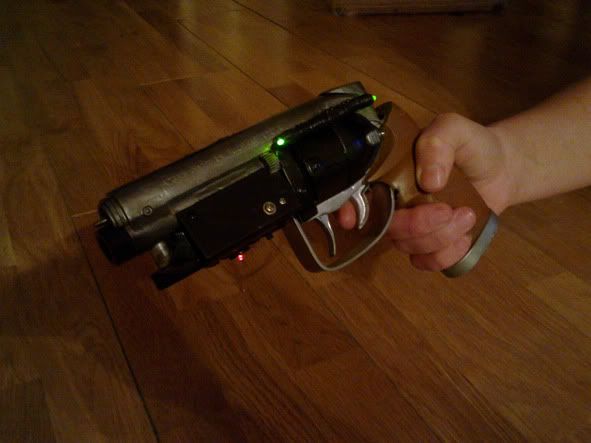
the components used were 5 LED's 3 red and 2 green, some wiring and the old toy's original circuit board as a base for the circuit of lights, a micro switch secreted, quite clumsily (needs repairing and glueing), some solder and a hell of a lot of cursing and sweating.
However finally the last 10% is coming about, I've improved the barrel tip (needs painting), found a foresight (also needs painting and attaching) and added rolls of coins to give the weapon some realistic weight (about 2kg I think)
so on with the pics...

Sincerest gracias to the Spanishdemoness for her electricalised genius.
I ARE NERD
Respect
P.
I know this post is about 5 years old, but I absolutely love what you did with this project. I want to do the same conversion, but am having difficulty locating the toy that you used here in the US. When I do get my hands on one, I will definitely use your project as my guide
ReplyDelete